
 Feedback
Create Jira Features


This document will help you understand better the enhanced Jira creation from Salesforce.
For reference, we will be using the Case object in this doc.
Prerequisites: Please make sure you have the Create Jira Button and Jira Related List Page configured as we will be using these in the following steps while creating a Jira.
Refer to these documents to configure the Create a Jira button and Jira Related List page:
Creating a New Jira Ticket from Salesforce Case Record
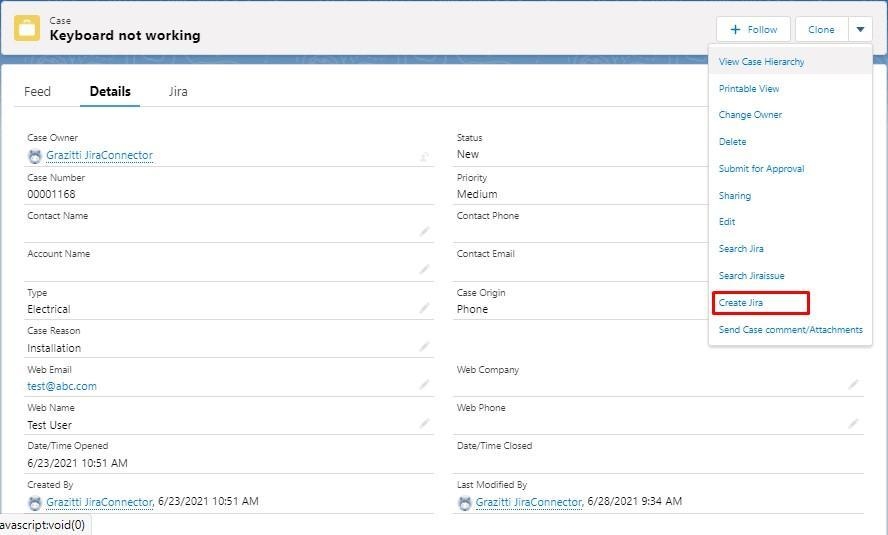
Step 1: From your Salesforce instance, go to the case record for which you want to create a Jira ticket. There are two ways to create a Jira ticket from Salesforce:
-
Using the Create Jira button from the drop-down menu at the top of the case record header.
-
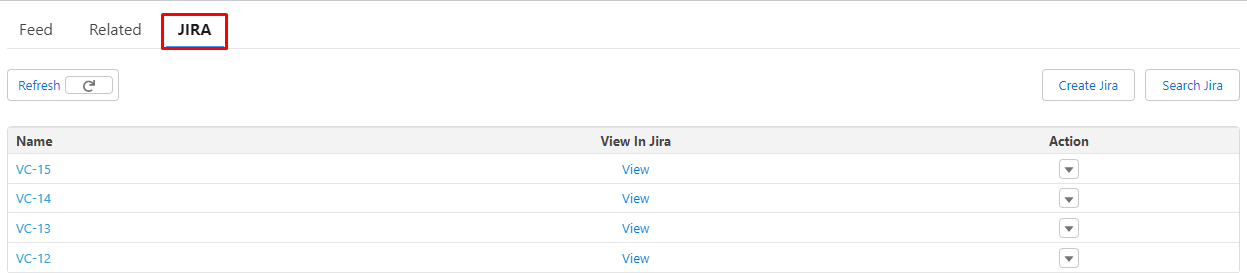
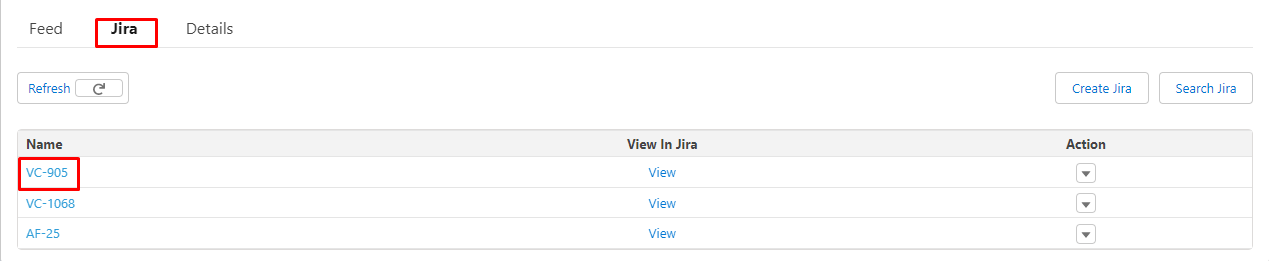
Using the Create Jira button from the Related Jira tab on the case detail page.


Step 2: A new screen will appear asking for the required details for creating a Jira ticket (as shown in the below screenshot).
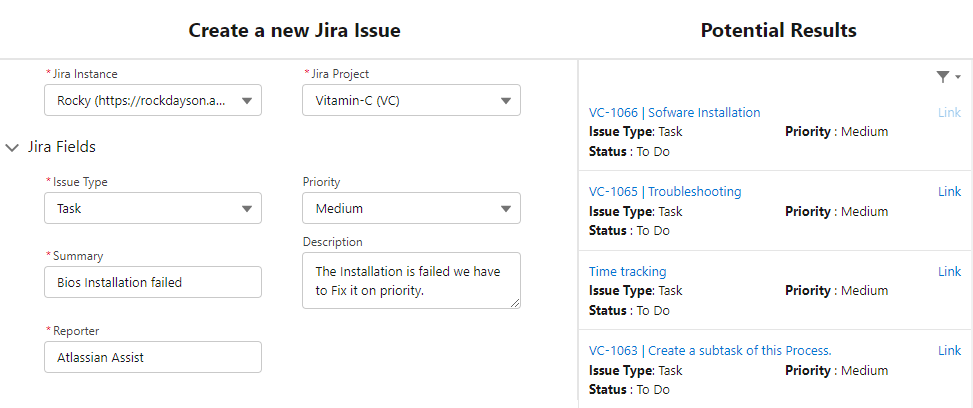
On the left, you can see the following details:
-
Jira Instance: Select the right Jira instance if you have multiple instances configured.
-
Jira Project: Choose the Jira Project under which you want the Jira ticket to be created.
-
Jira Fields: You will see the Jira fields like Summary, etc here. These fields are auto-populated per the Salesforce case record details.
-
Issue Type: Select the right issue type for the Jira ticket to be created. For example Task, Bug, Epic etc.
Note: If you have locked the Projects, Fields, etc, using the Permission Sets under the Admin Panel of Sinergify, fields like ‘Jira Instance’, ‘Jira Project’, and ‘Issue type’ might not be editable for all sets of users.
On the Right, users can see the Potential Results.
Salesforce Admin can Enable/Disable the ‘Potential Results’ from Sinergify Admin Setting to Show/Hide the section on the Create Jira screen. This feature will search for already existing Jira Tickets in real time based on ‘Selected Project’, ‘Summary’, and ‘Issue Type’. This will help you prevent duplication and save time.
At the bottom of this screen, you will see the ‘Add comments and Files’ option.
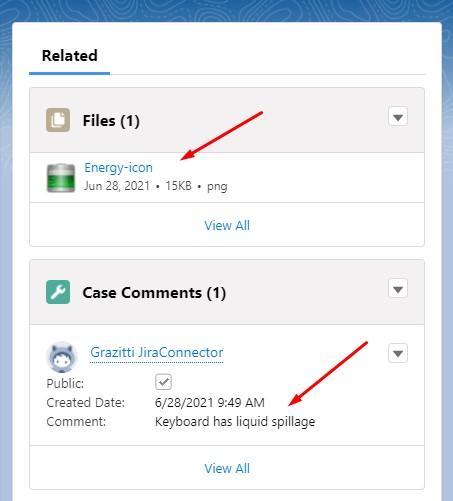
This is helpful in case there are comments and attachments added on a case record and you want to sync those to the Jira ticket as well. Refer to the below screenshot.
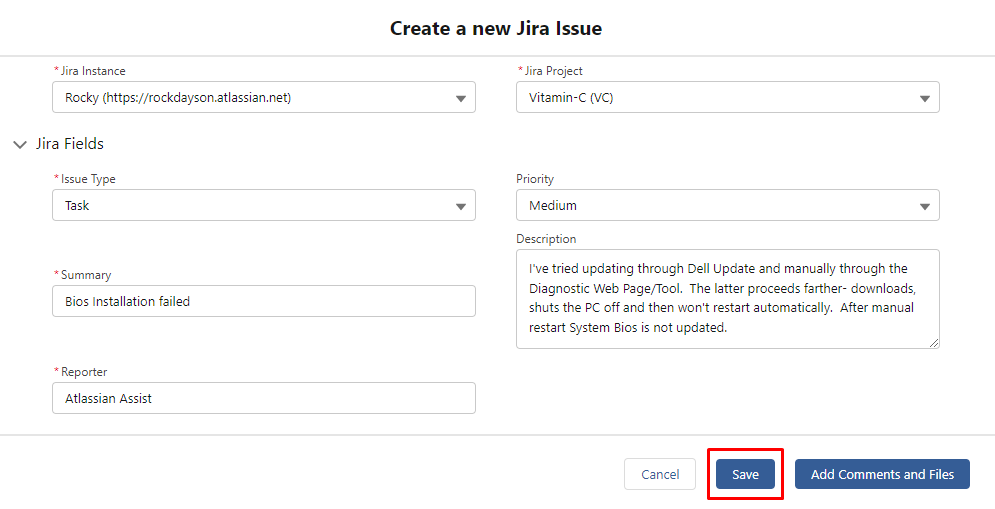
Step 3: Once you have entered all the details and there are no similar Jira tickets showing in the ‘Potential Results’ section, click ‘Save’ in case you don't want to send comments or attachments.
But if you want to send Comments/Files that need to be added to the Jira ticket before creation, click ‘Add comments and Files’. A screen will appear as shown below.
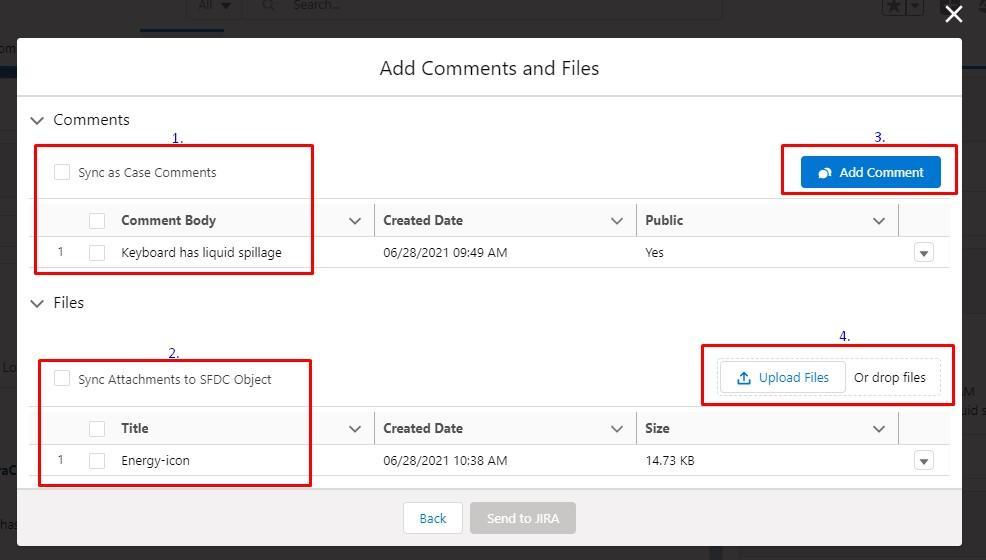
The screen has two different sections for comments and attachments. Select the comments and files/attachments that you want to attach with the Jira ticket and click ‘Send to Jira’. See options ‘1.’, ‘2.’ in the above screenshot.
You can also add new comments and upload files/attachments using the ‘Add Comment’ and ‘Upload Files’ respectively. See options ‘3.’ and ‘4.’ in the above screenshot.
To sync comments under the SFDC object (only for case), check the box next to ‘Sync as Case Comments’ (Applicable for Case Object only).
To sync attachments under the SFDC Object, check the box next to ‘Sync Attachments to SFDC Object’.
Click ‘Save’ and the Jira ticket will be created.
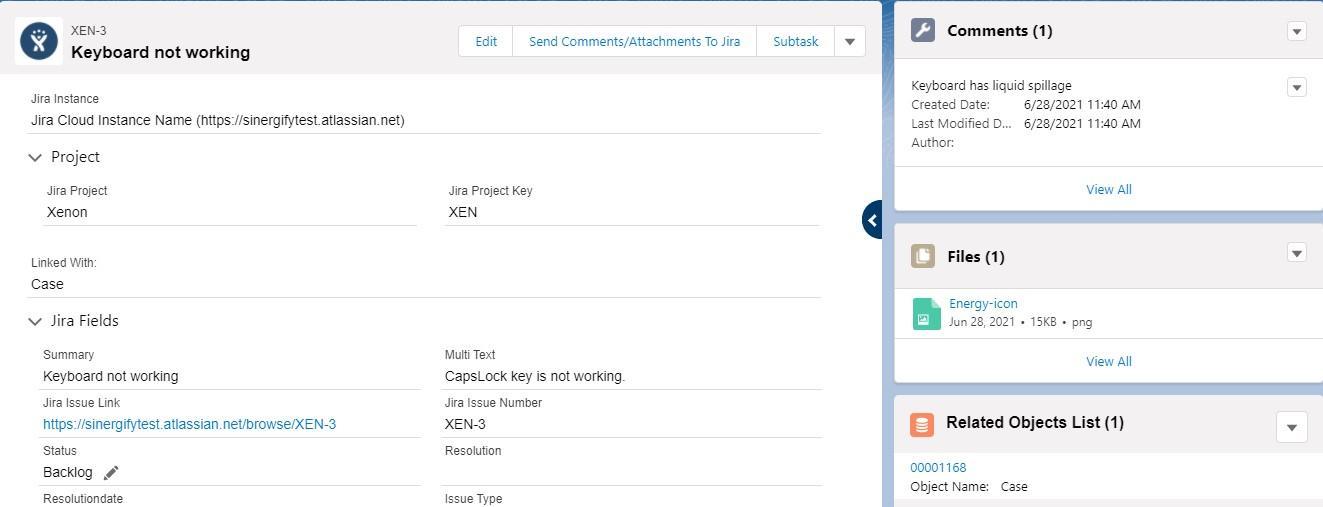
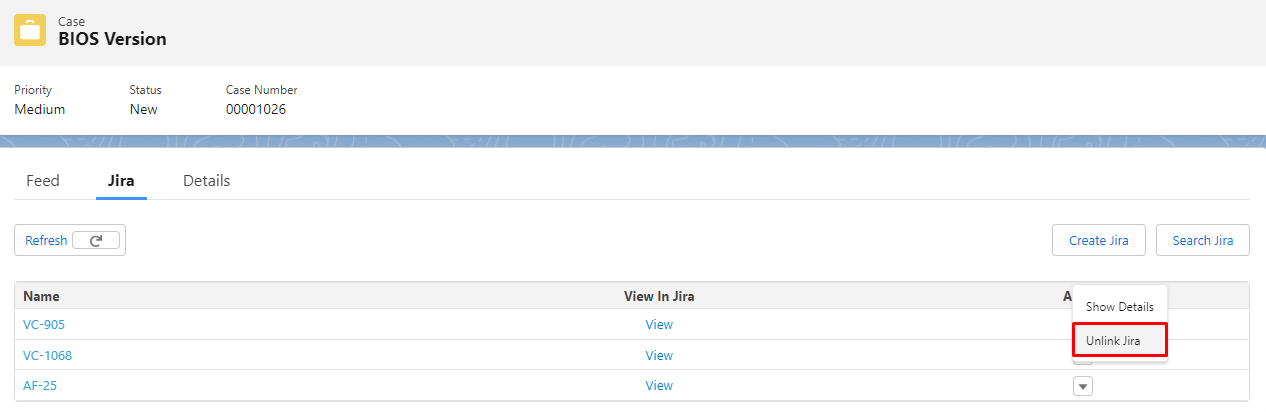
Step 4: Click on the Jira issue to view its details.
In order to Unlink a Jira, select ‘Unlink Jira’ (under the drop down menu).
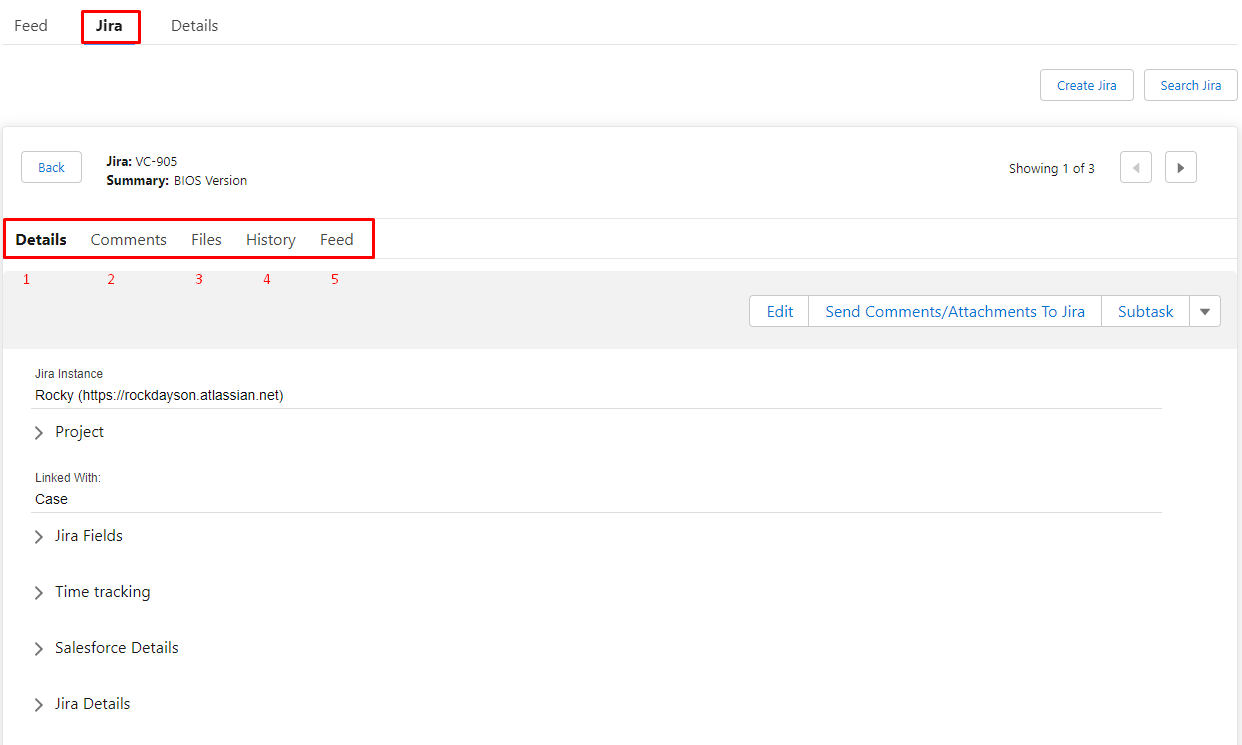
A tab containing the following subtabs will appear when you click on the Jira issue, See the Reference Screenshot:
-
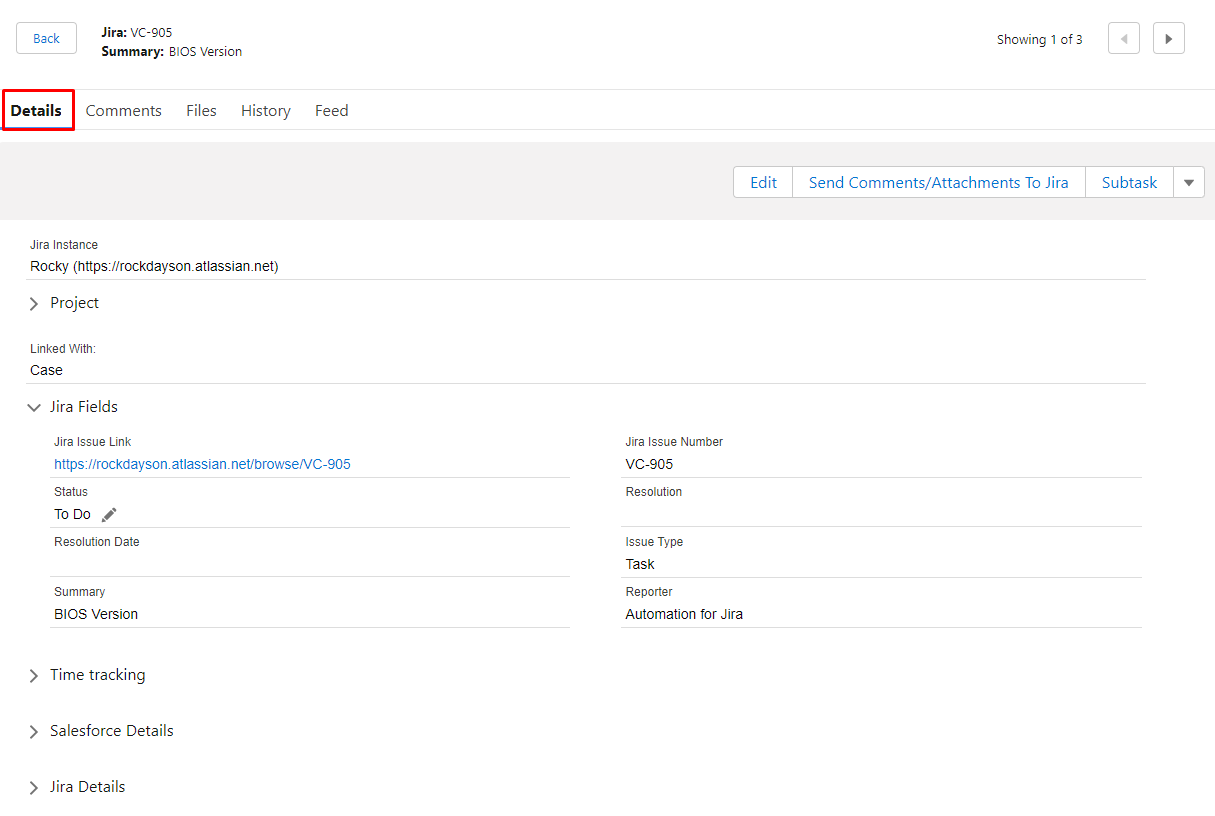
Details : The ability for users to see the details of the Jira issue . For eg. Users can see the details about ‘Jira fields’, ‘Project key’, ‘Summary’ etc.
-
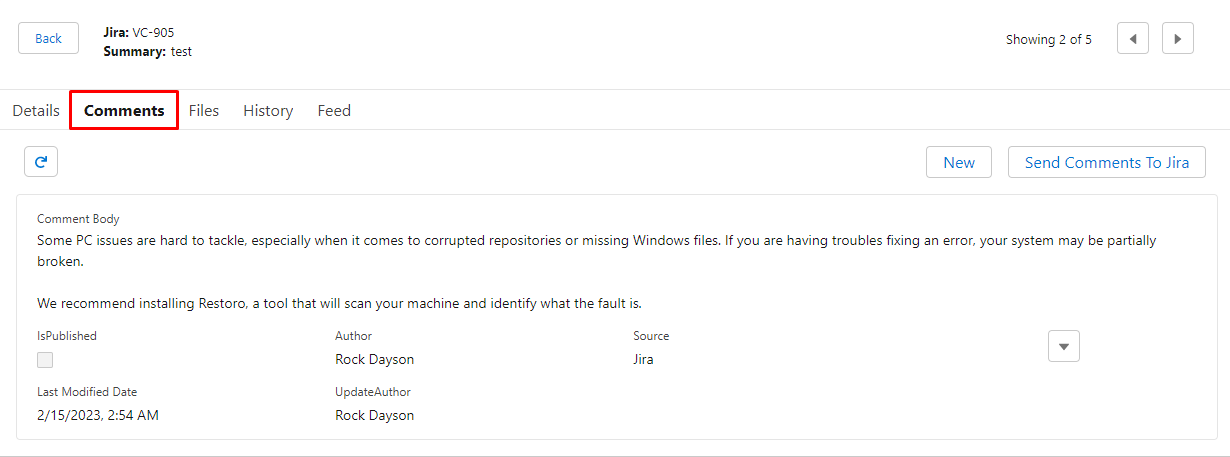
Comments : Comments sent to Jira issue will appear here.
-
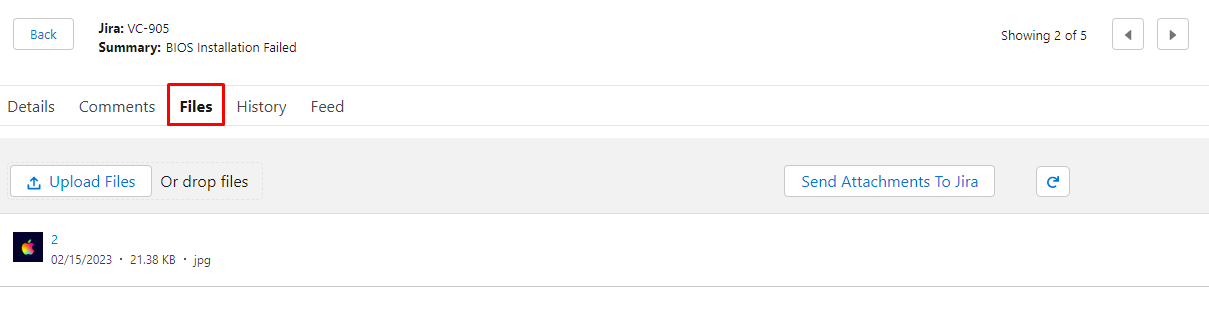
Files: All the Files that were sent to Jira issue will appear here. Using upload files users can sync the files to Jira.

-
History: Users can keep track of history data. For eg. When someone changes the Status and the Support team wants to know who did it, they can easily track it by using History tracking.
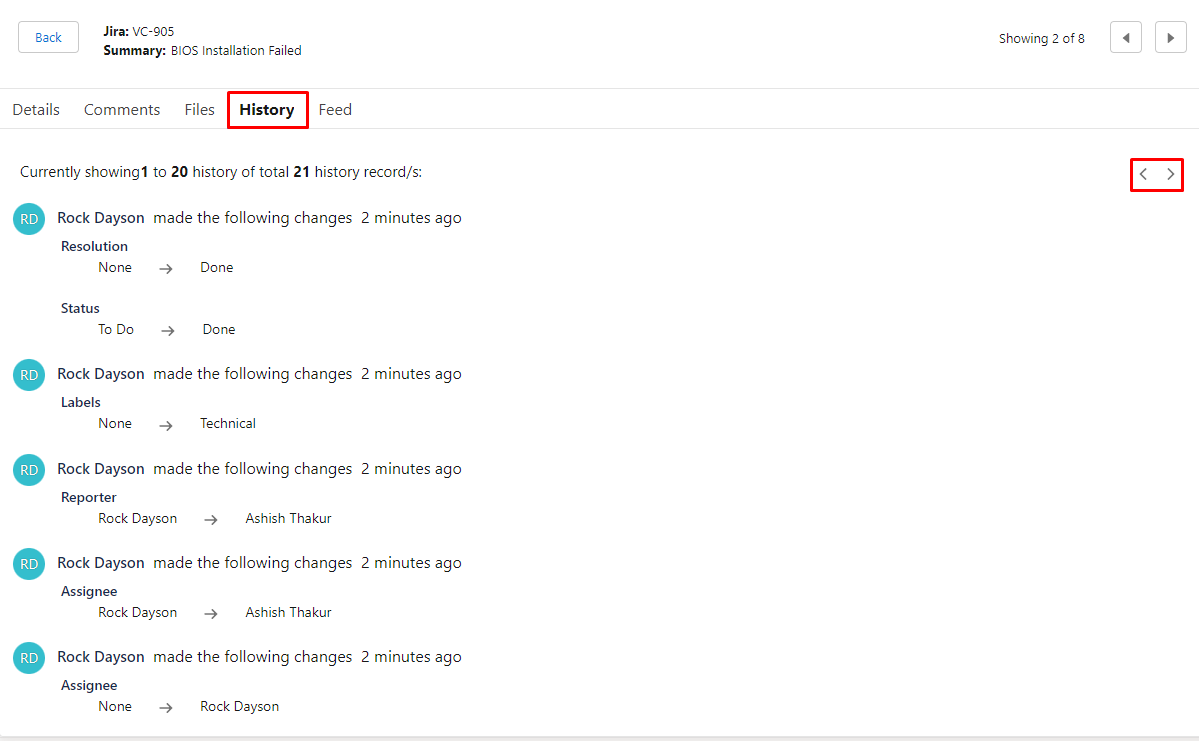

Note : The pagination buttons will be enabled automatically when the History exceeds 20
-
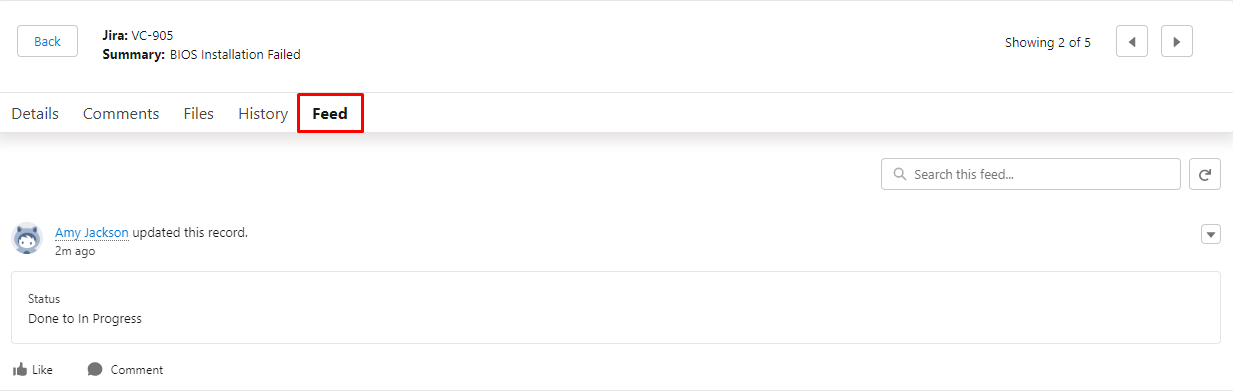
Feed : The feed is used to keep track of updates of the Jira Issue field except comments and attachments. Admin needs to enable the feed tracking checkbox in Salesforce and the Maximum of 20 fields can be selected. It is possible for users to select the specific custom fields they want to track. Feed tracking allows support teams to track the updates of selective fields, eg. who changed the Status when it was changed. See the Reference Screenshot:
You can repeat the same steps if you want to create and link another Jira for this Salesforce Record (Case).
Sending Comments/Attachment to Jira
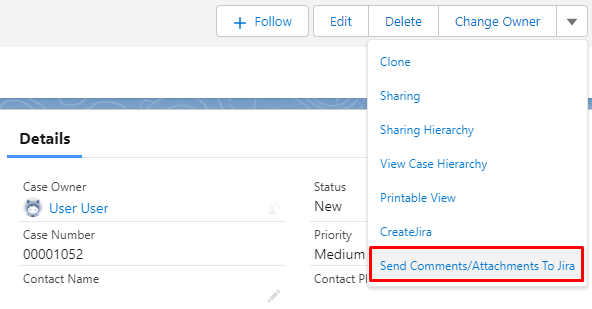
Use this feature in cases where you have already created a Jira and later you want to attach comments/attachments or chatter posts (Feed) to that Jira ticket. Follow the given steps to do so:
-
From the drop-down options, select ‘Send Comment/Attachments to Jira’ .

-
A new screen will appear from where you can select the Case comments, Chatter post, Files that you want to add to the respective Jira ticket.
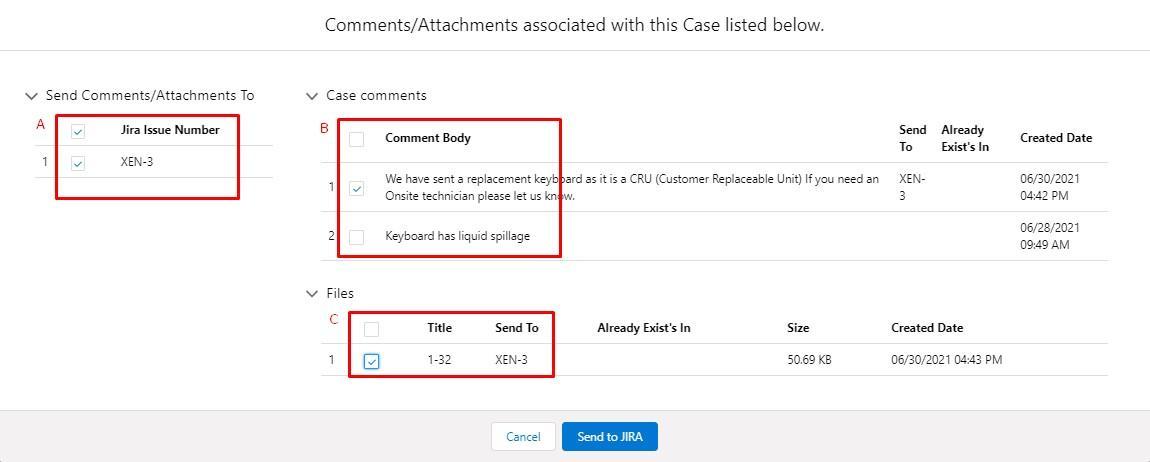
Check the boxes as needed.
-
Select the Jira Issue Number to which you want to send the comments/attachments (You will see multiple options if multiple Jiras are attached to a case).
-
Select comment(s) that you want to send to the selected Jira ticket.
-
Select attachment(s) that you want to send to the selected Jira ticket.
3. Once done, click Save and the comments & attachments will be sent to the selected Jira(s).


