Feedback
Create a Jira Button


Sinergify offers two ways for creating Jira tickets:
1. Using the ‘Create Jira’ button present on the object detail page.
2. Using the ‘Create Jira’ button present on the related Jira tab on the object detail page.
1. Creating Jira Ticket Using the ‘Create Jira’ Button from the Object Detail Page
To start with, a ‘Create Jira’ button needs to be created and added to the object layout.
Follow the given steps to create a ‘CreateJira’ LWC button on the object details page.
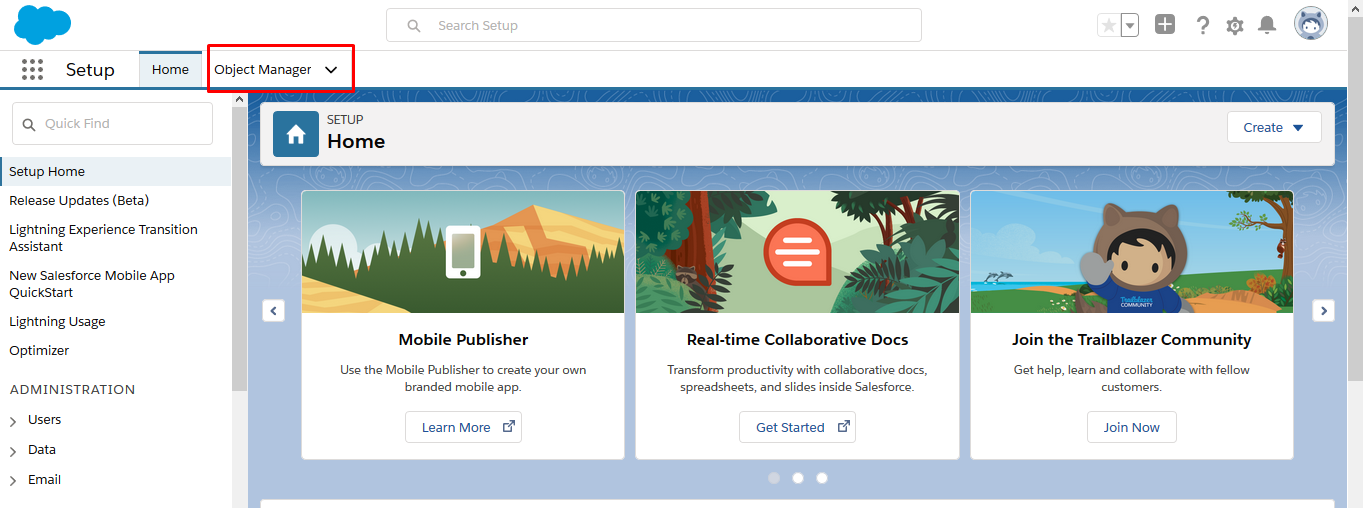
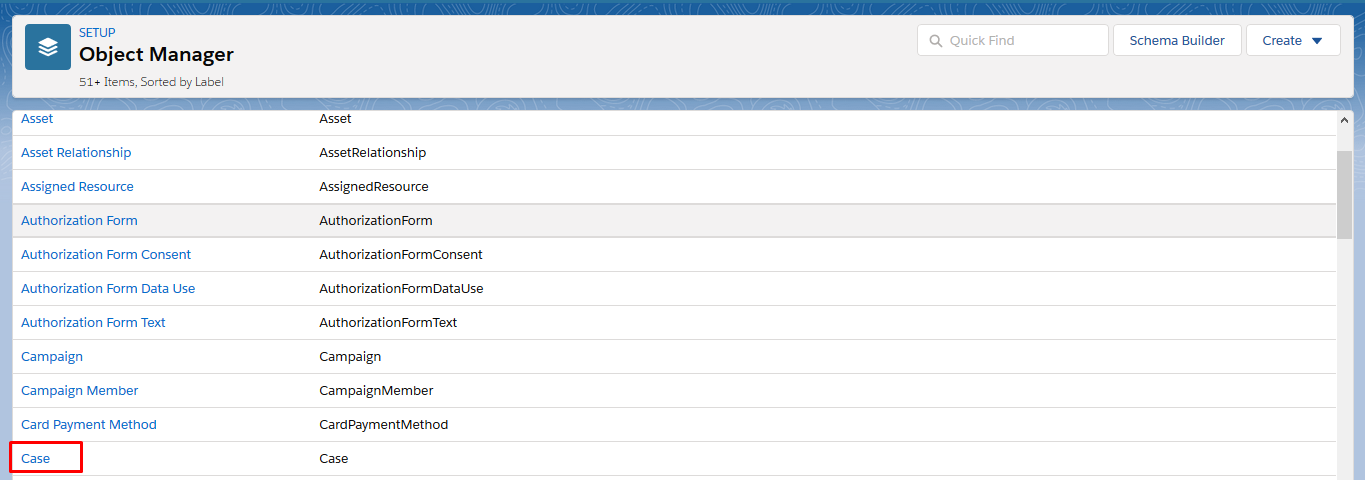
Step 1: From the Setup homepage, click Object Manager.
Step 2: Select and click the object for which you want to create a CreateJira button. For example, here we would be creating a button for the Case object.
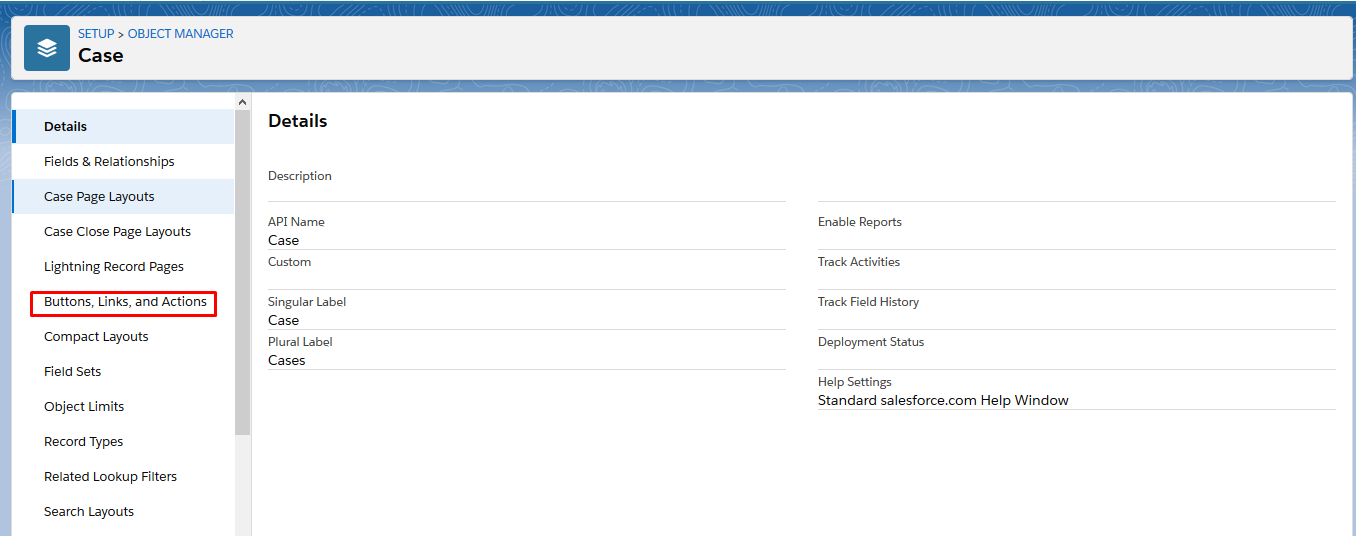
Step 3: From the list of menu sub-tab, click Buttons, Links, and Actions.
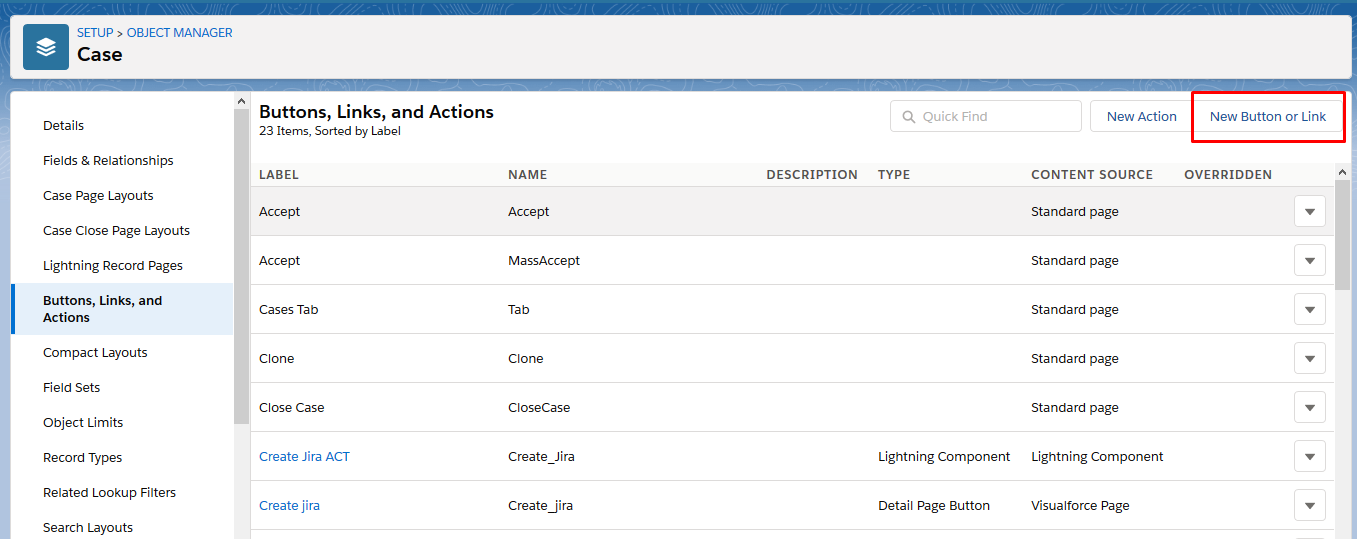
Step 4: From the extreme right on the top, click New Button or Link.
Step 5: Enter CreateJira in the Label field and the Name field will be auto-populated.
- Select Detail Page Button for Display Type.
- For Behavior, select Display in new window from the drop-down options.
- For Content Source, select URL from the drop-down options.
- Enter the following code in the highlighted field as in the screenshot below.
/lightning/r/{!Case.Id}/view?Grz_Sf__ws=createjira{!MILLISECOND(TIMENOW())}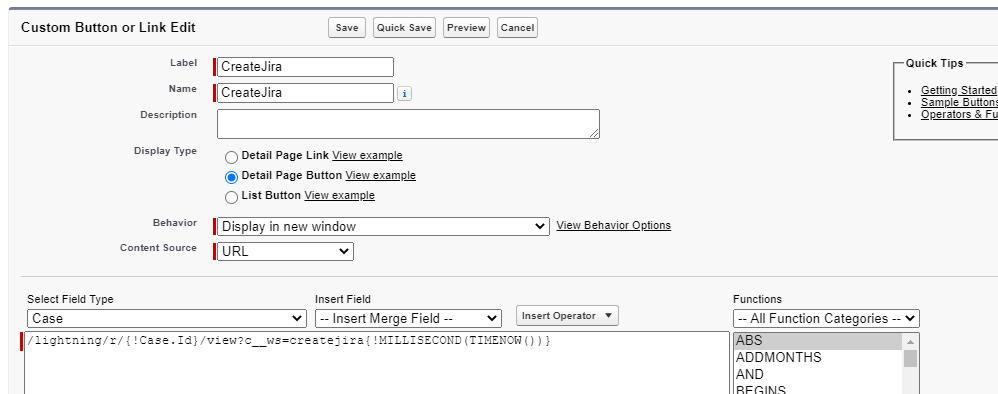
Make sure the field details look like in the above screenshot.
Step 6: Click Save.
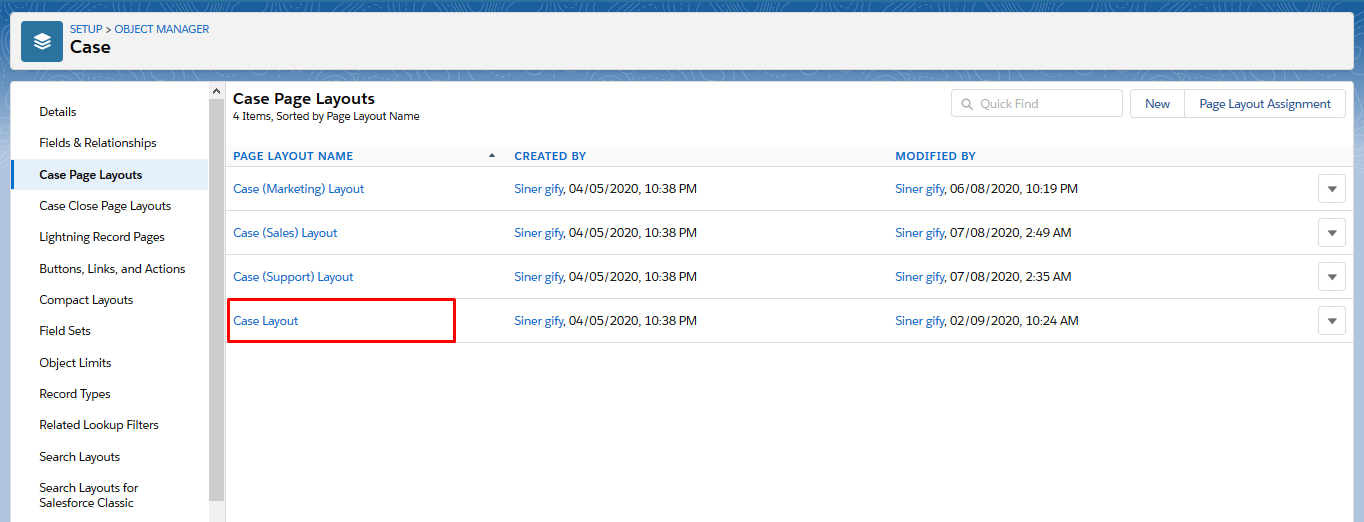
Step 7: Click Case Page Layout from the menu sub-tab.

Step 8: Click Case Layout.
Step 9: Click Mobile & Lightning Actions from the Palette.
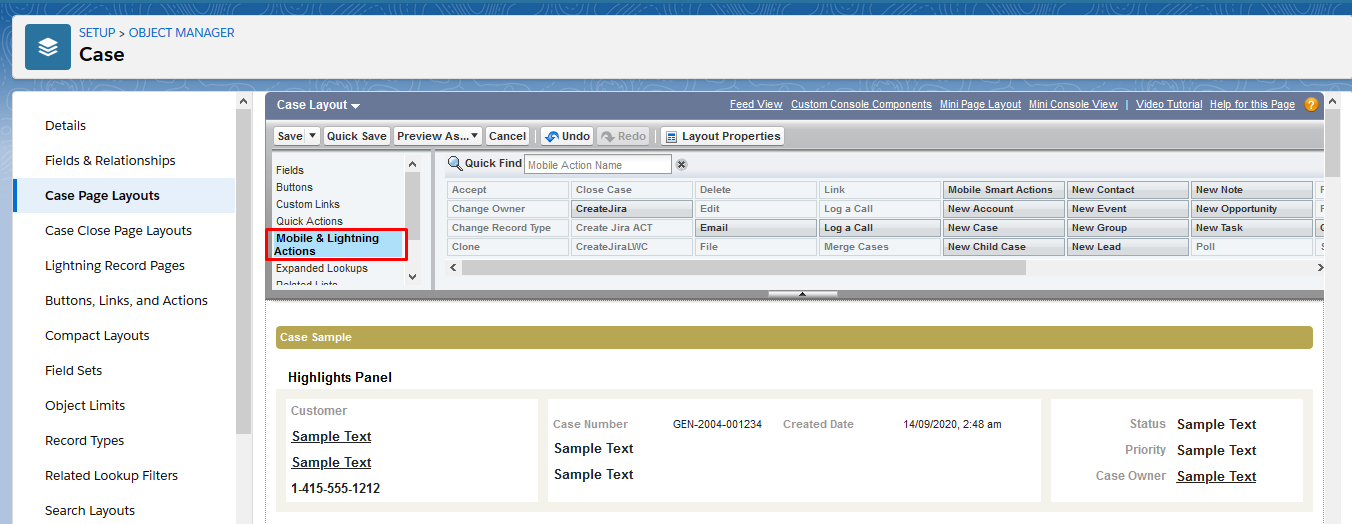
Select CreateJira and drag it to the Salesforce Mobile and Lightning Experience Actions section and drop it there.
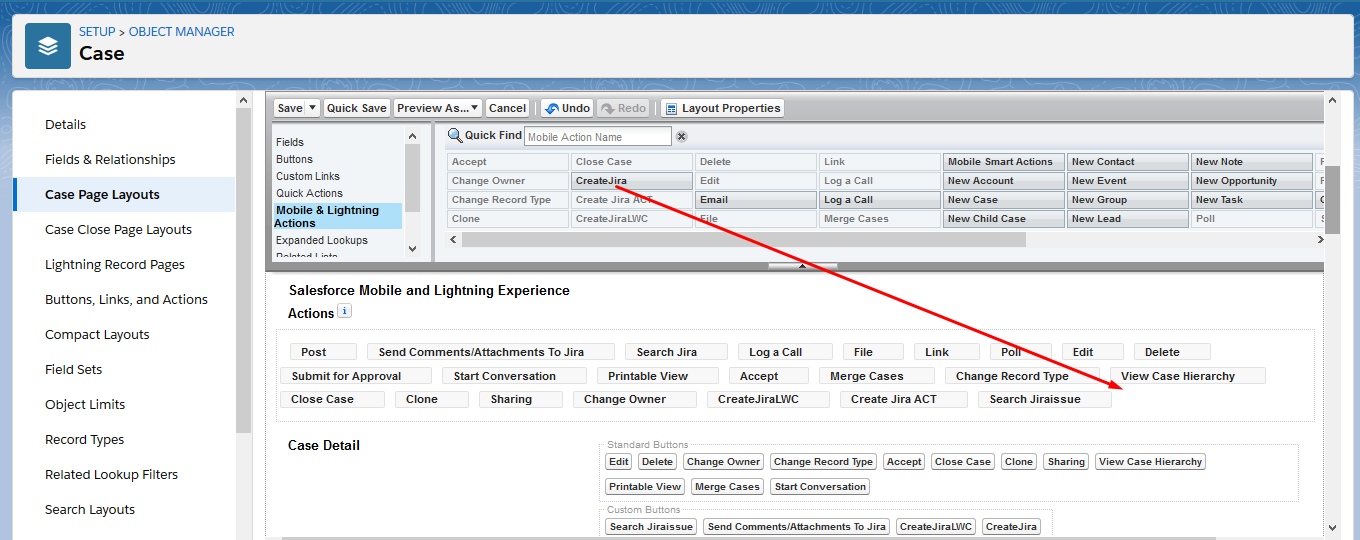
Step 9: Click Save.
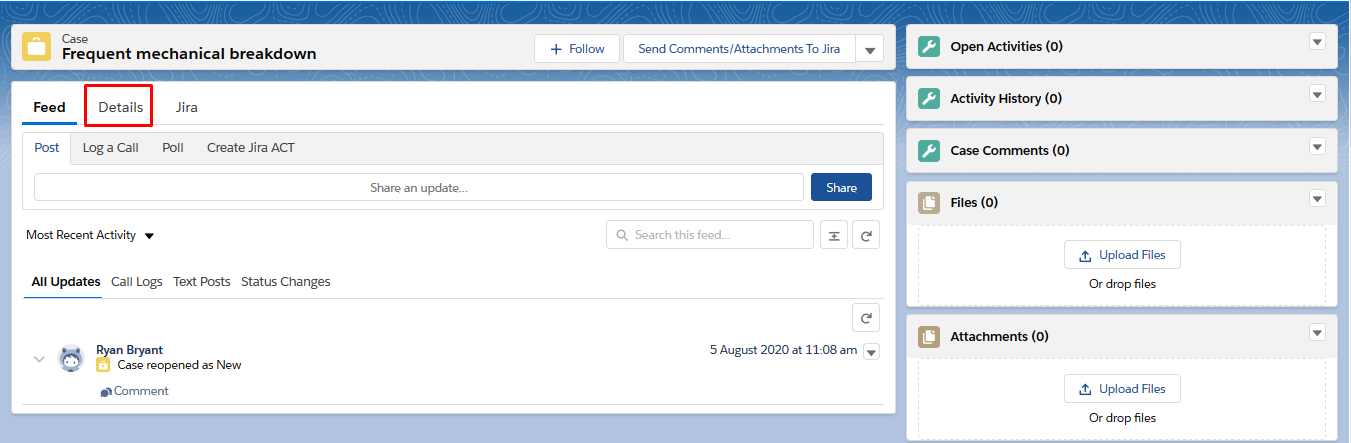
Step 10: Now, visit the Cases page and click on any case.
Click on the Details tab on the case detail page.
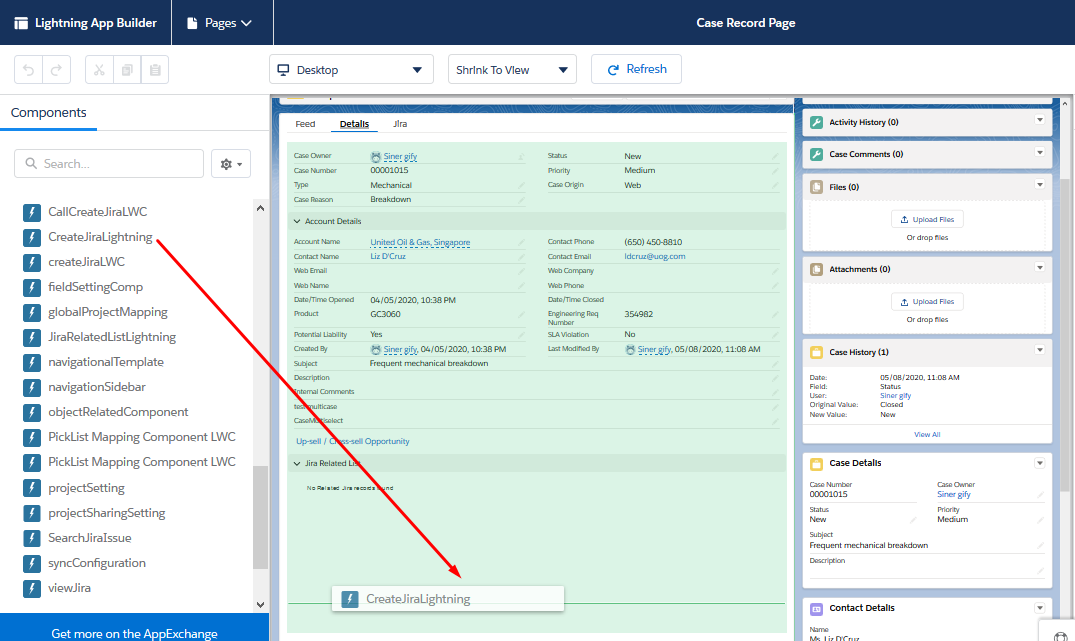
Step 11: From the Setup tab, click Edit Page.
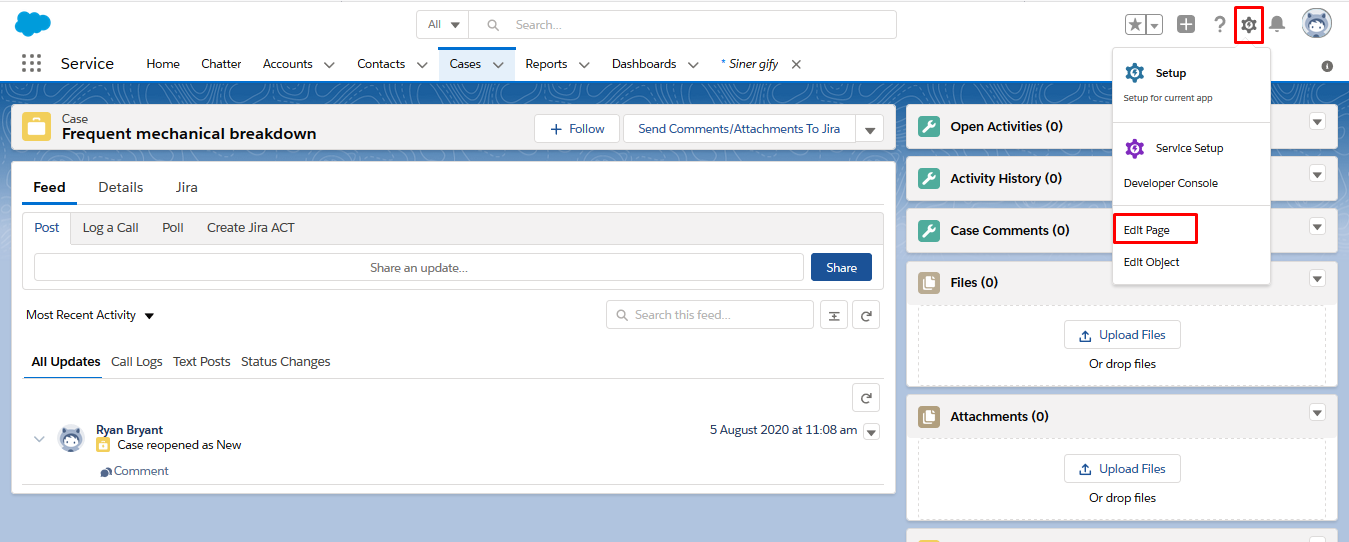
Step 12: Scroll down on the left and drag CreateJiraLighting to the bottom of the Details tab.
The component will be hidden until the create Jira button is clicked.
Step13: Click Save and then Back.
The CreateJira button is now available on the case details page.
Creating a Jira Issue:
Follow the given steps to create a Jira ticket:
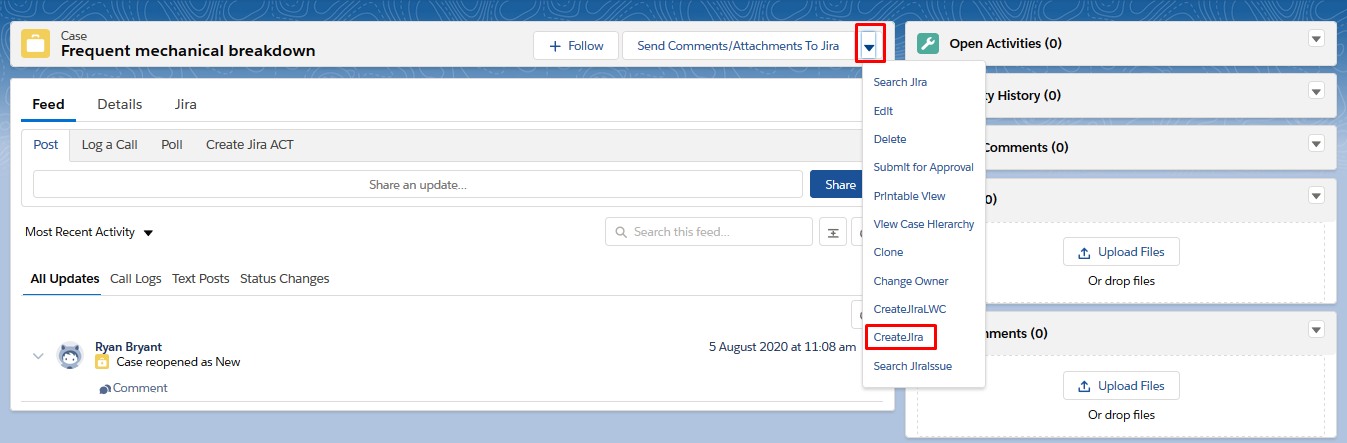
Step 1: From the drop-down options, click CreateJira.

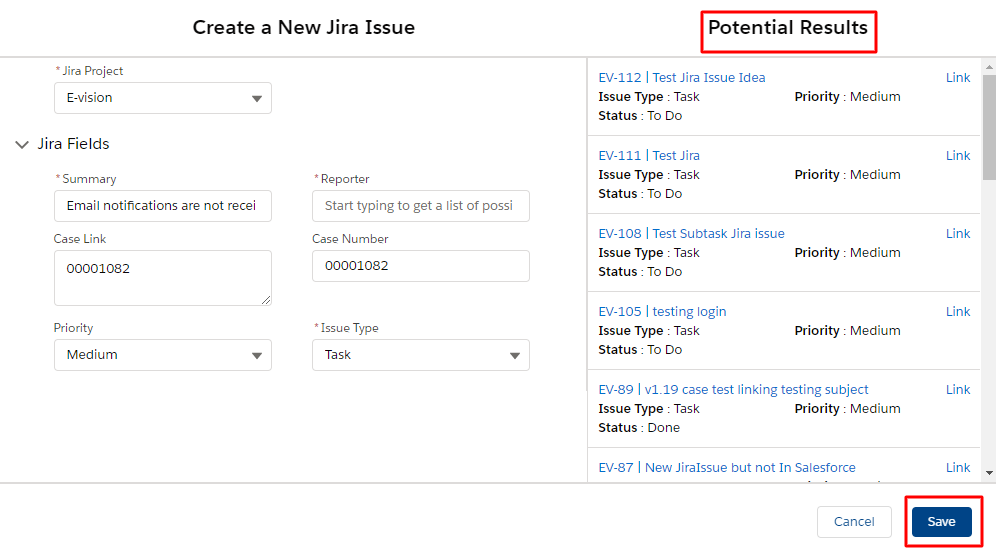
Step 2: A new screen, displaying potential Jira issue results, will pop up based on the default project and selected issue type. Fill in the details and click Save. You can also view and link the jira results with the SF record.

2. Creating Jira Tickets Using the ‘Create Jira’ Button on the Related Jira tab on the Object Detail Page
To set up a ‘Related List’, refer to this document.
Follow the given steps to create a Jira ticket from the related list:
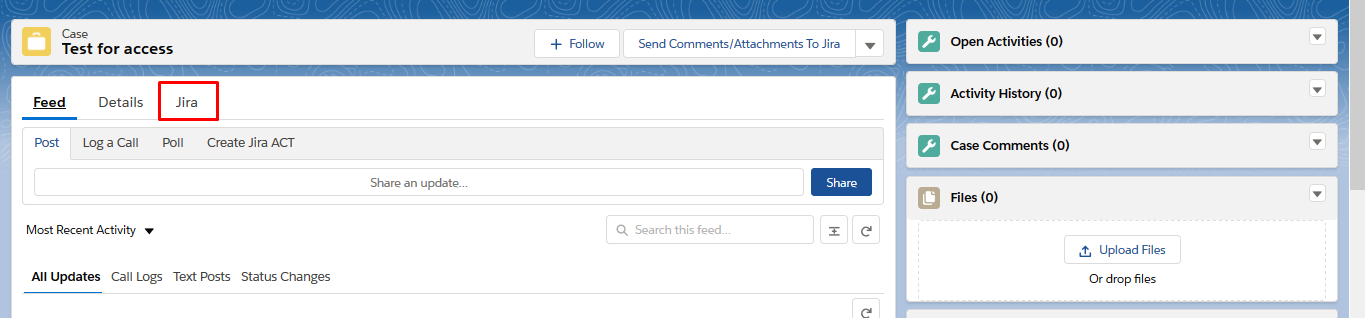
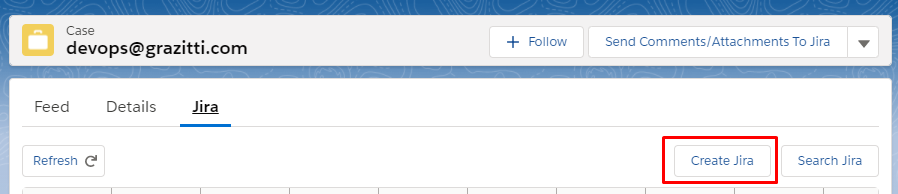
Step 1: On clicking the related Jira tab, a list of linked Jira issues will open up. Click Create Jira.
Step 2: A new screen displaying potential Jira tickets results will pop up based on the default project and selected issue type. Fill in the details and click Save.
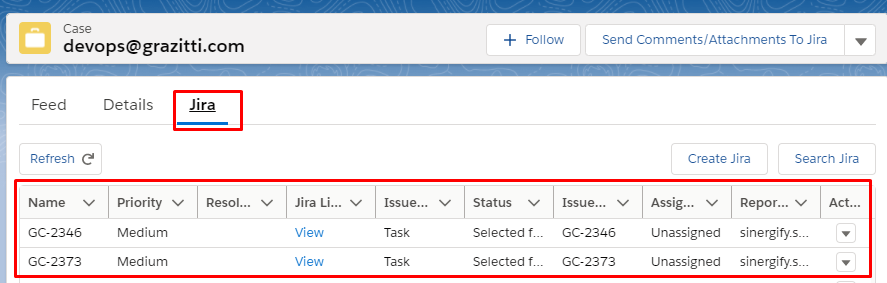
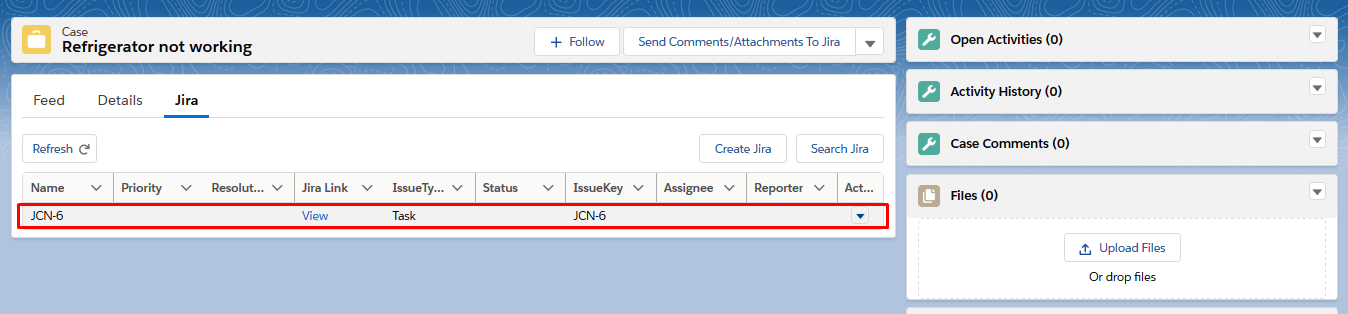
The Jira issue is created. You can also view the Jira details under the Jira tab.
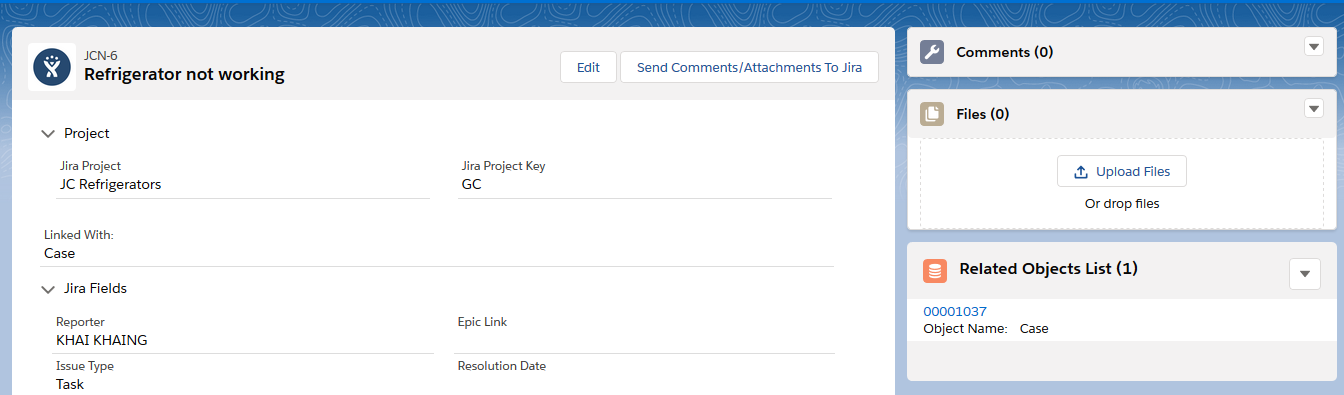
3. Viewing Jira Details
Follow the given steps to see the details of a Jira issue in Salesforce.
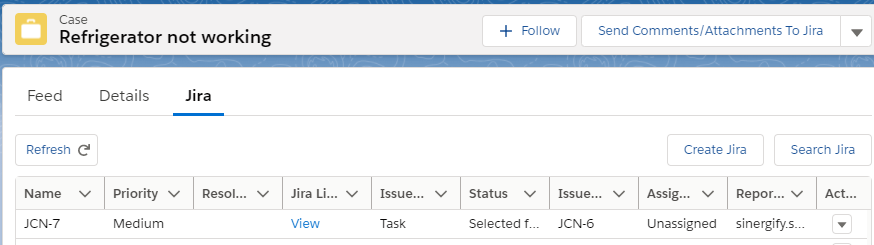
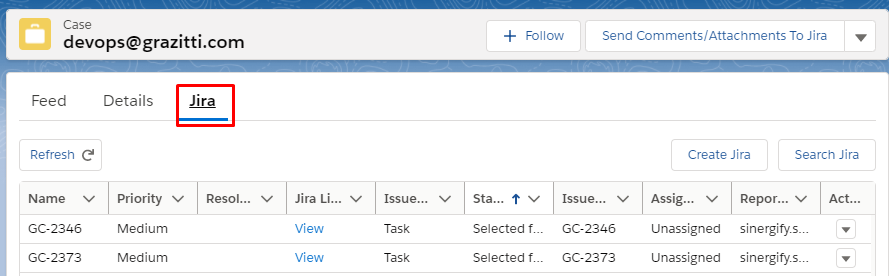
Step 1: You can see the linked Jira issues under the Jira tab of the case details page.
Step 2: Click on the button under the Action as highlighted in the screenshot below.
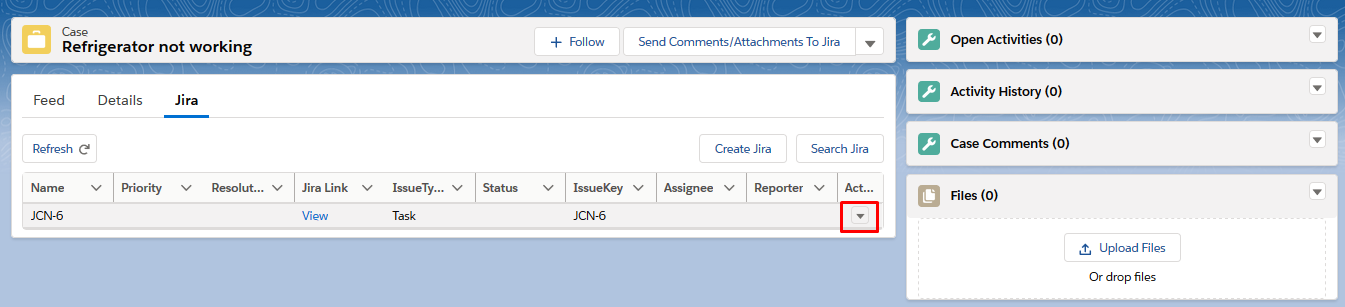
Step 3: Click Show Details. A new window will open with details of the Jira issue.
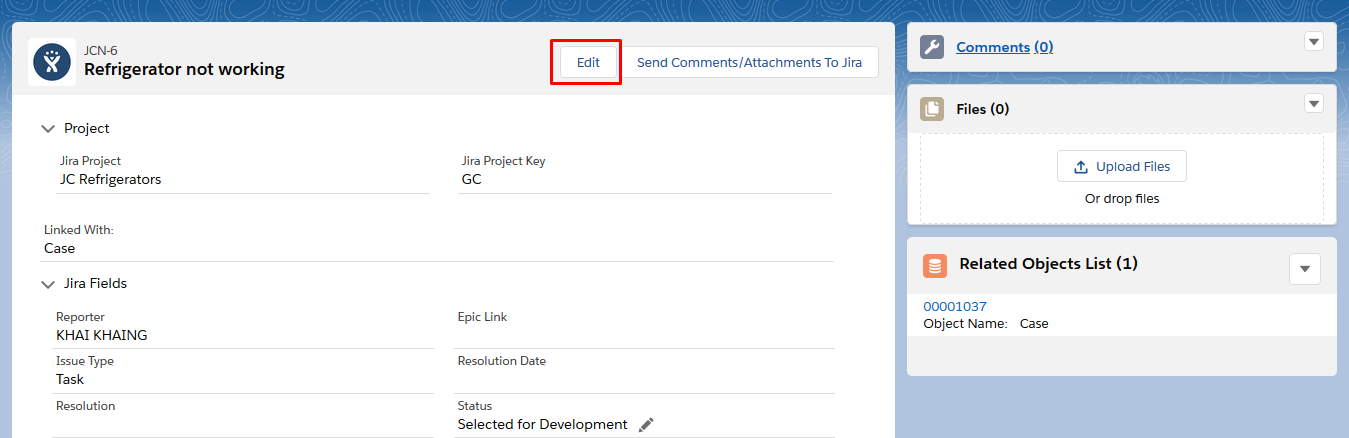
4. Editing a Jira Issue
Step 1: Open the Salesforce record page and navigate to the Jira tab. Click Edit.
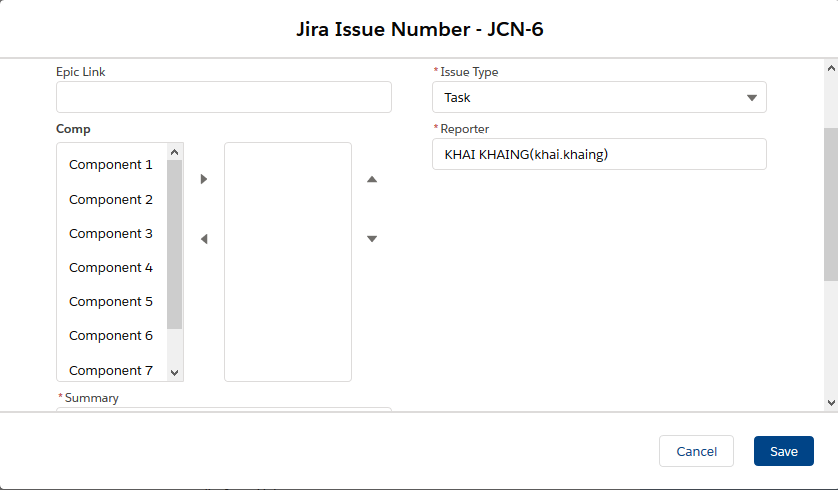
Step 2: A pop-up screen will appear. Edit the details and click Save.
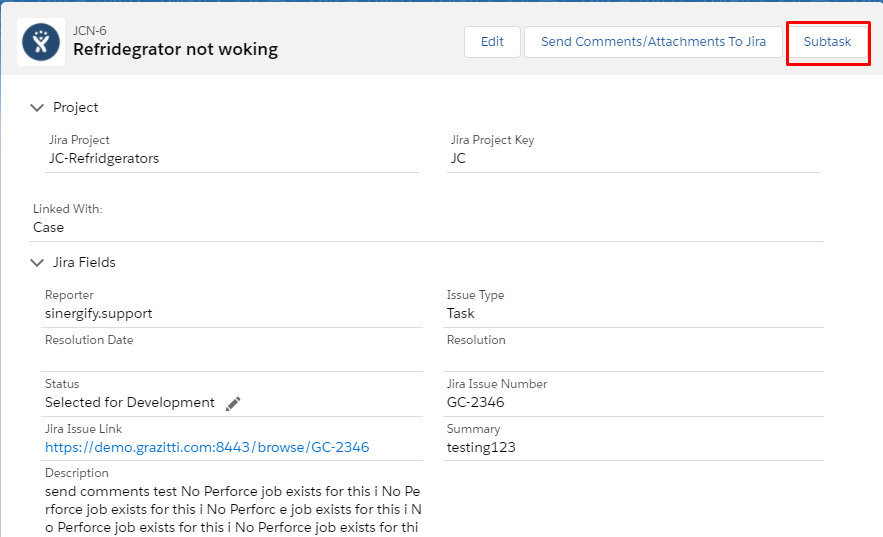
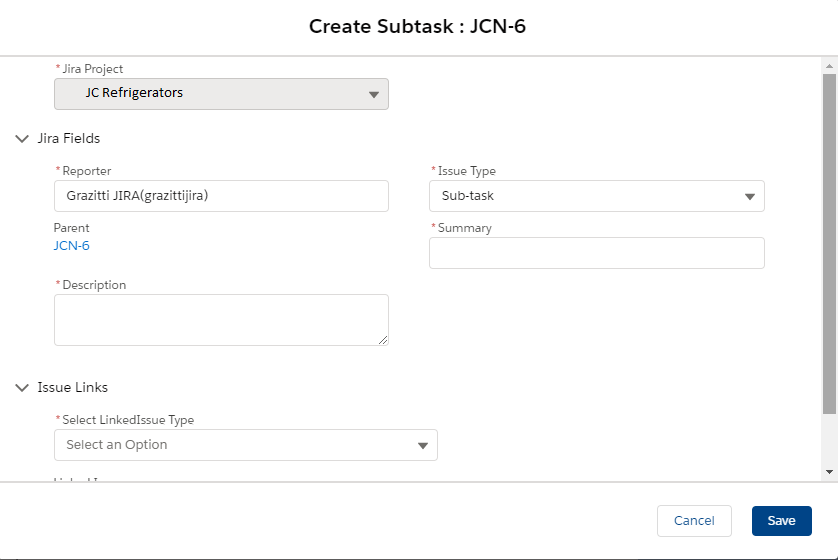
5. Creating a Jira Subtask
In case the users want to create a Jira subtask under the main Jira ticket, Sinergify offers a Subtask feature. The subtask once created reflects under the related list tab of the object.
Follow the given steps to create a subtask:
Step 1: From the Jira details page, click Subtask.
Step 2: A pop-up screen will appear. Enter the required details and click Save.
You can view the subtask in the list of Jira issues as in the screenshot below.