
 Feedback
Project Mapping
Published Date: 17-03-2026
Read Time:
This helps users to map the Jira fields for every Jira Project separately (one by one). Let’s take you through how.
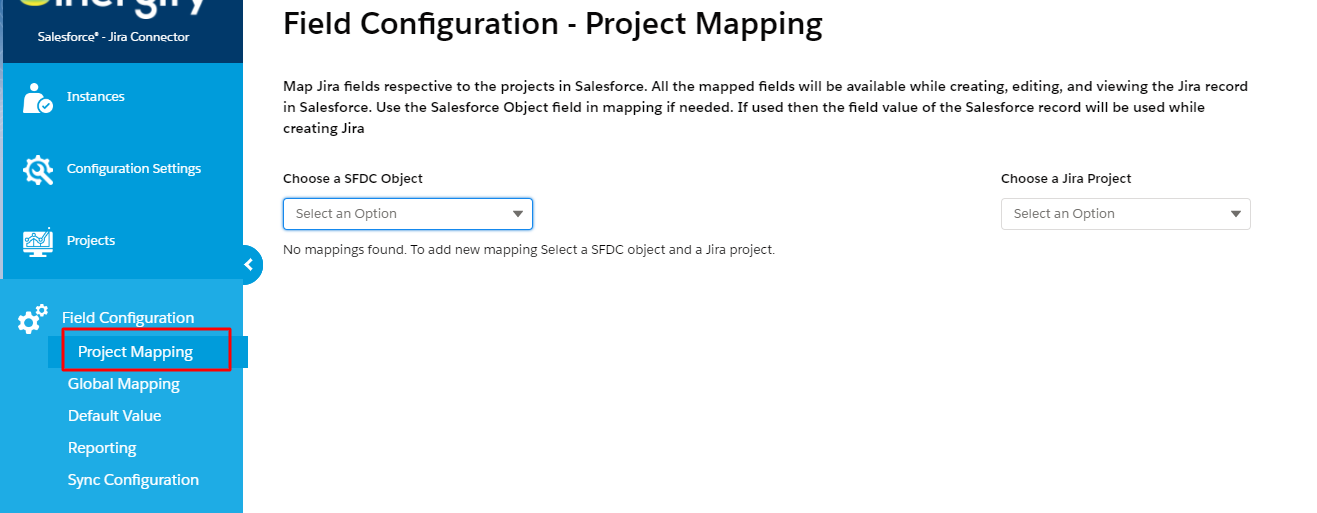
Step 1:From ‘Admin Settings’, click ‘Fields Configuration’ and subsequently click ‘Project Mapping’.
Step 2: Select a Salesforce object from the list including all standard and custom objects.

Step 3: Select a Jira Project from the dropdown list.

Step 4: Based on the selected Jira project, a list of mandatory Jira fields will appear. You can edit the labels of the Jira fields. Only the names used in the labels for Jira fields will appear on the Jira Creation Page in Salesforce.
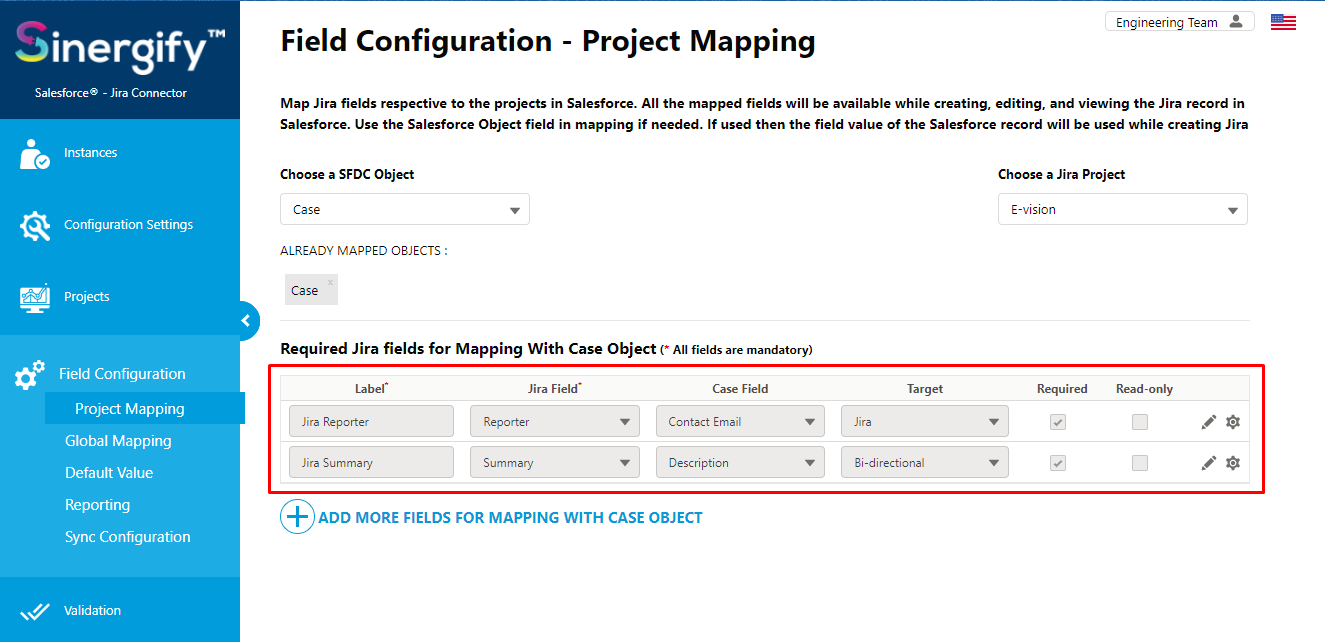
Step 5: You can also map the Jira fields with the Object fields (optional). In case a Jira field is mapped with an object field, then the Jira field will be prepopulated with the value of the object field while creating a Jira ticket.
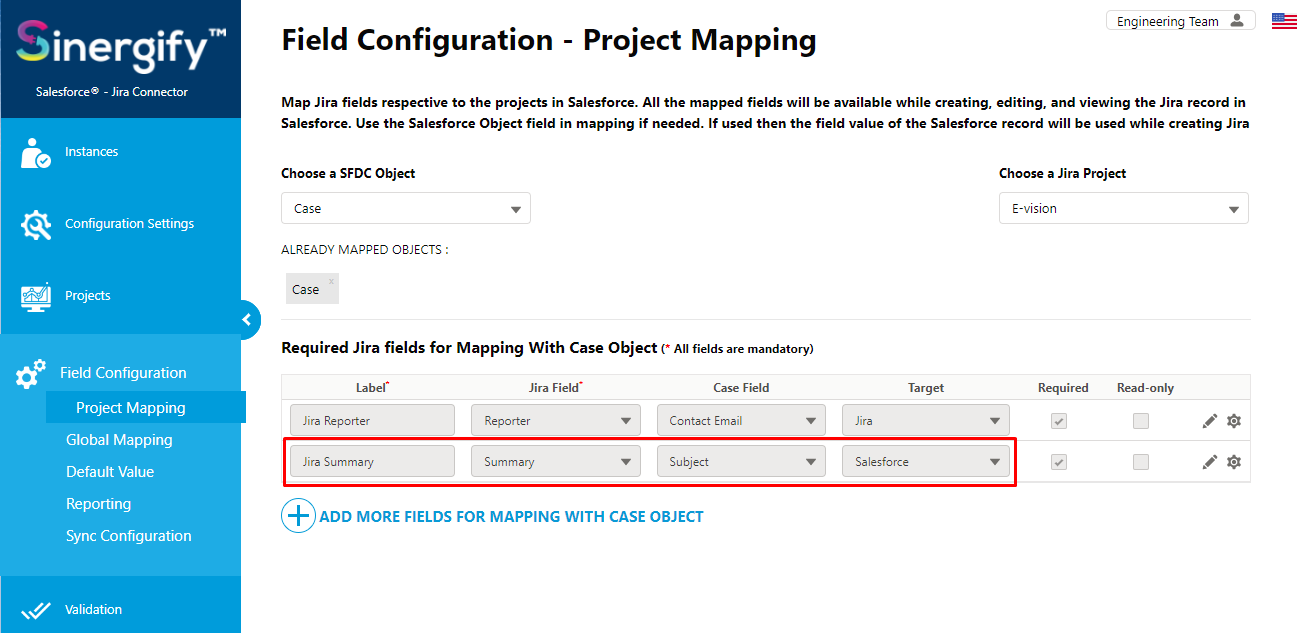
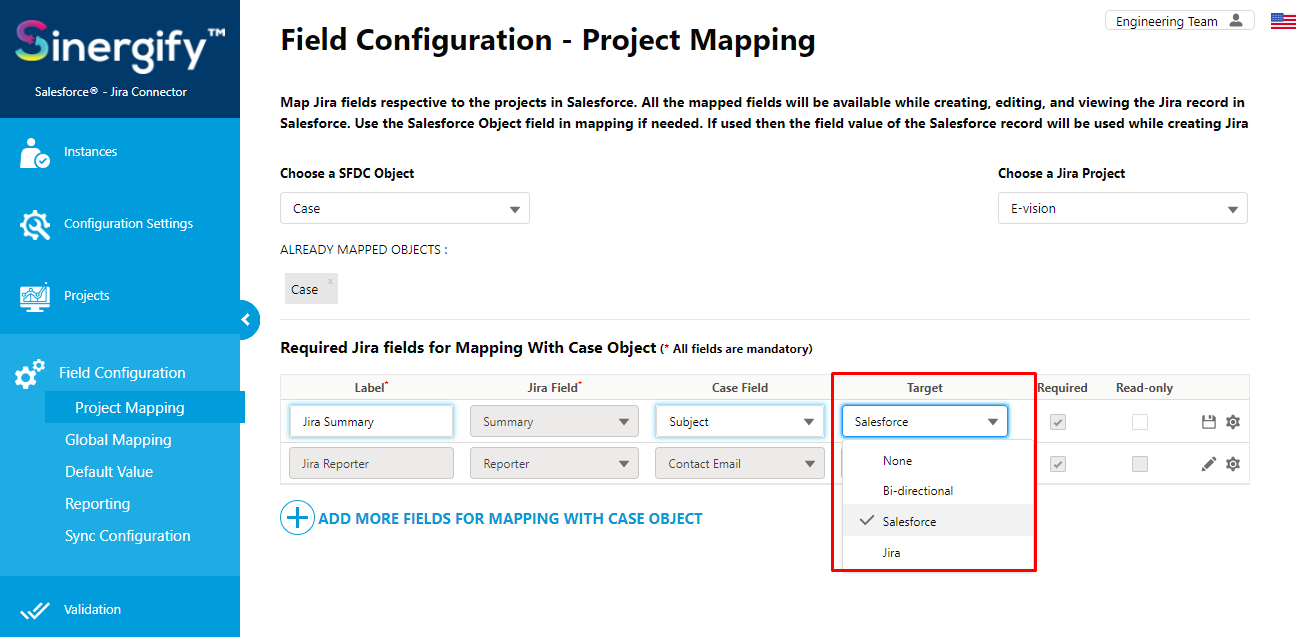
Step 6: Target - It enables you to sync updates directly from cases to Jira tickets and vice versa. Users have to decide the type of syncing; i) Bi-Directional ii) Salesforce iii) Jira. If none is selected, the basic syncing between Salesforce and Jira will always be there.
- Bi-Directional: If selected as default, then any update done on Salesforce case fields will be synced to Jira ticket fields and Vice versa
- Prefer Salesforce: If selected as default, any change/update in Jira ticket fields will be synced to the Salesforce case fields.
- Prefer Jira: If selected, then any change/update in Salesforce case fields will be synced to the related Jira ticket fields.
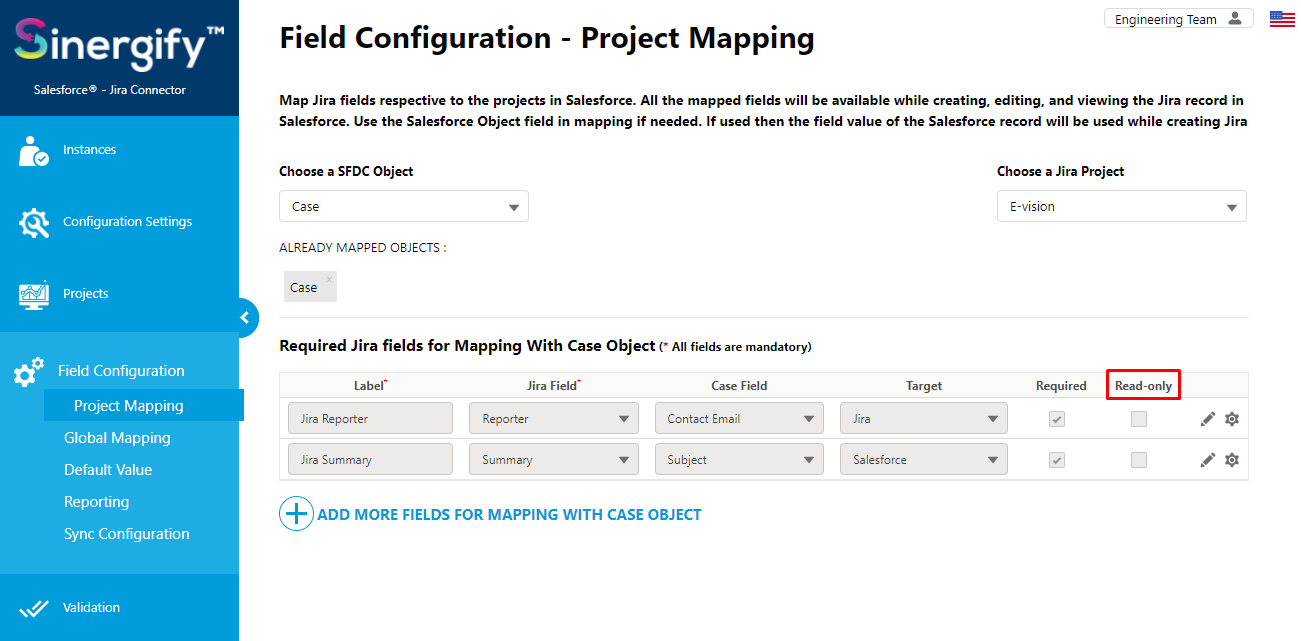
Step 7: Read-only - Fields for which read-only is enabled cannot be edited in the Salesforce. Users can only view these fields.
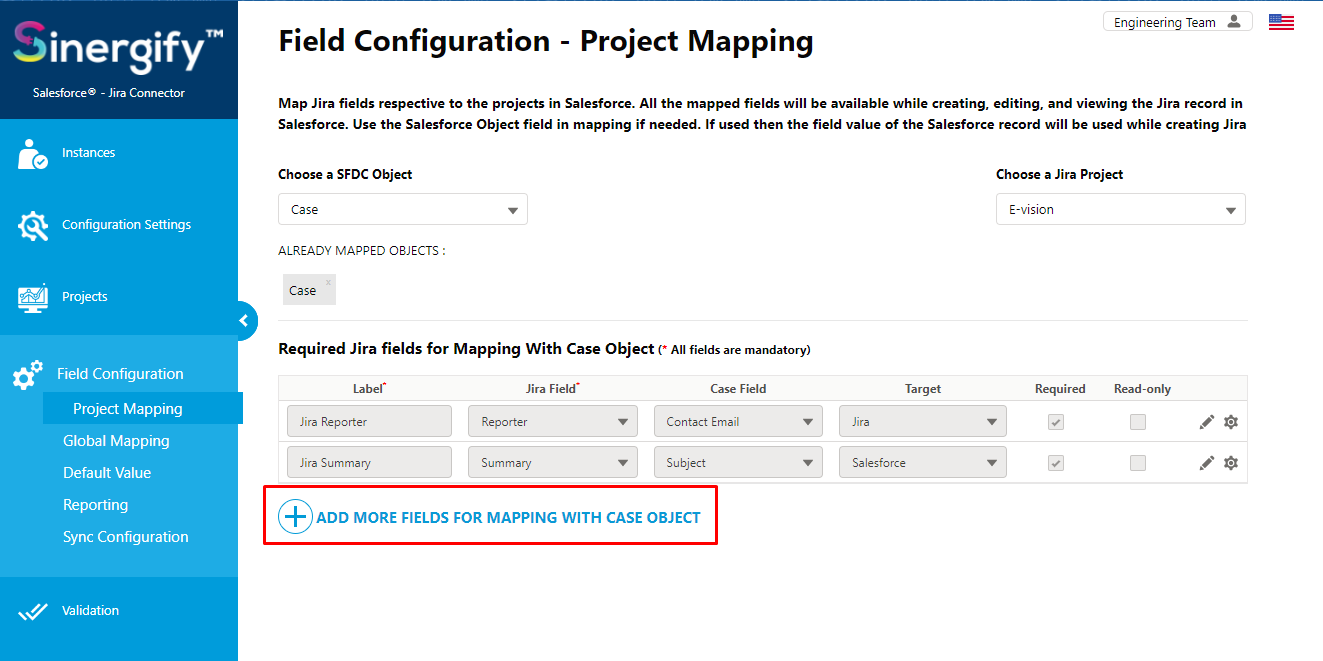
Step 8: You can map additional Jira fields available in a selected Jira project and also have the option to mark the fields mandatory/required by checking the ‘Required’ box on the fields. The marked fields would require a value while creating a Jira ticket from Salesforce.
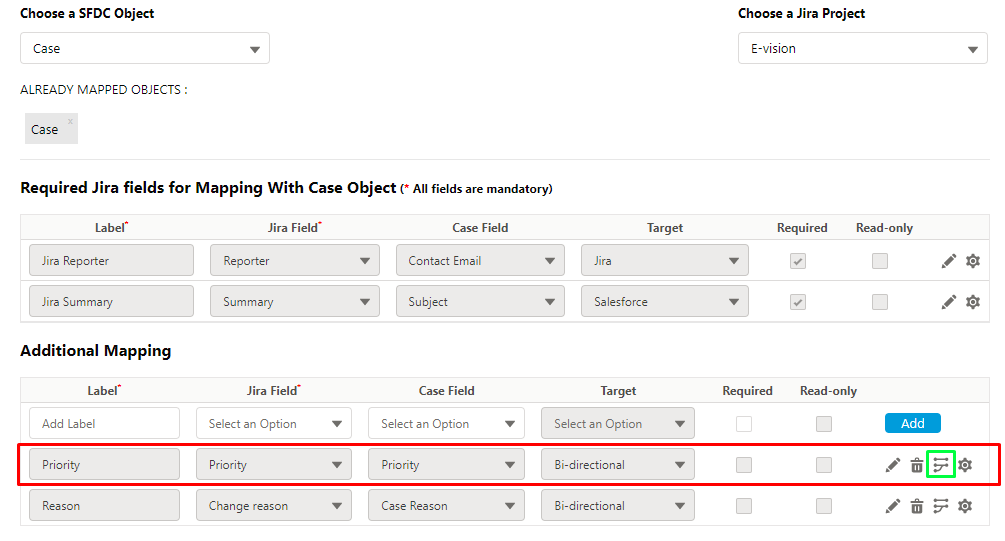
Step 9: You can also decide the mapping of picklist values between Jira and Salesforce, which is applicable only for picklist type fields. To do this, click the option boxed in green as shown in the screenshot below.
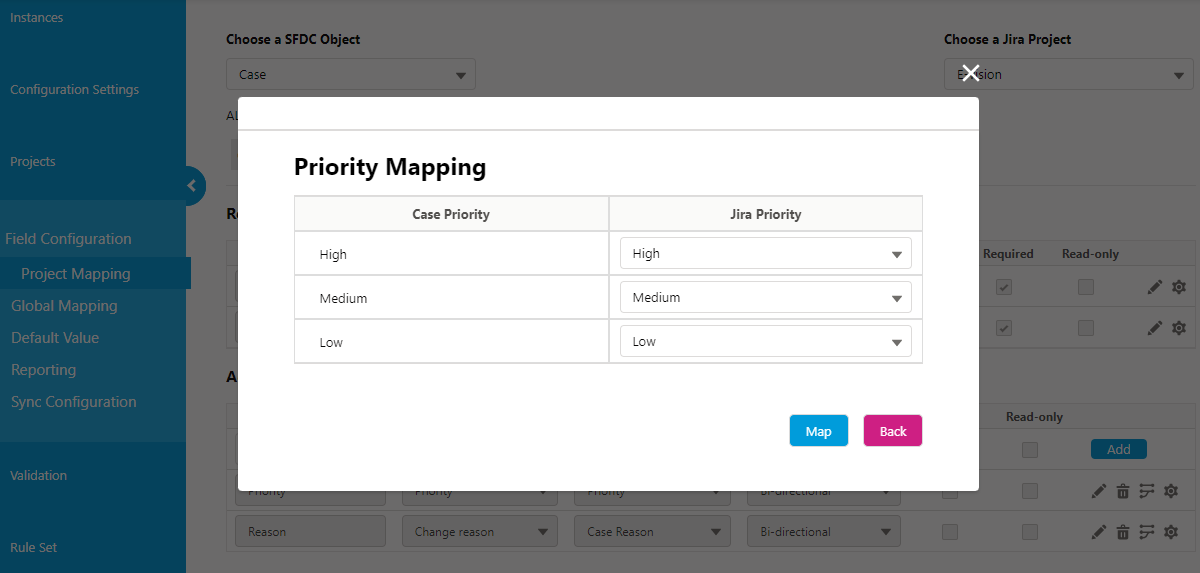
Step 10: You can decide which Jira value should get selected on a particular Salesforce field value selection.
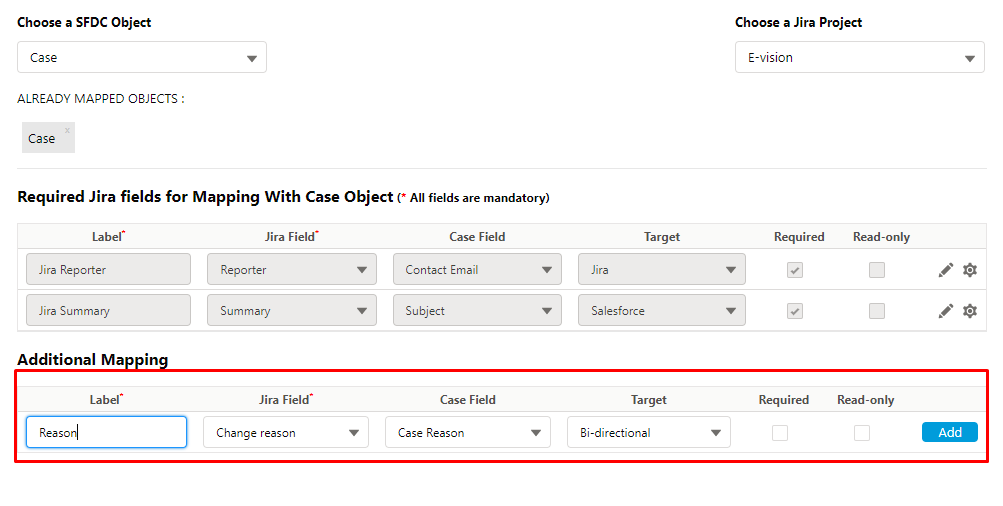
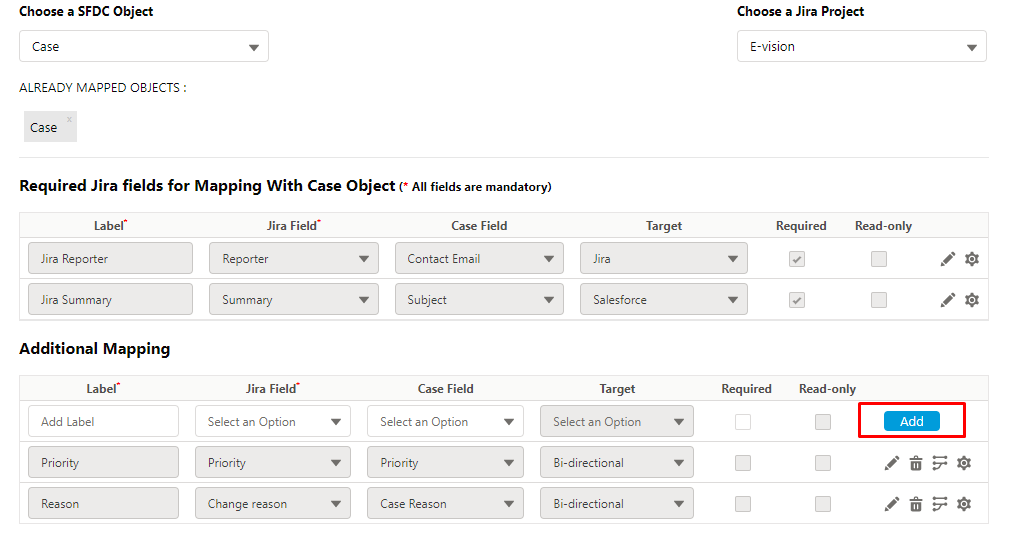
Step 11: To add a new mapping for a Jira field, click on the ‘Add’ button by giving a unique label to the mapping.
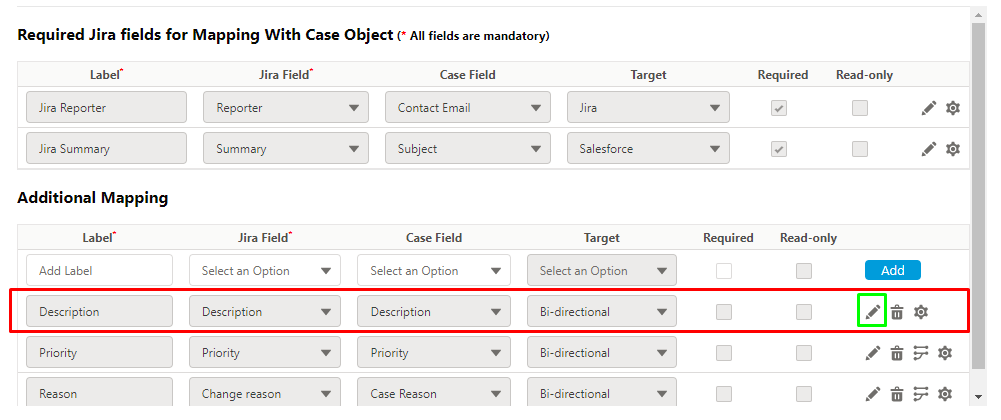
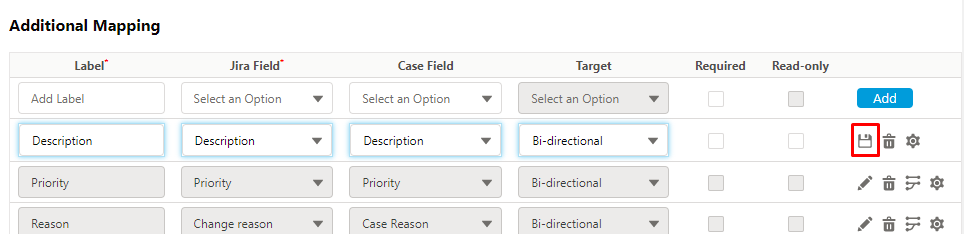
Step 12: You can update the basic details of mapping through the inline edit button and change the label. Or choose another Salesforce field to map with the Jira field. Click on the inline save button.
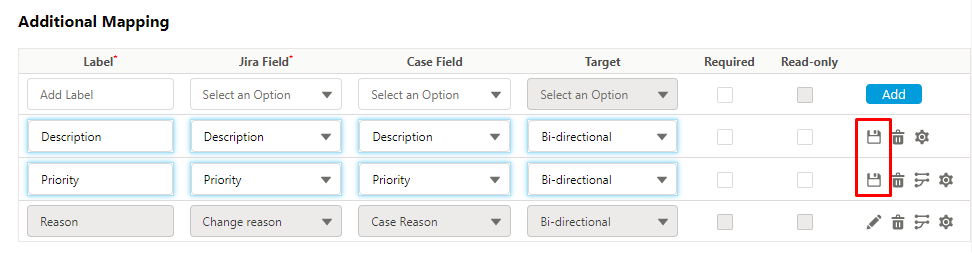
Step 13: Users can also use the common save button to save multiple edited mapped fields.
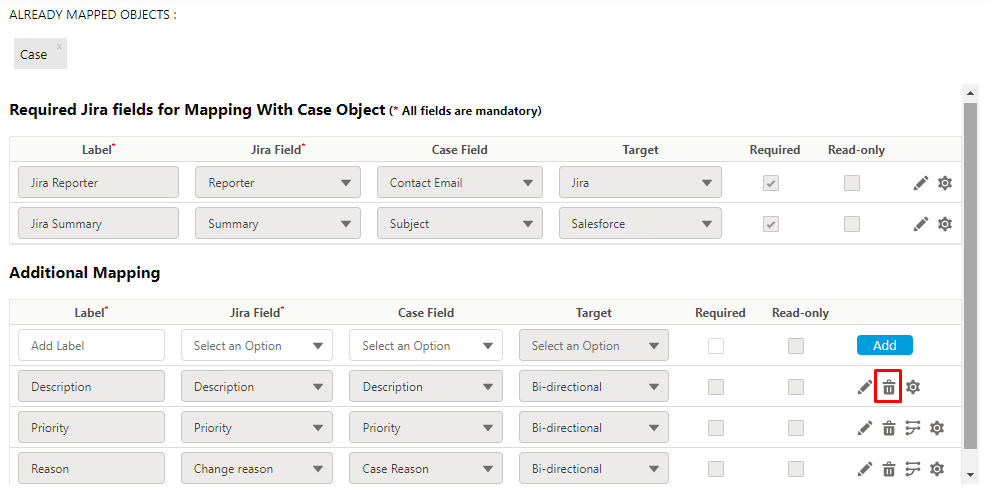
Step 14:To delete a mapping for any Jira project, use the inline delete button. It is not allowed to delete any field from the required field section.
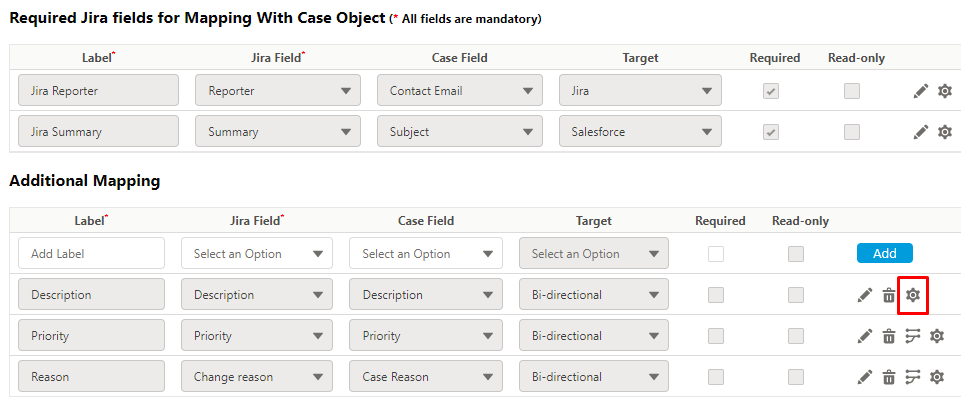
Step 15: Click on gear icon, to unlock further settings for respective fields.
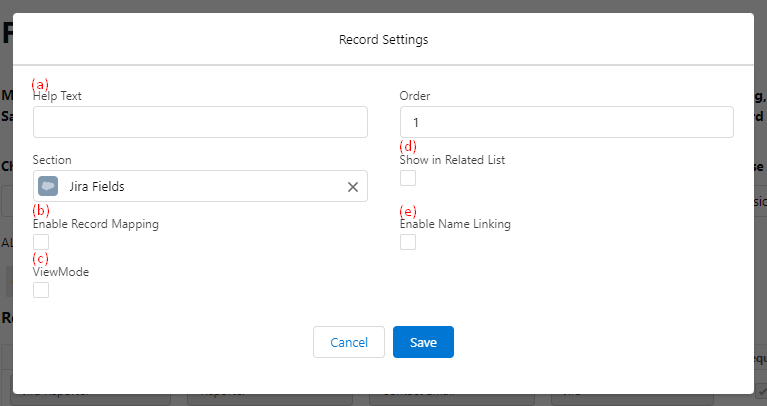
Using record settings,
- Help Text: Type in a small description for the respective field to help end users better understand what this field is about. For more details refer to the document.
- Record Mapping: It is used to send the Salsforce Record links to Jira so that users can view the Salesforce details from Jira. For more details refer to the related document.
- View Mode: If this option is enabled, then the respective field will not be visible to the agents at the time of creating a Jira ticket. Once a Jira ticket is created, that field can be viewed on the detail page of the Jira issue.
- Show in Related List: If this option is enabled, then the respective field will be visible under the Related List.
- Name Linking: It is used to create relationships inside Salesforce from Jira. For more details refer to the related document.


