
 Feedback
Status Transition
Published Date: 09-07-2026
Read Time:
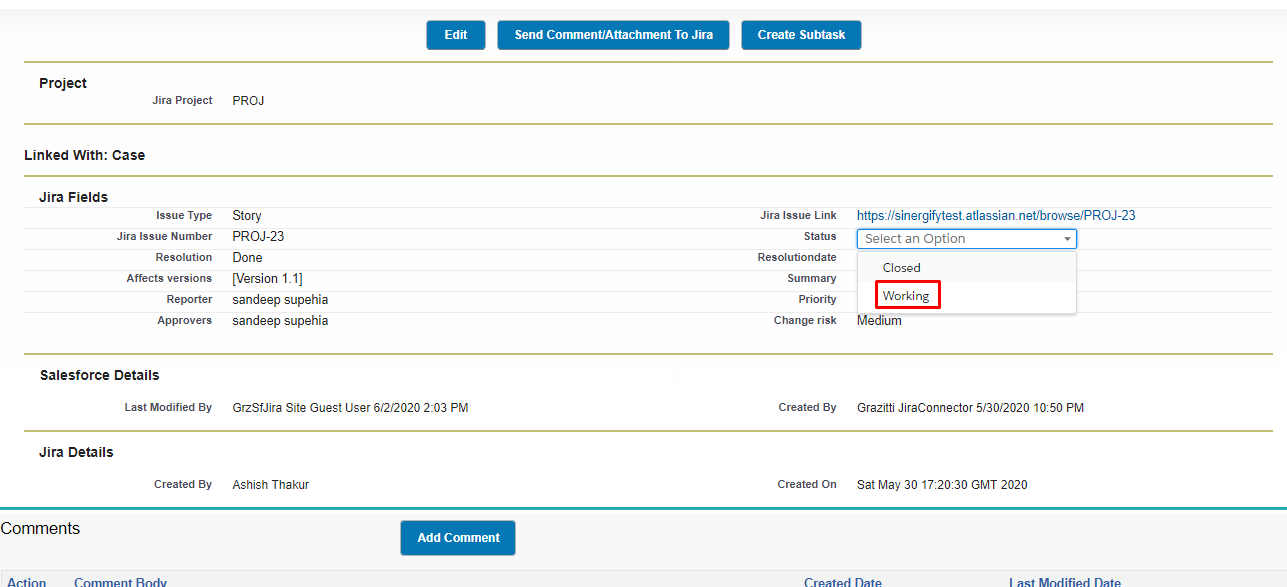
Users can update the status of Jira tickets right from Salesforce. To activate the Jira Transitions in Salesforce, toggle Enable Edit Jira in Salesforce from the configuration screen of Sinergify and then toggle Enable Jira Transition.
![]()
In Sinergify, if a user updates the Jira status and the Jira status workflow has transition screens enabled in their Jira Instance, the same will be available in Salesforce.
For Example, if the workflow (In Jira) is enabled to capture important data on fields while updating the Jira status from ‘On Hold’ to ‘Working’, a transition screen asking for the same information will appear if a user changes the status of a Jira ticket to ‘Working’.
In the below screenshot, when the status of the Jira ticket is changed to ‘Working’, a transition screen appears with details needed to be filled in to change the status.
Users need to fill in the details on the transition screen to update the Jira status.
![]()
Note: A transition screen in Salesforce appears only if it is configured in the workflow in Jira.
Restricting Status Update for Specific Status (JiraSalesforceDetail Page)
In case you want to restrict a Salesforce user’s permissions to update the Jira status, use our custom setting record to fulfill this requirement.
Create a record in JiraSalesforceDetail custom setting with the name ‘StatusTransition’. In the Value field, enter the status for which you want to apply the restriction. For multiple statuses, use commas to separate those.
![]()
Follow the given steps to create the status transition record:
Step 1: From the Setup page, search for Custom Settings and click on it from the search results. And then select JiraSalesforceDetailpage.
![]()
Step 2: Click Manage.
![]()
Step 3: Create a new record and name it ‘Status Transitions’. In the Value field, add the Jira status value(s) that should not be editable. If left blank, it would mean that all the statuses are editable.
![]()
Step 4: Click Save.


