
 Feedback
Attachment Sync Flow
Published Date: 09-07-2026
Read Time:
Salesforce to Jira
-
Automatic Syncing
Enable the Auto-syncing of Attachments by enabling the Auto Sync Salesforce Attachments from Sinergify Admin settings.
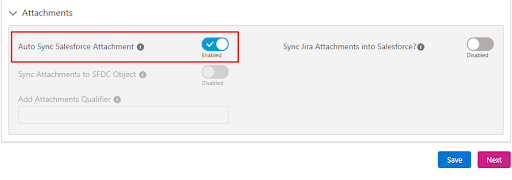
When Auto Sync Salesforce Attachment is enabled, attachments are automatically synced from:
-
Jira detail page in Salesforce to Jira
-
Jira Related list (Attachment tab)
-
Jira Issue Detail Page
-
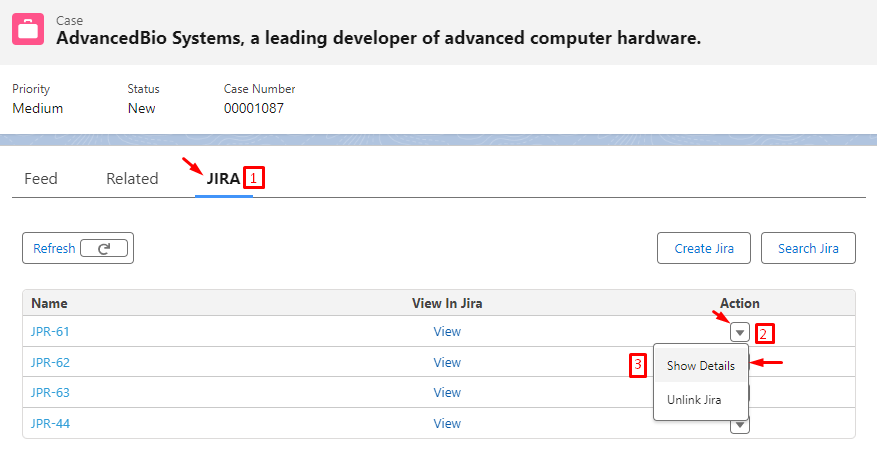
Go to the Case Record page, click on the Jira issue dropdown, and select ‘Show details’.

-
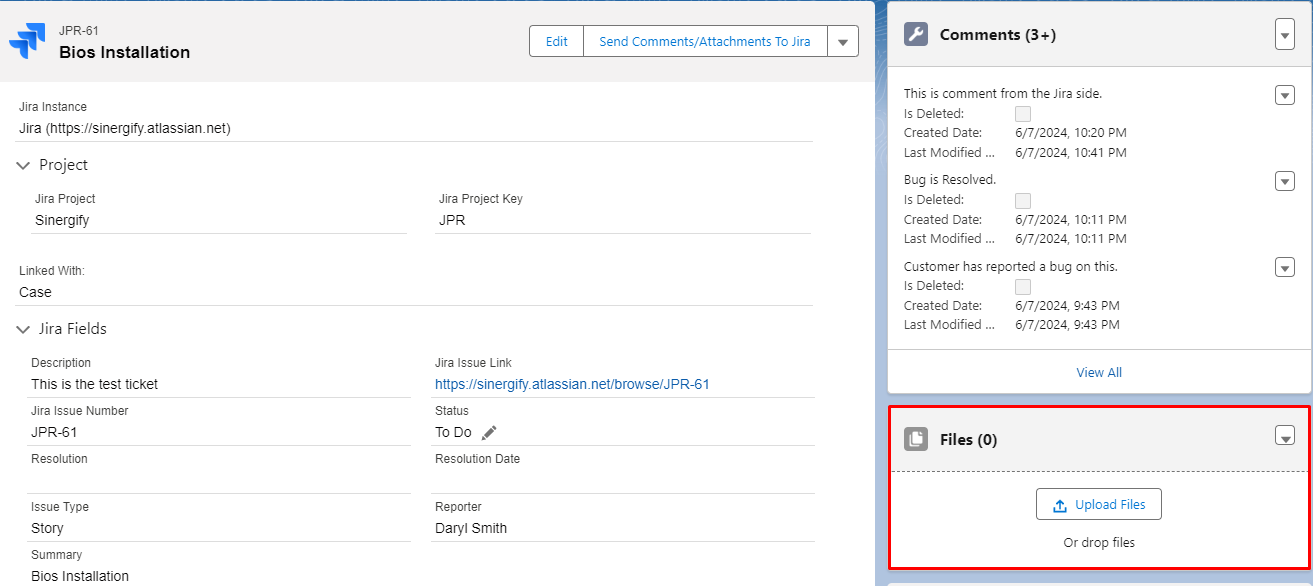
You will be redirected to the Jira issue detail page, Go to the File tab and upload files.
-
Add the File and click on Save.

-

This is how it will look on the Jira side.
-
Jira-Related List
-
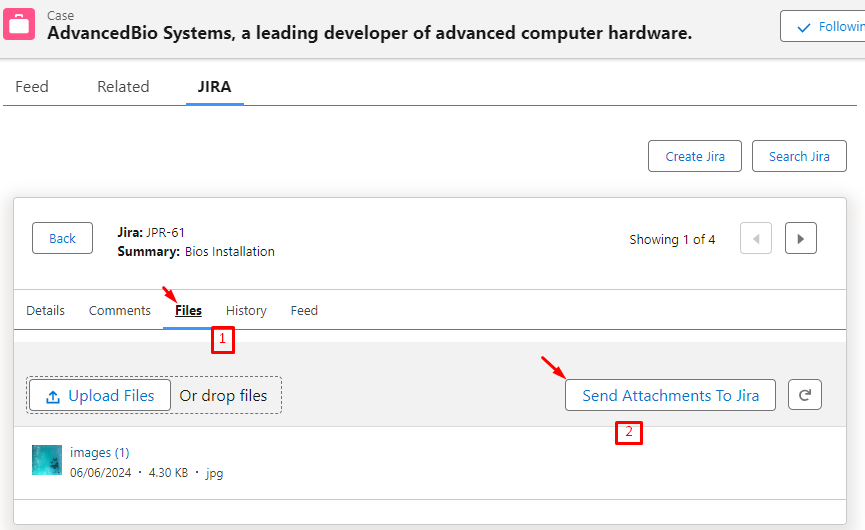
Go to the Jira Related list and open the specific Jira issue for which you want to send the Attachment.

-
-
The below screen will appear with the five tabs, go to the File tab and then click Send Attachments To Jira.

-
Add the Attachment then click ‘Send to Jira’.

This is how it will look on the Jira side.
Note:
-
When Auto Sync Salesforce Attachments is enabled for the Case object, attachments available on the case detail page will be synced automatically to Jira by enabling this option.

-
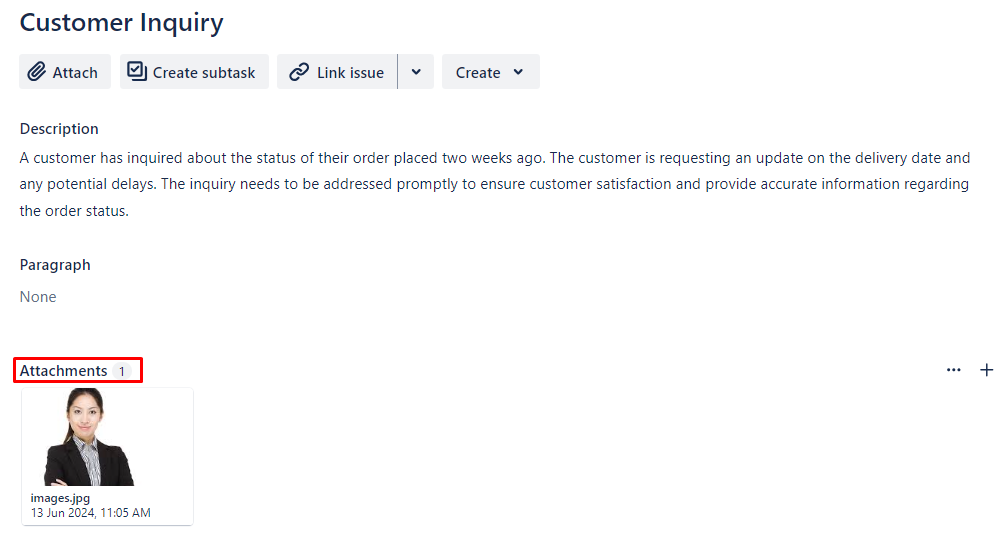
See the reference screenshot below which shows a synced Attachment in Jira.
-
Removing an attachment from the object detail page in Salesforce will have no impact on the synced attachments in Jira.
-
Selective Syncing
-
Manual Send Attachments to Jira
-
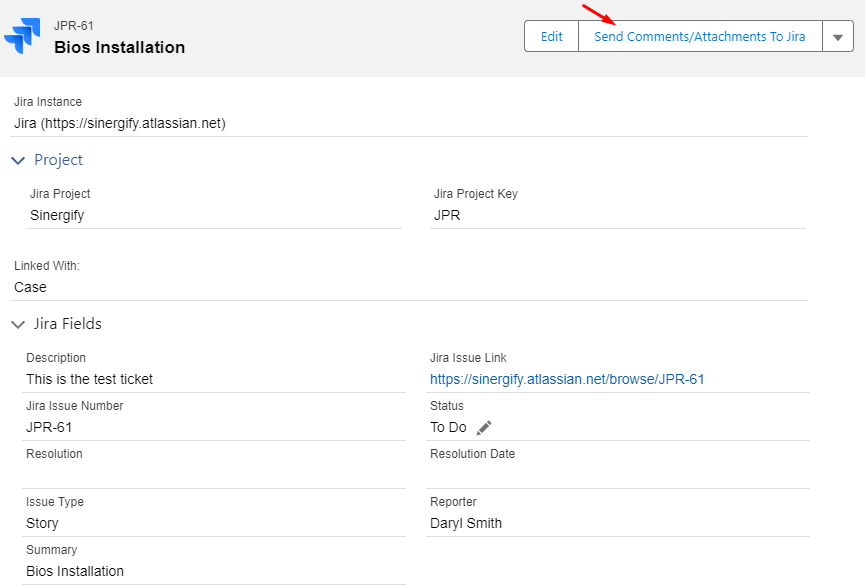
Click Send Comments/Attachments to Jira button on the Jira detail page. Select the attachment(s) that you want to send to the Jira side.

-
Once selected, click Send to Jira.


This is how the attachment will appear on the Jira Side.
Note: The Maximum file Size of Sending attachment is 10 MB.
-
Send Selective Attachments Using a pre-defined Qualifier
Users can add a qualifier to restrict the sending of case Attachments to Jira.
-
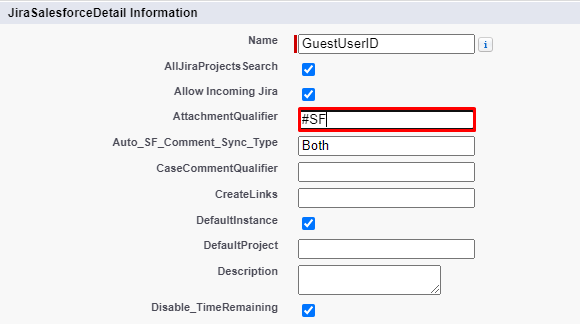
Go To ‘Custom Settings’. Find ‘JiraSalesforceDetail’.
-
Click on ‘Manage’ and choose the instance.
-
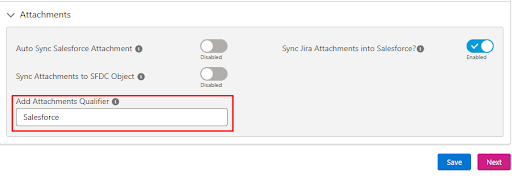
Edit ‘Attachment Qualifier and add a desired Qualifier. For e.g. we have added Salesforce as a Qualifier.
Jira to Salesforce
-
Automatic Syncing
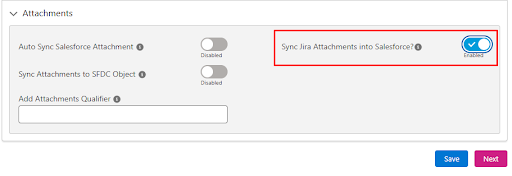
Sync Jira Attachment into Salesforce: By Enabling ‘Sync Jira Attachments into Salesforce’ from Admin Settings, Refer to the screenshot below.
Note: Please ensure that a record in the Remote site setting (https://api.media.atlassian.com) is added in your Salesforce Org if you are using the cloud version of Jira.
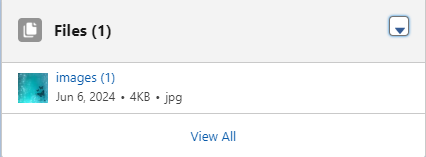
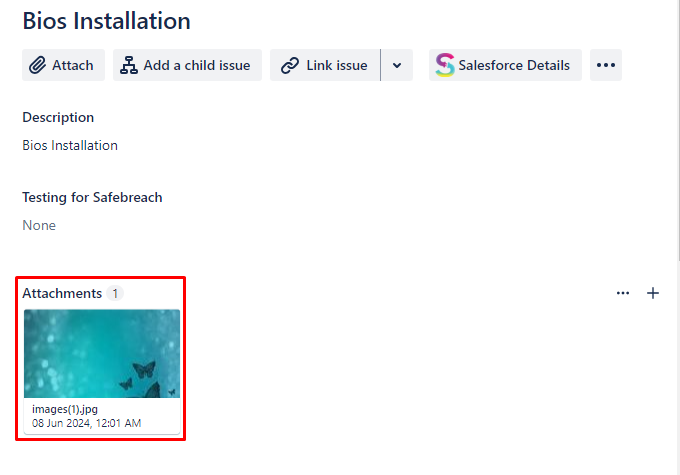
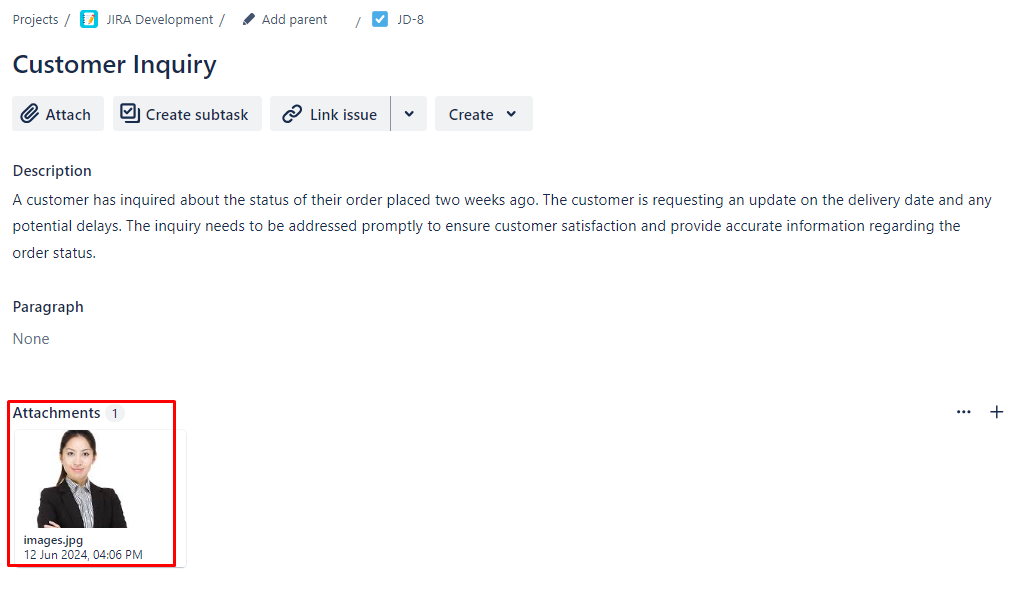
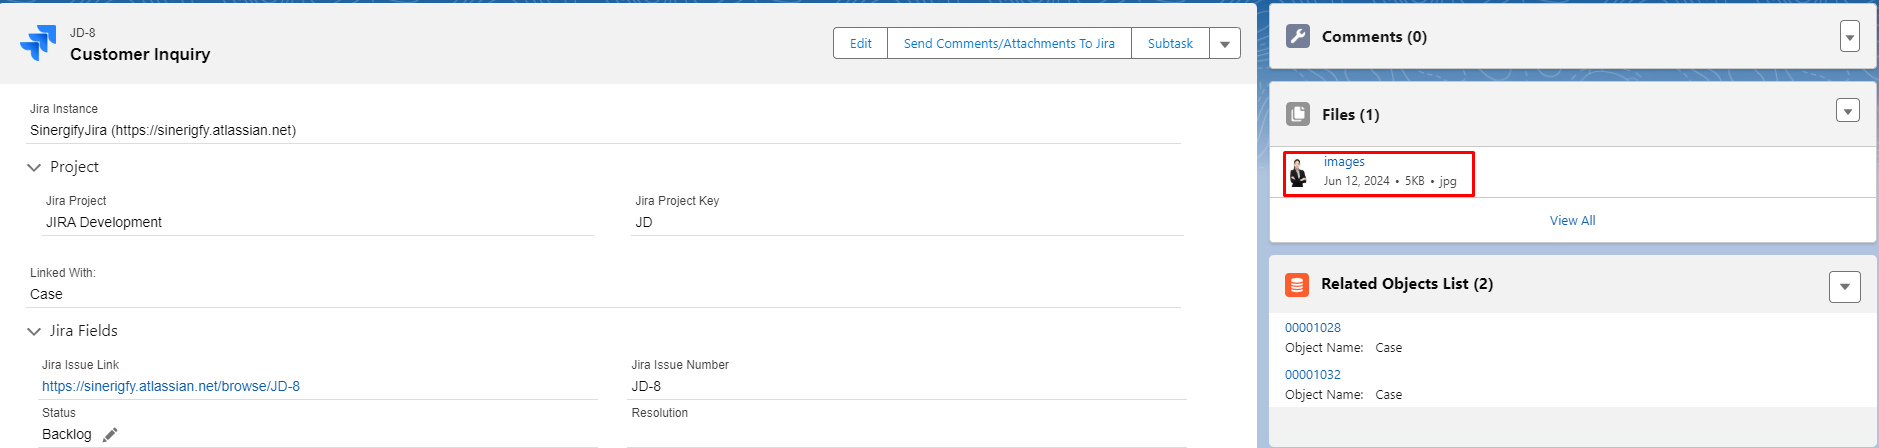
Attachments sent from the Jira side will be available on the Jira issue detail page.
This is how the attachment will look on the Salesforce Side.
-
Sync Attachments to SFDC Object: Enabling ‘Sync Jira Attachments into SFDC Object’ from Admin Settings, will allow you to store attachments under the Jira details Custom Object.
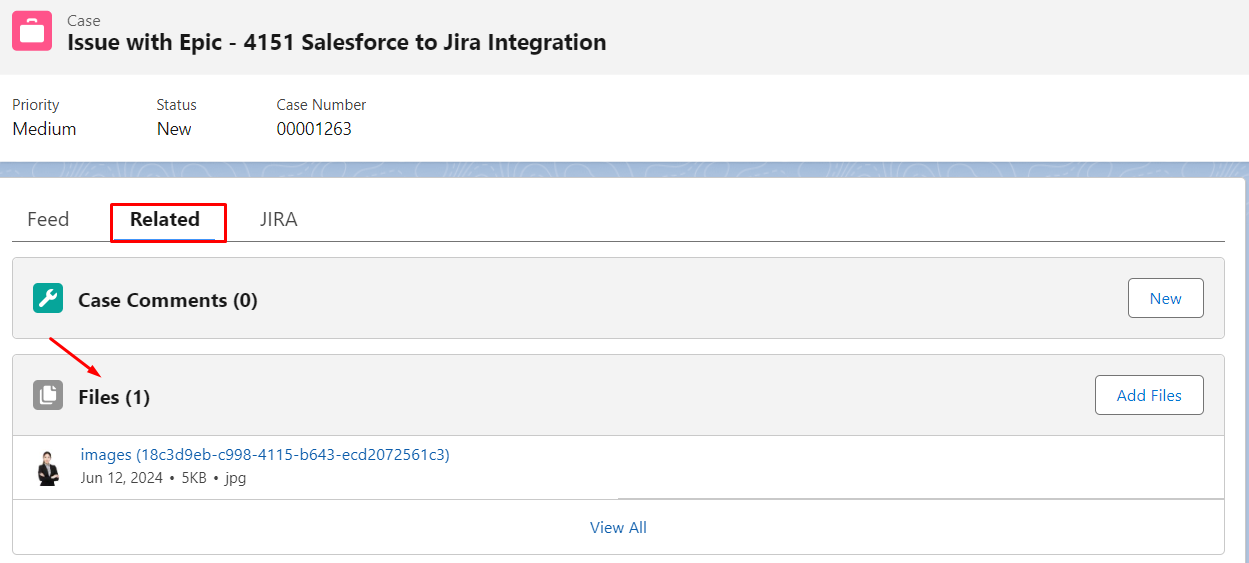
Attachments sent from the Jira side will be available under the Salesforce Object(linked with Jira).

This is how it will look like on the Salesforce side.
-
Selective Syncing
By Sending Selective Attachments using the Predefined Keywords in the Configuration screen.
Users can control the syncing of Attachments from Jira to Salesforce by using some pre-defined keywords. For eg. If you add the qualifier as “SalesForce'' then only the attachments with “salesforce” in the attachment name will be synced to Salesforce.
(Note: The Qualifier is Case Insensitive)
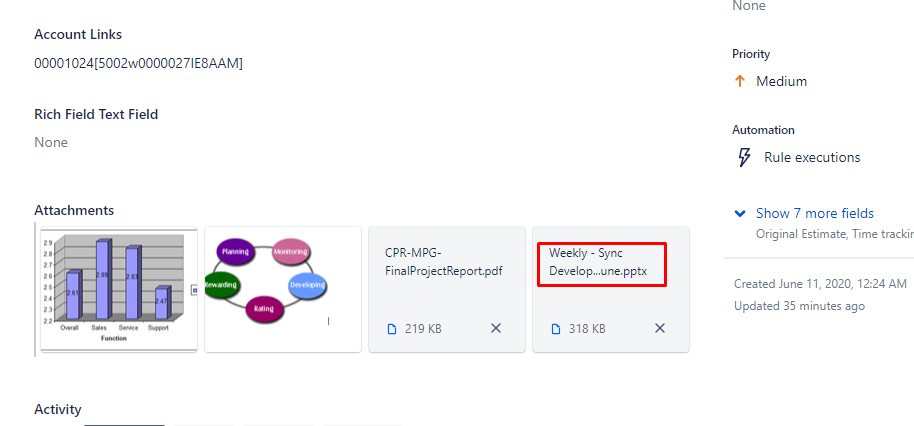
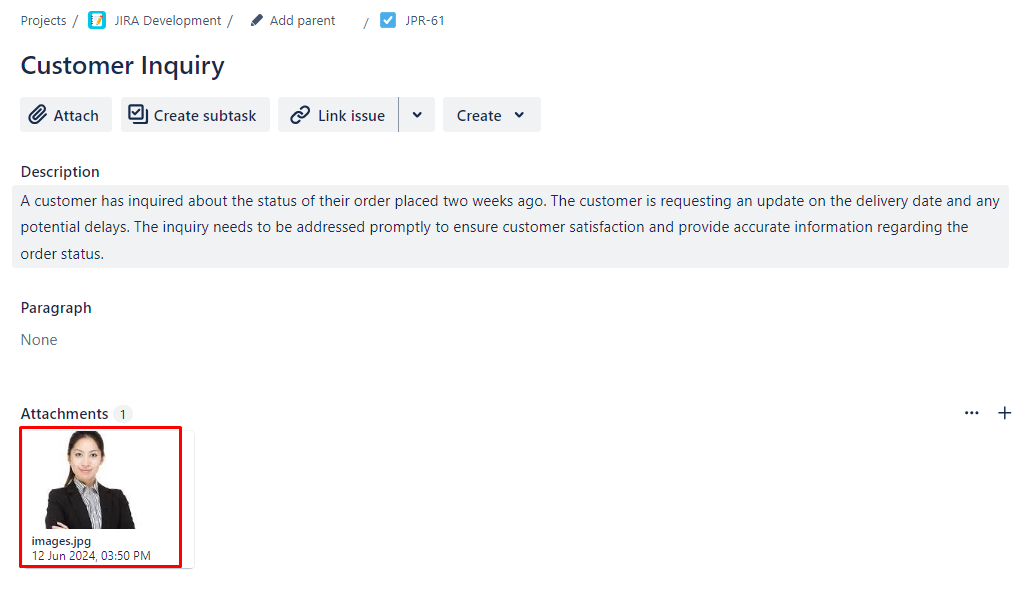
Refer to the screenshot below the Qualifier starting from #Salesforce will get synced into Salesforce (As shown in the below screenshots).
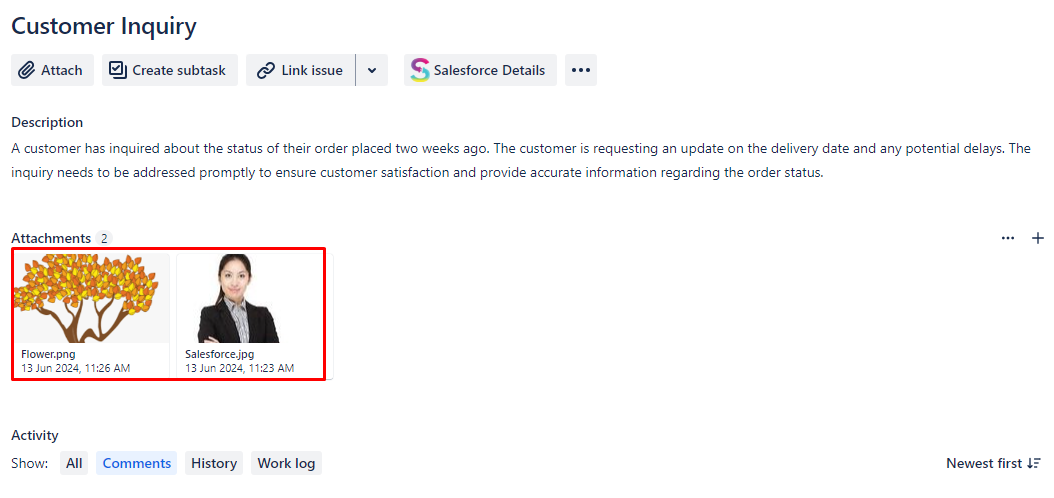
Refer to the screenshot below: there are two files in the Jira ticket, but only the one named ‘Salesforce’ got synced into Salesforce. See the screenshot below.


