Feedback
Troubleshooting
Published Date: 09-07-2026
Read Time:
Troubleshooting is a feature available under Sinergify Admin Settings on Salesforce. It enables the re-syncing of error logs created due to failure of any automation in Sinergify.
Setup and Configuration
Step 1) Log in to Salesforce
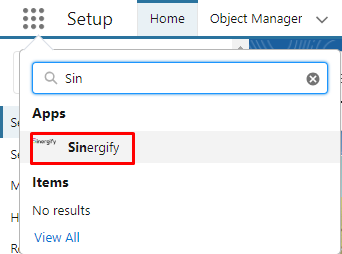
Log in to your Salesforce instance as an Admin user. Access the application Sinergify via the Salesforce App Launcher and open the Admin Settings tab.
Step 2) Navigate to Troubleshooting
From the Admin Settings, click Troubleshooting on the left-side panel.

Step 3 ) Open the Troubleshooting Configuration
Select Troubleshooting from the left panel to open the troubleshooting configuration. Enable the
Troubleshooting toggle button to display the available troubleshooting settings.
The panel contains four sections that you can configure.
-
Log Management
-
Error Log Report
-
Automated Error Handling
-
Manual & Scheduled Resync
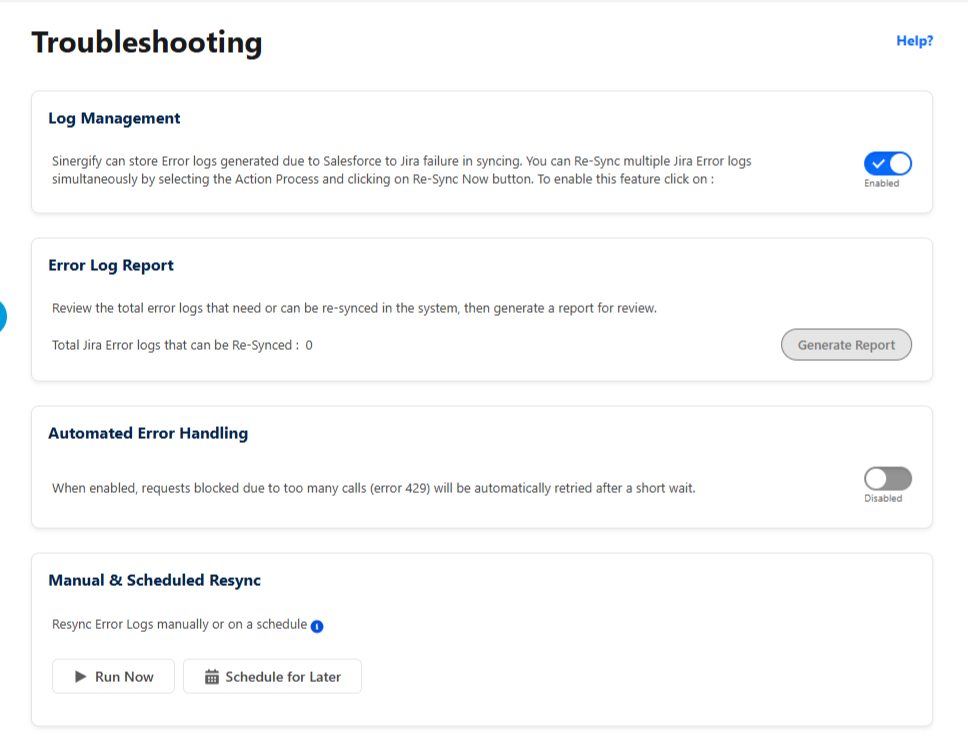
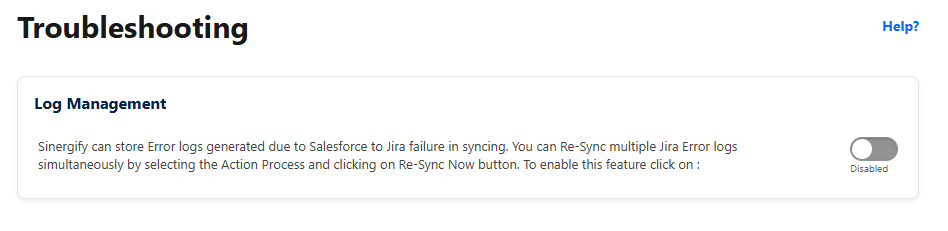
Step 4) Log Management
Sinergify can store error logs generated due to Salesforce-to-Jira syncing failures. You can re-sync multiple Jira Error logs simultaneously by selecting the Action Process and clicking on the Re-Sync Now button. To enable this feature, click on the toggle button.

Step 5) Error Log Report
Review the total error logs that need or can be re-synced in the system, then generate a report for review.
-
The count next to Total Jira Error Logs that can be Re-Synced shows how many logs are currently pending.
-
Click Generate Report to open a detailed report for review.

Step 6) Automated Error Handling
When enabled, requests blocked due to too many calls (error 429) will be automatically retried after a short wait. This toggle is disabled by default. Enable it to let Sinergify automatically recover from Jira rate-limit errors, instead of requiring an admin to manually re-sync them.

The following table describes how the connector handles the most common Jira rate-limit (HTTP 429) scenarios.
|
Behavior |
Details |
|
Retry Behavior |
If a request receives an HTTP 429 (Too Many Requests) response from Jira, the connector automatically postpones the request instead of marking it as failed immediately. The request is added to the retry queue and processed later. |
|
Retry Timing |
The connector waits for the duration specified by Jira (using the Retry-After response header) before attempting the request again. This helps prevent additional rate-limit violations. |
|
Retry Limit |
The connector retries the request up to three times. If all retry attempts fail due to repeated rate limiting, the synchronization log is marked as Failed, allowing administrators to review and take further action if required. |
|
User Notification |
When a request is deferred due to rate limiting, the Salesforce user who initiated the action receives a Salesforce bell notification informing them that the update has been delayed and will be synchronized shortly. This keeps users informed while the connector completes the retry process in the background. |
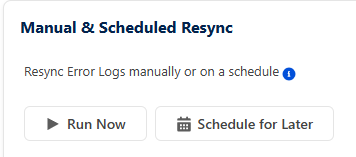
Step 7) Manual & Scheduled Resync
Resync error logs manually or on a schedule.
Available Action Processes
-
Auto Create Jira : It will Re-Sync the creation of Jira issues using automations.
-
Update JiraIssue From Salesforce: Re-sync the automated syncing of Jira issue details from Salesforce to Jira .
-
Update JiraIssue From Sobject: Re-sync the Jira issues related to specific Salesforce objects on the basis of Jira - Salesforce object field Mapping .
-
Feed Syncing : Re-sync the Jira issues related to specific Salesforce object’s feed .
-
Sync comments from Salesforce to Jira : Re-sync the automated syncing of comments on Jira issues from Salesforce to Jira .
-
Sync comments from Salesforce : Re-sync the automated syncing of attachments on Jira issues from Salesforce to Jira .
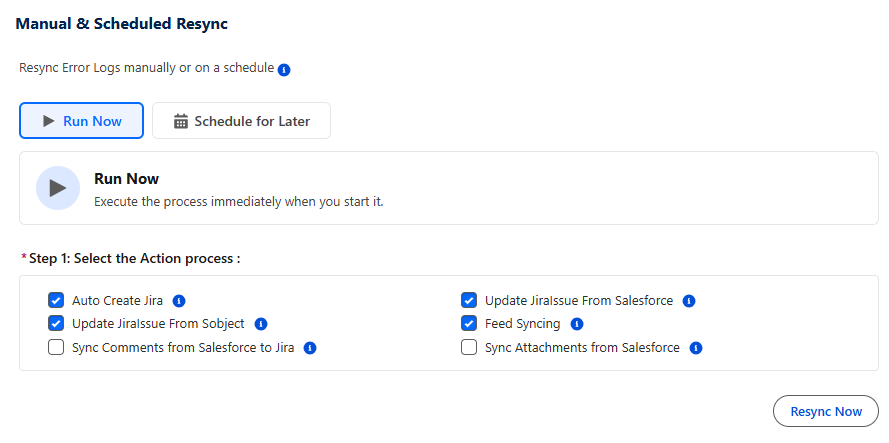
Option A: Run Now
Use Run Now to re-sync the selected error logs immediately, without scheduling anything.
-
Choose the execution method — Select the Run Now radio button.
-
Select the Action Process(es) — Select one or more from Action Processes that you want to re-sync.
-
Click Resync Now — Sinergify starts the resync immediately. Once the records are successfully resynced, a confirmation popup will appear.

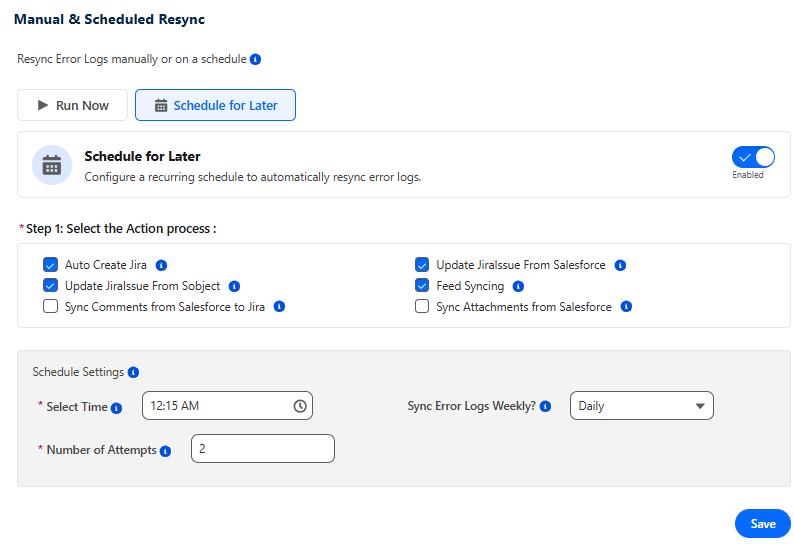
Option B: Schedule for Later
Use Schedule for Later to configure a recurring resync that runs automatically at a specified time with a defined number of retry attempts.
To configure a scheduled resync:
-
Enable Schedule for Later – Turn on the Schedule for Later toggle.
-
Select the Action Process(es) – Choose one or more action processes that you want to resync.
-
Configure the Schedule Settings:
-
Select Time – Specify the time when the resync should run.
-
Sync Error Logs – Select how frequently the resync should run (for example, Daily or Weekly). If you select Weekly, choose the day of the week on which the resync should run.
-
Number of Attempts –Specify the number of retry attempts for failed error log synchronization.
-
Click Save – The schedule is saved, and the selected resync process will run automatically according to the configured schedule.
-
Below are the Error Code supported:
|
S.No |
Error Code |
Description |
|
1 |
Error 400 |
Indicates that the server cannot or will not process the request. |
|
2 |
Error 401 |
Indicates that the client's request lacks proper authentication credentials or the provided credentials are invalid. |
|
3 |
Error 404 |
Signifies that the requested resource or URL cannot be found on the server. |
|
4 |
Error 408 |
Occurs when the server terminates the connection due to the client taking too long to complete the request. |
|
5 |
Error 500 |
A generic error message indicating that an unexpected condition occurred on the server. |
|
6 |
Error 503 |
Indicates that the server is temporarily unavailable to handle the request. |
|
7 |
Error 429 |
Indicates that the server has received too many requests in a given amount of time. This error is returned when the API rate limit has been exceeded. |
Steps for Manual Error Log List
Step 1) Go to the Salesforce Object record (e.g. case)
Step 2) Select the Jira issue from the Related list and open the Jira issue detail page.
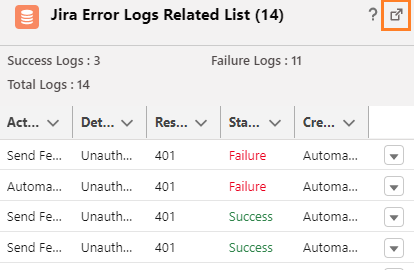
Step 3) Go to the “Jira Error Logs Related List” Tab (Visible on the lower side of Jira issue Record page inside Salesforce).
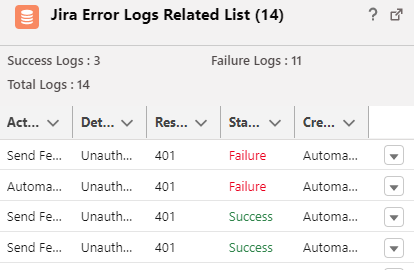
Step 4) To view the detailed error code, click on ‘View detailed list’ Button as shown in image below.
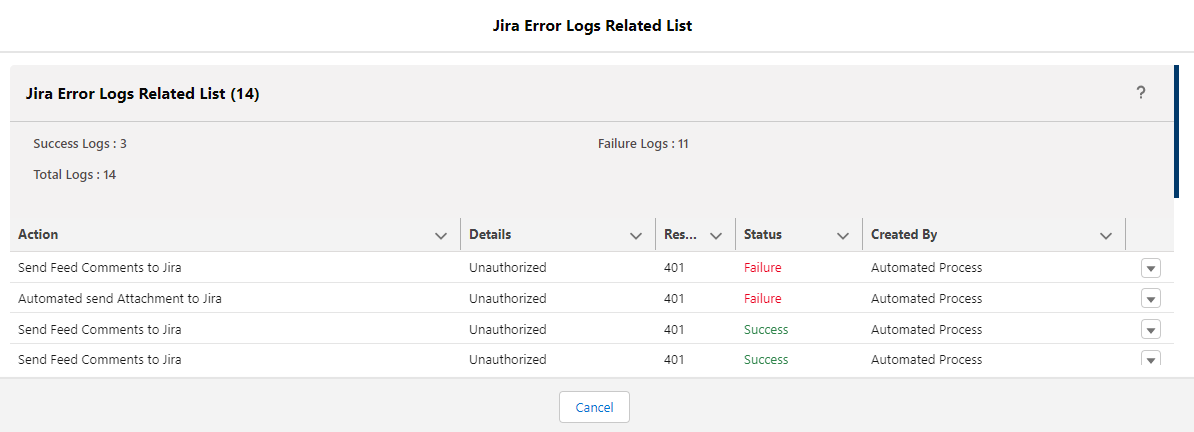
Step 5) A new screen will appear as shown below.
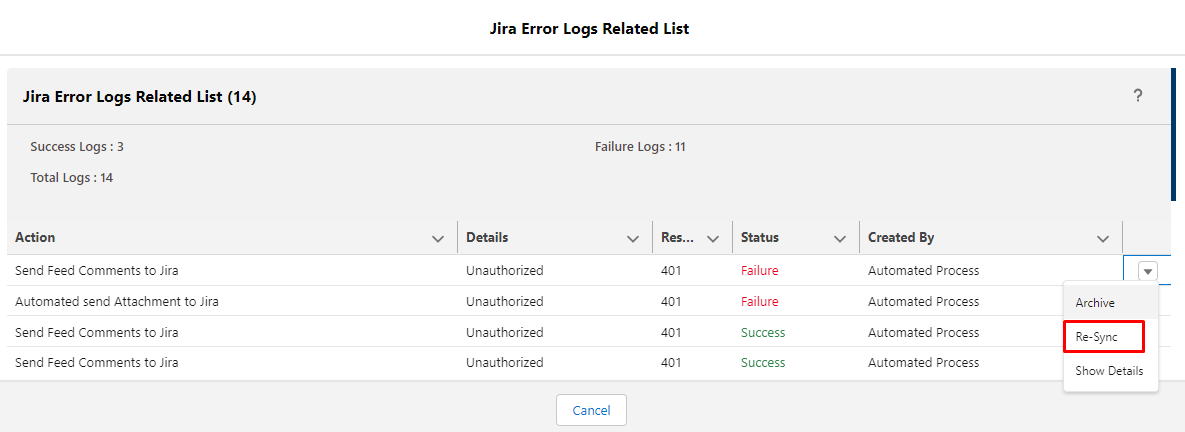
Step 6) The user will have the 3 options in the dropdown.
-
Archive
-
Re-sync
-
Show details
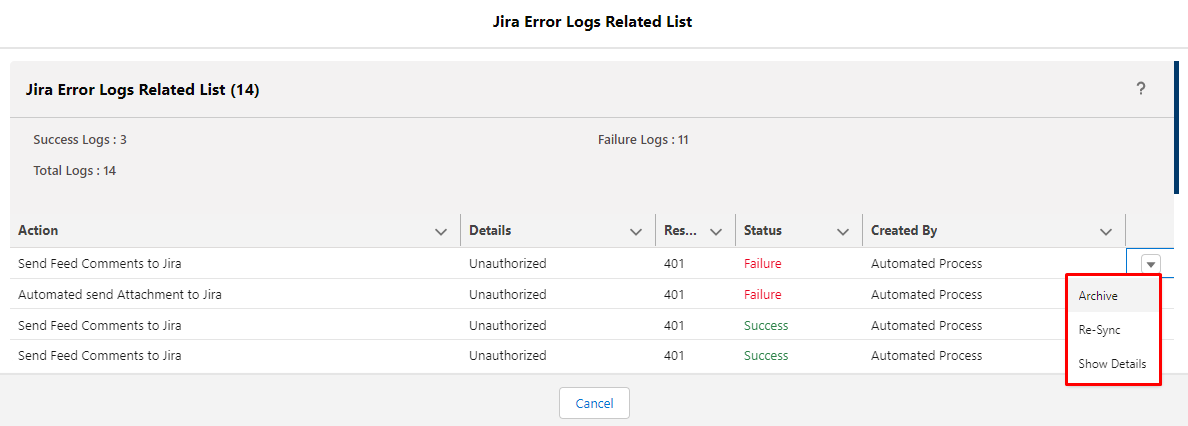
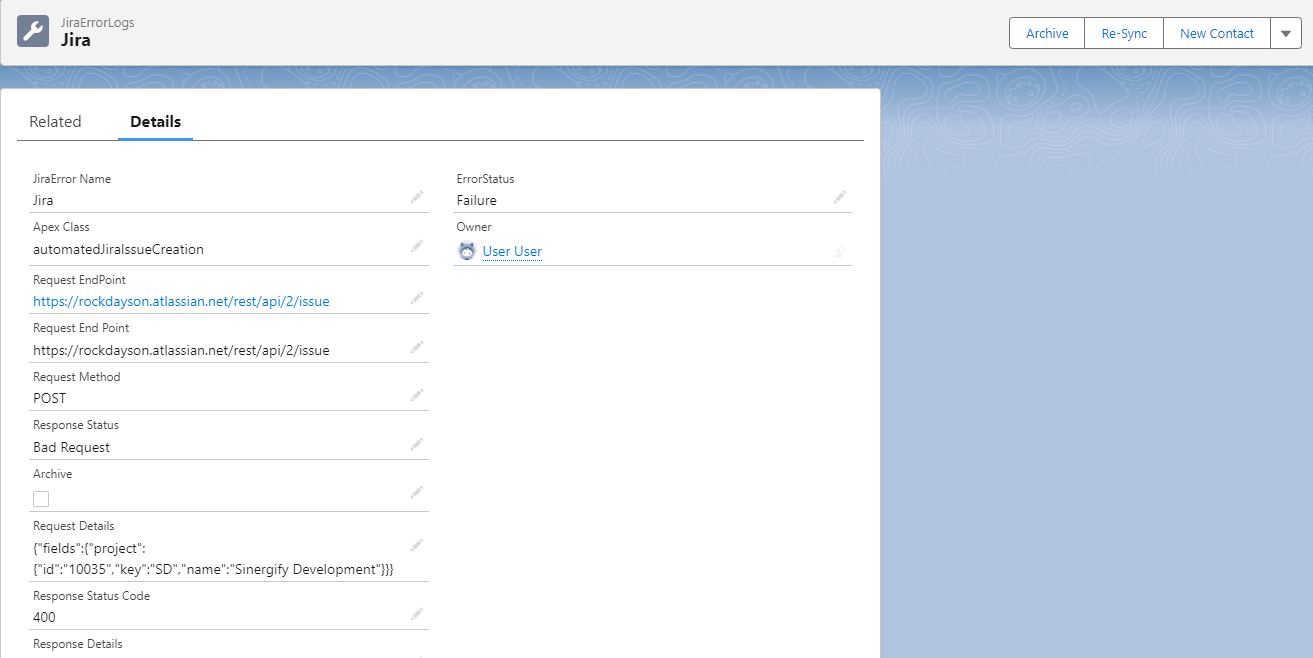
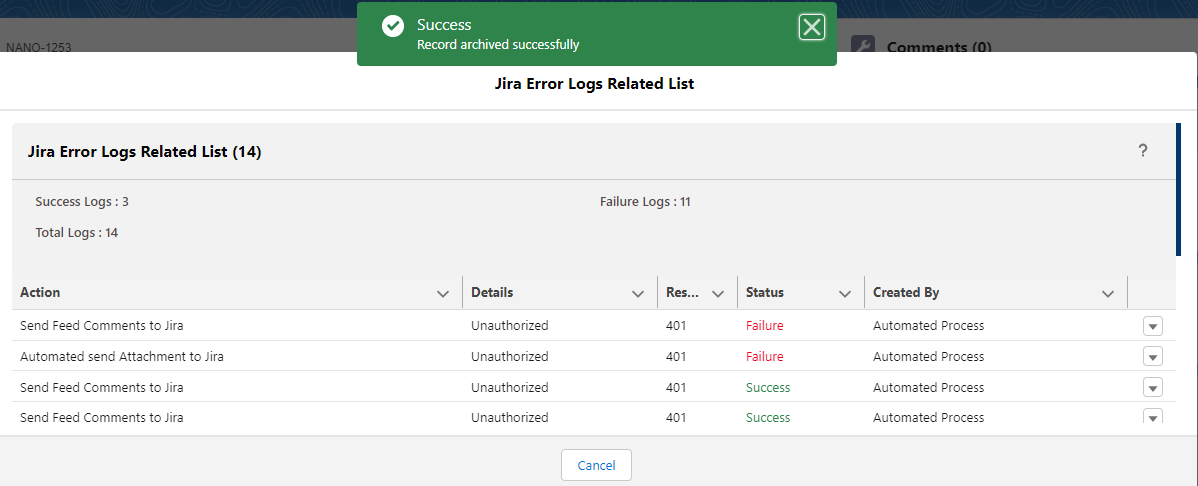
Archive: You can archive any Jira error log to remove it from the list. Once you click on Archive, a success popup will appear.
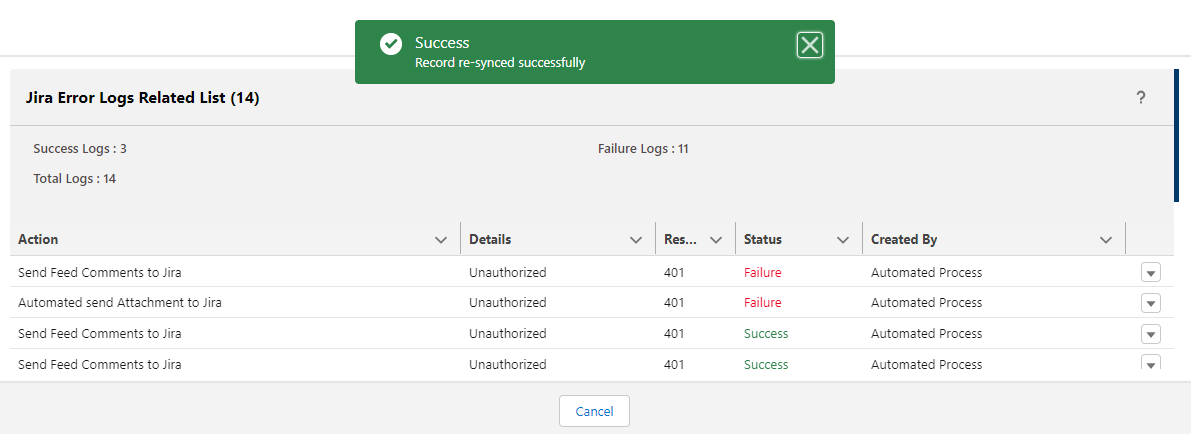
Re-Sync: The Error Log records that are created asynchronously due to any system failure or data failure can be resynchronized. For resync, you have to configure the Troubleshoot setting in the Sinergify Admin setting. This operation is only available after you've enabled 'Sync Error Logs.' Once you click on Resync, a success popup will appear.
Show Details:Users can see the detailed error logs by clicking on the Show Details button. You can also Archive and Resync the error logs from the detail page.