
 Feedback
Webhook and Site
Published Date: 02-09-2024
Read Time:
 Important!
With Sinergify introducing Jira side Plugin in early 2022, setting up site & Webhook to bring Jira Updates became a traditional way. To setup Jira Plugin, you can skip the current documentation and configure Jira Plugin with help of below links.
If in case you have a requirement to bring Jira updates to Salesforce via Webhooks only then you can follow the current documentation.
Setting up Site
Step 1: Create a Site (if there is no pre-existing domain).
Enter the site name and click ‘Check Availability’. If available, click ‘Register My Salesforce Site Domain’.

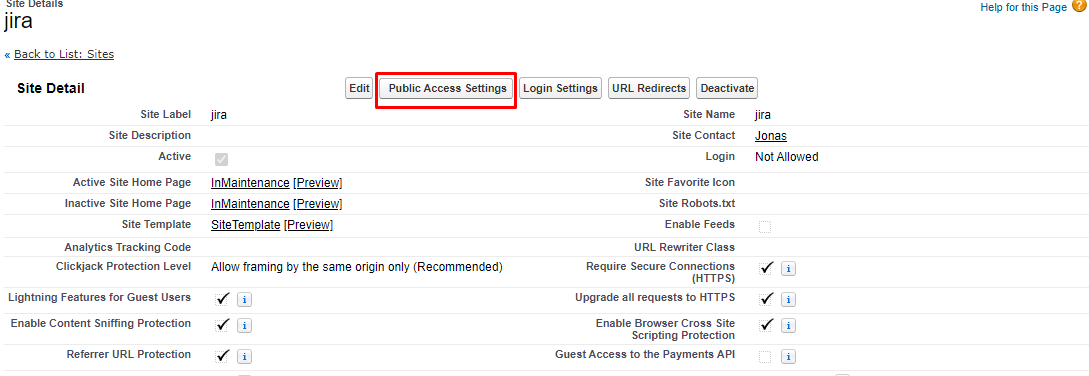
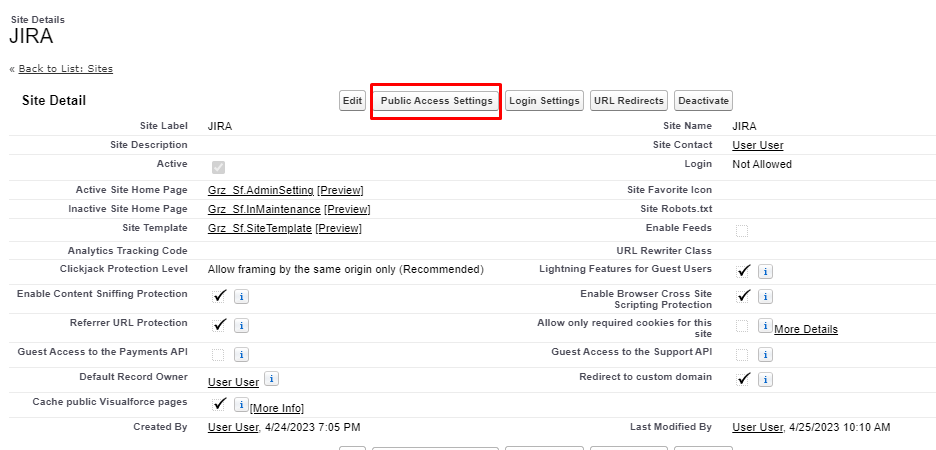
Step 2: Click on the existing or newly-created ‘Site’.

Step 3: On top of the ‘Site Detail’ page, click ‘Public Access Settings’.
Step 4: On the top of the ‘Profile’ page, click ‘Enabled Apex Class Access’.
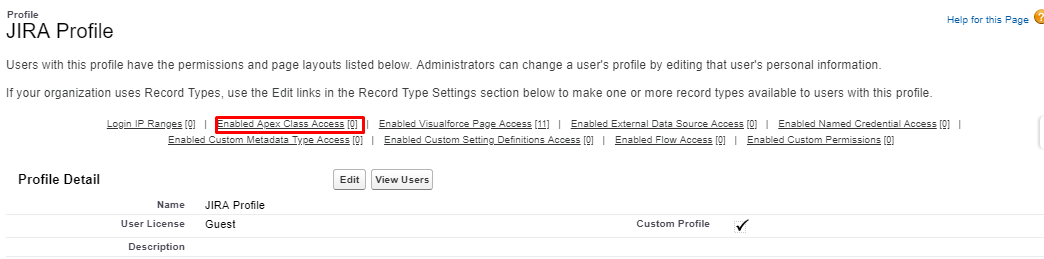
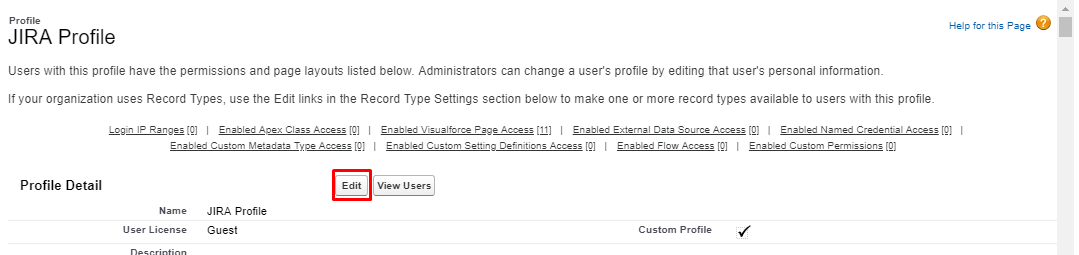
Step 5: Click ‘Edit’.

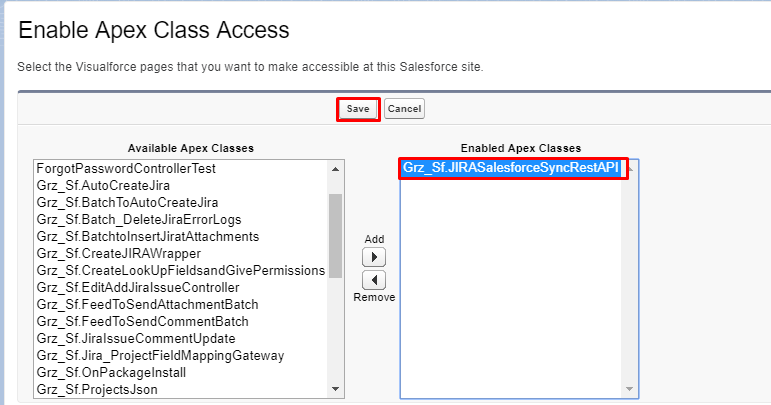
Step 6: Select ‘Grz_Sf.JIRASalesforceSyncRestAPI’ class from ‘Available Apex Classes’. Add it to Enabled Apex Classes and click ‘Save’.
Step 7: Again, click ‘Public Access Settings’.
Step 8: Click ‘Edit’
Step 9: Scroll down on the ‘Standard Object Permissions’ page and select the ‘Read ’ permission for object(s) linked to Jira. For example, here permissions are assigned to the ‘Cases’ object as it is the only object linked to Jira.

Step 10: Similarly, scroll down on the ‘Custom Object Permissions’ page and select permissions for all the objects as shown in the screenshot below. The following objects are a part of the package and providing permission is mandatory for these objects:
- CaseJiraHelper
- Child Rule Sets
- Comments
-
GlobalProjectMappings
-
Jira_FieldSections
-
Jira_ProjectsFieldsMapping
-
JiraCommentController
-
JiraErrorLogs
- JiraIssues
- Jira Project
-
JiraRelationships
- Rulesets
Step 11: Save the settings.

Step 12: Under the ‘Field-level Security’ section on the ‘Profile Detail Page’ of the Guest User, click ‘View’ next to the objects (custom/standard) linked to Jira.

Step 13: Select ‘Read Access’ and ‘Edit Access’ to fields of all objects (Standard and Custom) linked with Jira. Share field-level access to all the following custom objects related to Jira:
- CaseJirahelper
- Child Rule Set
- Comments
- Jira_Field Sections
- JiraProjectFieldMapping
- Jira Comment Controller
- JiraErrorlogs
- JiraIssues
- JiraProjects
- Jirarelationships
- Rulesets
For example, in the below screenshot field-level permissions are shared for the ‘JiraIssue’ custom object.
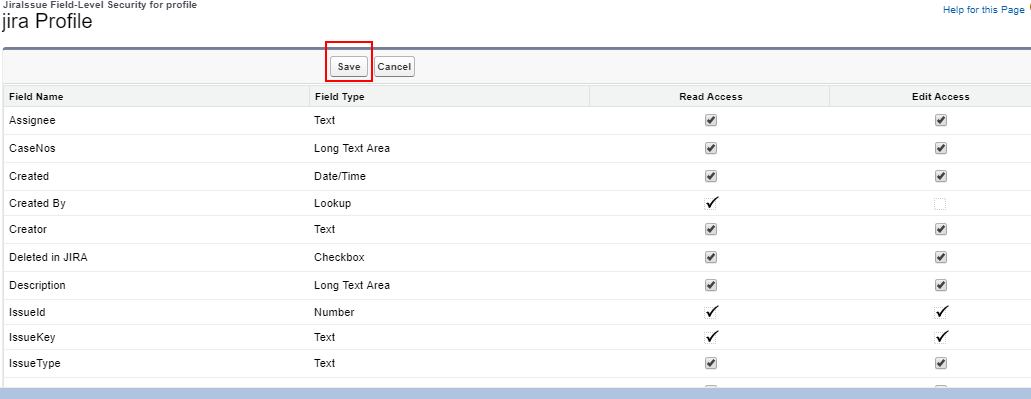
Step 14 : Click ‘Save’.
Step 15: Go to the “Site”.
Step 16: Click on the “Public Access Settings”.
Step 17: Click on the ”Enabled Custom Setting Definitions Access”.

Step 18: Move the Custom setting starting from “Grz_sf” from “Available Custom setting Definations” to “Enable Custom Setting Definations” and it should look like this.

Step 19: Once Done click “Save”.
Step 20: From Setup, enter ‘Custom Settings’ in the ‘Quick Find’ box and click on it from the search results.
Step 21: Look for the ‘JiraSalesforceDetail’ custom setting..

Step 22: Click on the ‘Manage’ button.

Step 23: Click on the ‘New’ button to create a record for GuestUser ID.

Step 24: Enter ’GuestUserID’ in the ‘Name’ field and add your 18-digit ‘GuestuserID’ in the ‘Value’ field. Also, add ‘0’ in InstanceNumber and Click ‘Save’.

SELECT id, username From User WHERE username='Put Your Site Username Here’
Setting up the WebHook
Step 1: Click on the Instances tab and configure Basic or Oauth Authentication if not already done.

There you will see an option ‘Webhook help?’ on both Authentication screens.
Step 2: When you click on ‘Webhook help?’, a pop-up will appear on your screen. Then you simply have to click on the drop-down arrow on the right which will show you a list of sites.

Select the right one for Webhook.

Step 3: Once you have selected the site as shown above it will give you an option - ‘Click here to copy the webhook Url’. Once you click on it, the URL is copied onto the clipboard and a success message will appear from Salesforce notifying the same.

If you have any issues following the above-mentioned steps from 1-3 then, you can use the following steps for manually creating/copying webhook URL.
-
From Setup, enter ‘Company Information’ in the ‘Quick Find’ box and click on it from the search results.

-
Copy the ‘Salesforce.com Organization ID’ from the ‘Company Information’ page.

-
Now combine your ‘Site URL’, ‘instance’ and ‘Organization ID’ with ‘services/apexrest/Grz_Sf/webhook/JIRA?commentId=${comment.id}&jiraId=${issue.id}&orgId=’+orgId+’&instance=’+Instance Number
Final URL should be in the following format: siteurl+’services/apexrest/Grz_Sf/webhook/JIRA?commentId=${comment.id}&jiraId=${issue.id}&orgId=’+Orgid +’&instance=’+Instance Number
You can get the instance Number from the instances tab of the admin setting screen
-
Copy the Final URL. It will be required for further process. The final URL should look like as the URL below:
https://bigthree-developer-edi-developer-edition.ap16.force.com/jira/services/apexrest/Grz_Sf/webhook/JIRA?commentId=${comment.id}&jiraId=${issue.id}&orgId=00D2w000002AY28&instance=1011
Note: Remember to update ‘HTTPS’ as protocol instead of ‘HTTP'.


Step 4: Now Log into your Jira instance.
Go to System Setting and then ‘Webhooks’. Click ‘Create a Webhook’.

Step 5: Fill in the fields like Name, URL(final URL as created in step 4), and select the ‘Status’ to ‘Enabled’.

Step 6: Enable the following permissions in the ‘Events’ section.

Step 7: Click ‘Create’ at the bottom of the page and a new Webhook will be created. The final view of the page will look as below.


After completing the installation, users can navigate to the installed Sinergify application and complete the configuration process.


