Feedback
Global Mapping
Published Date: 02-09-2024
Read Time:
It allows users to map a Jira field for multiple Jira Projects at once. Let’s take a step by step look at how.
Step 1: From the Admin Setting tab, click Fields Configuration. Then click Global Mapping.
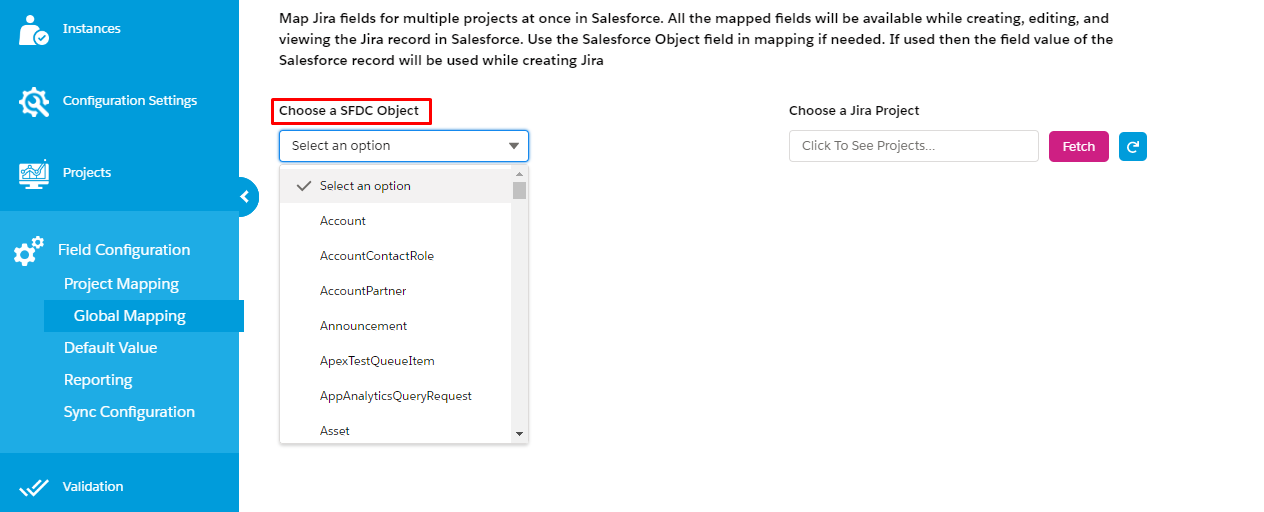
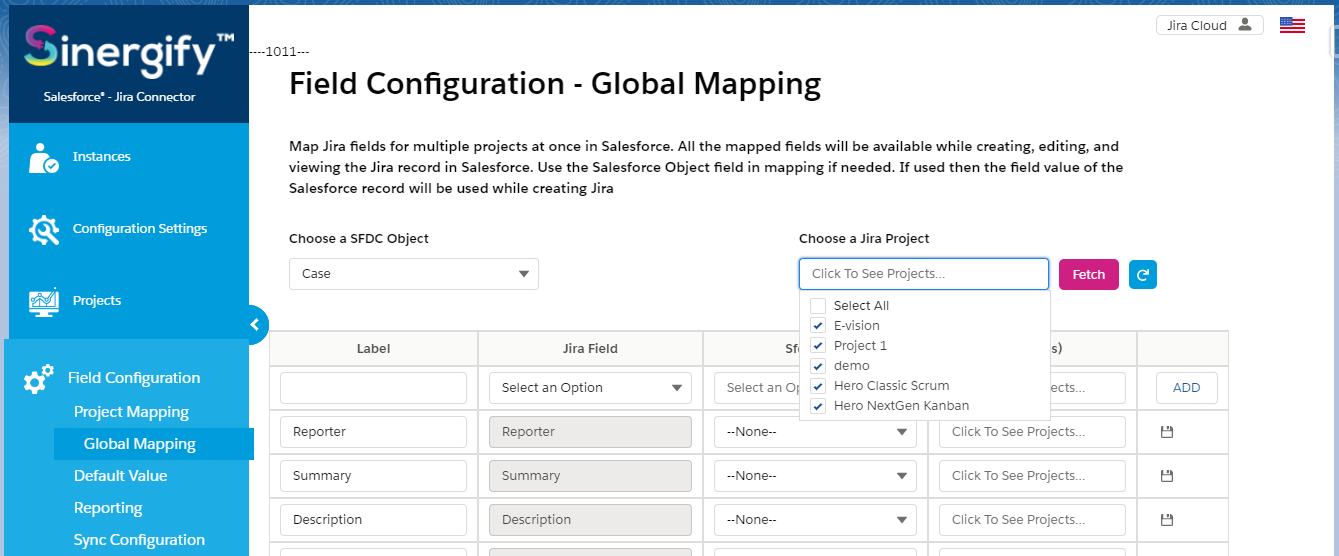
Step 2: After navigating to this option, select an SFDC object from the list of all the Salesforce objects.
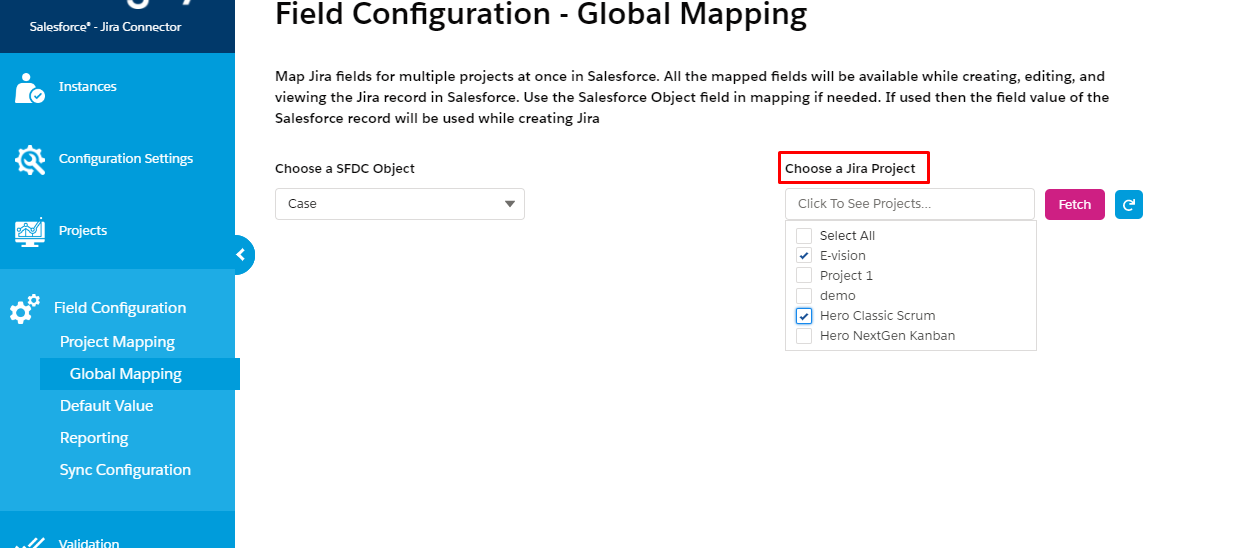
Step 3: Choose by clicking on Jira Projects checkboxes among all the options available in the drop-down for which you wish to do the mapping of the field.
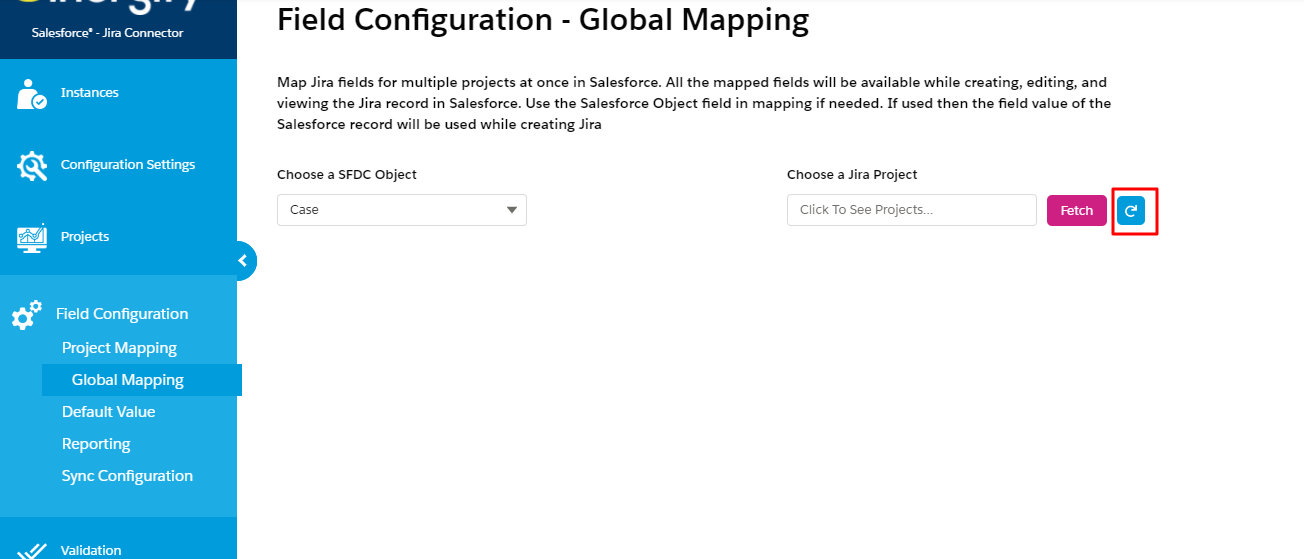
Step 4: Click Fetch to create Global Mapping records in Salesforce. Once the Global Mapping records are created, it will ask to refresh the page or click Refresh to see the list of Jira fields on the page and map it with the SFDC fields.

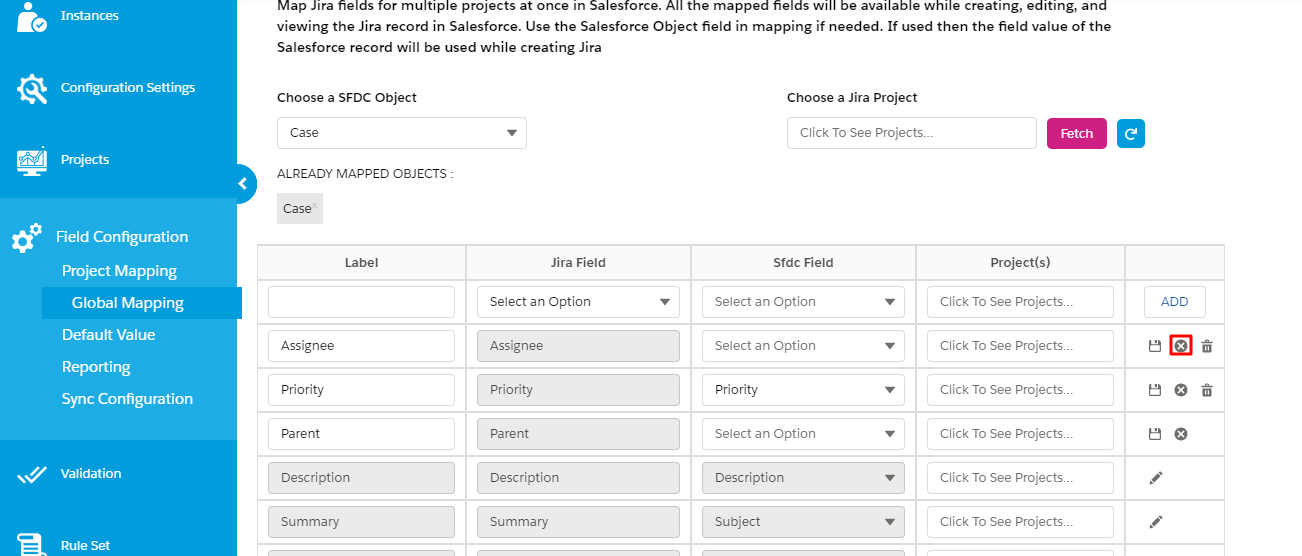
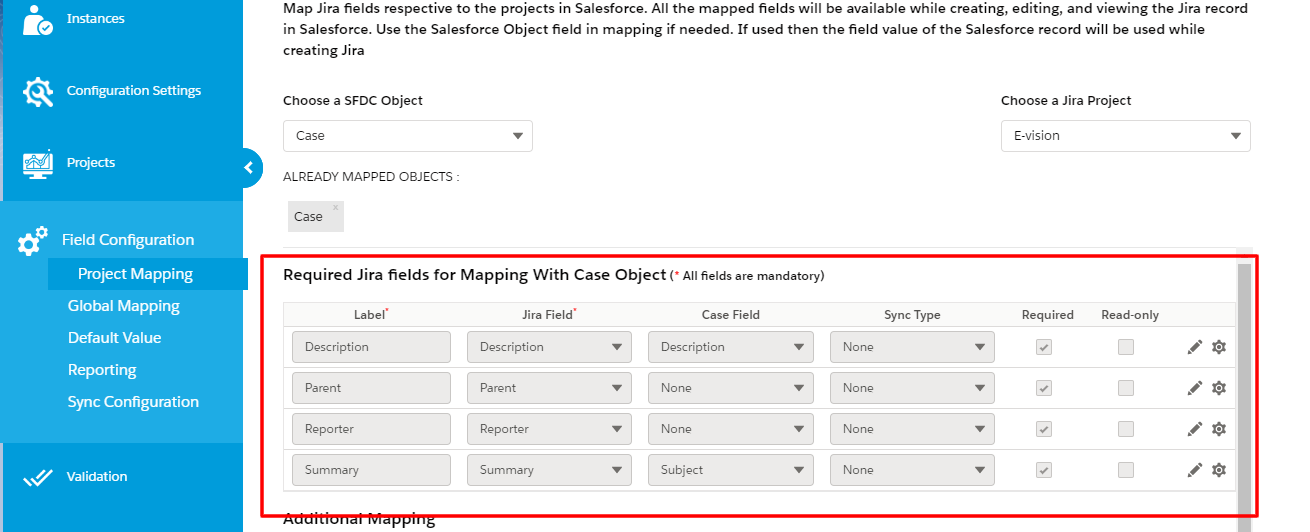
Step 5: After this, the page will render all the Jira fields required on Jira projects and also give an option to map new fields that are not required on any Jira Project. Choose a new field from the option to map.
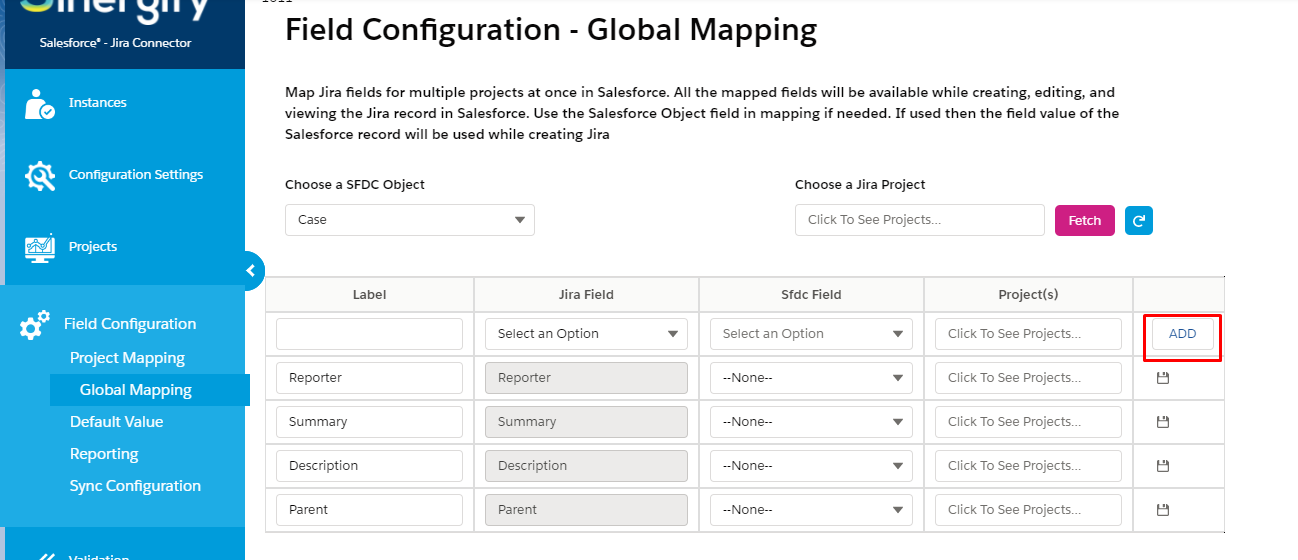
Step 6: Users can add a new mapping by selecting a Jira field from the option and choose multiple Jira projects at once and then hit the Add button to save.
Step 7: All the Jira fields, which have been mapped, will render on the page and can be edited and saved any time based on requirements.

Step 8: If users wish to do the mapping of more projects in the future, simply select Jira projects from the ‘Choose a Jira Project’ and hit the Fetch button to create the Global Mapping records. Hit the refresh button.
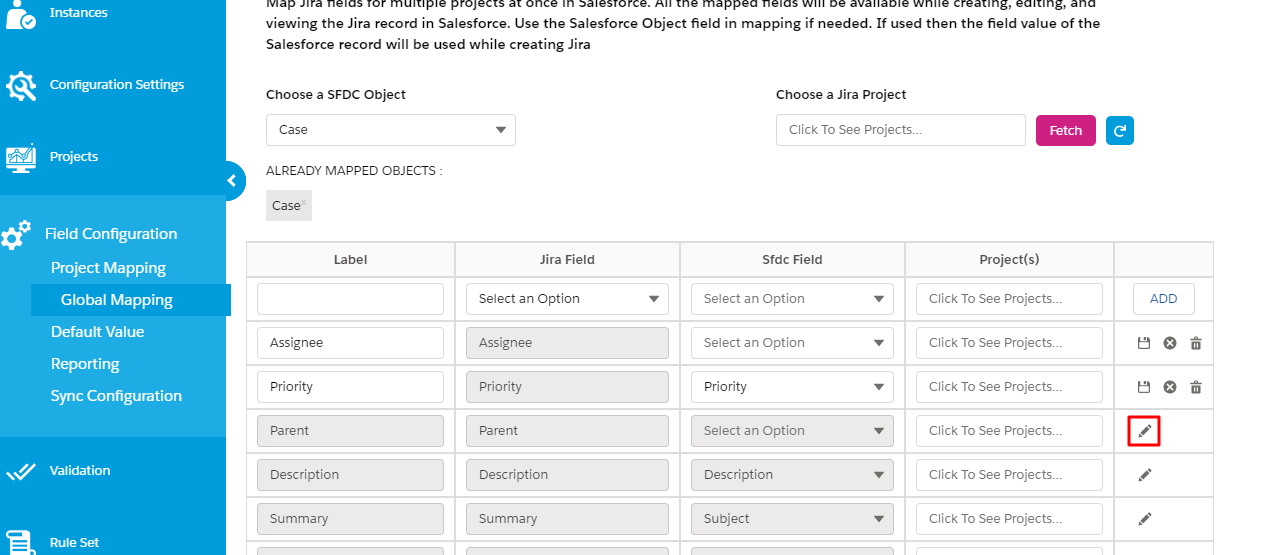
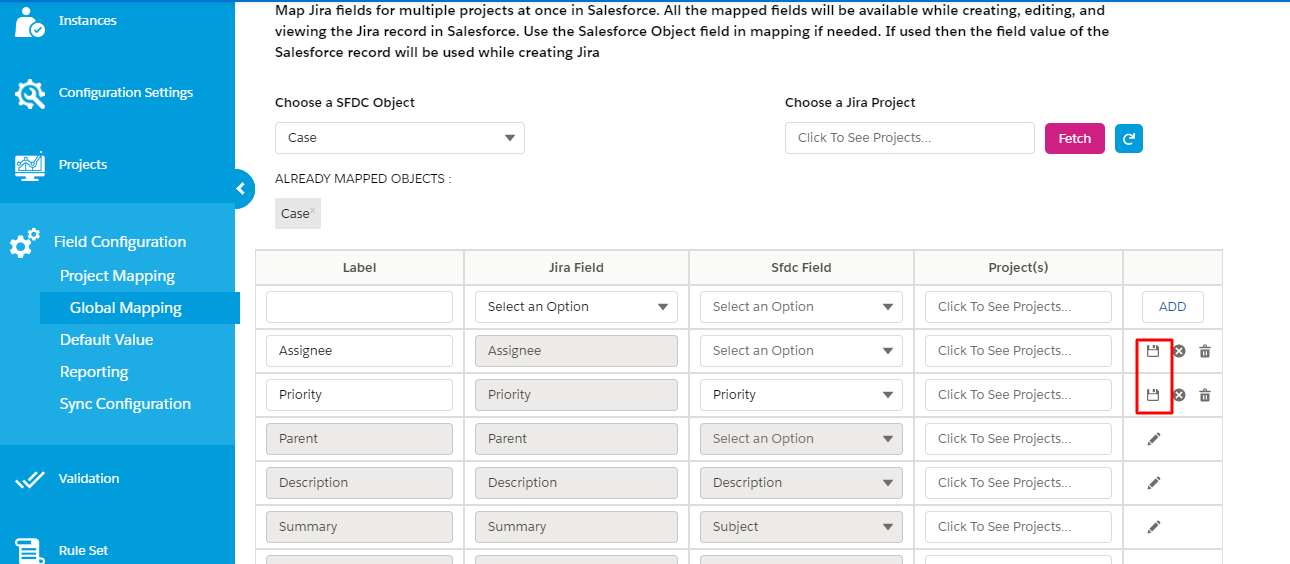
Step 9 : Users can use the Edit option to edit a mapping and choose another SFDC field to do the mapping or choose a Jira Project to delete or add a new mapping for a Jira field. Then hit the inline Save button.
Step 10 : Use the common Save button to update multiple mapped Jira fields.
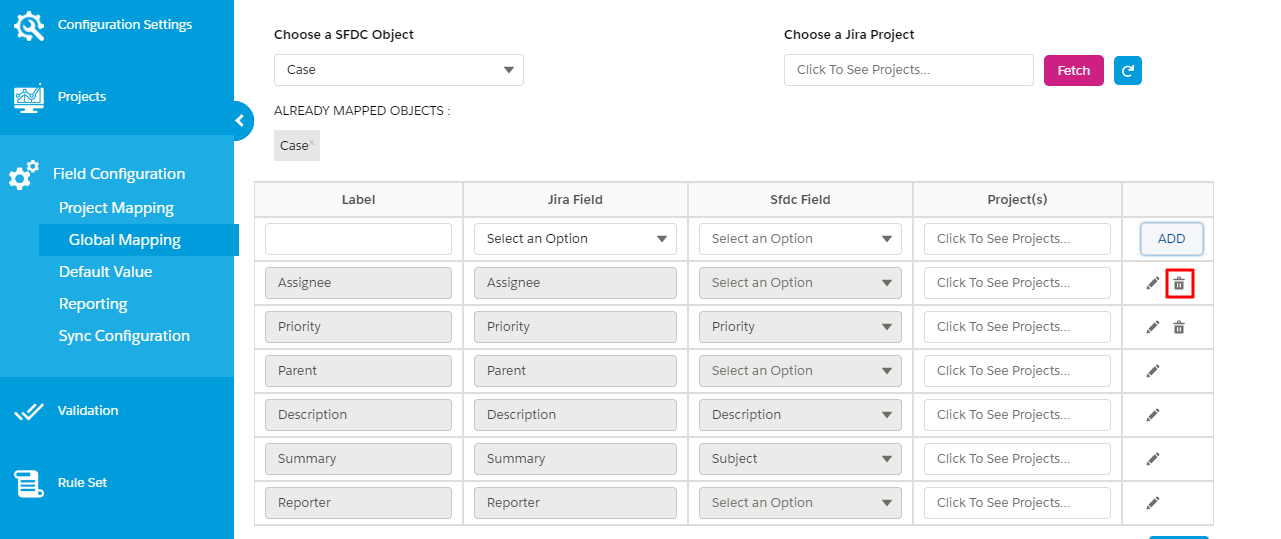
Step 11: Users can delete a mapping of a Jira field for multiple records at once from the delete option but Mappings for which at least one Jira Project is required can’t be deleted.
Step 12: Users can choose to cancel the editing by clicking the Cancel option present at the time of editing.