Feedback
Installation
Published Date: 17-03-2026
Read Time:
Step 1: Log into your Salesforce instance.
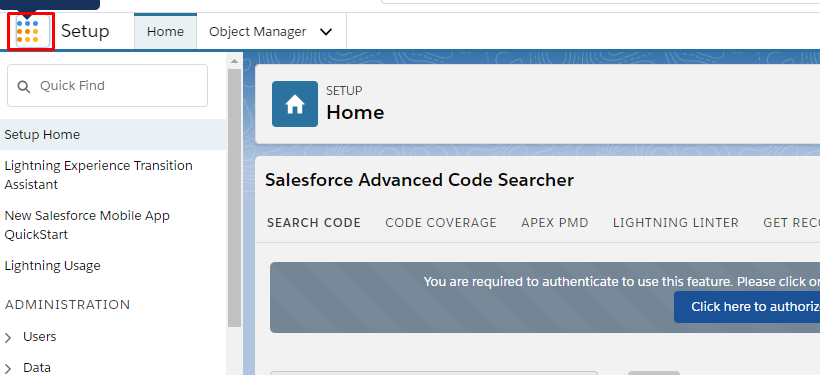
Step 2: Click the ‘App Launcher’ icon above the ‘Quick Find’ search box.
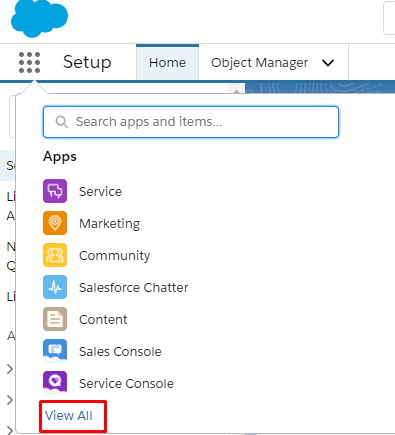
Step 3: Click the ‘View All’ option under App Launcher. A new page displaying all the applications will appear.
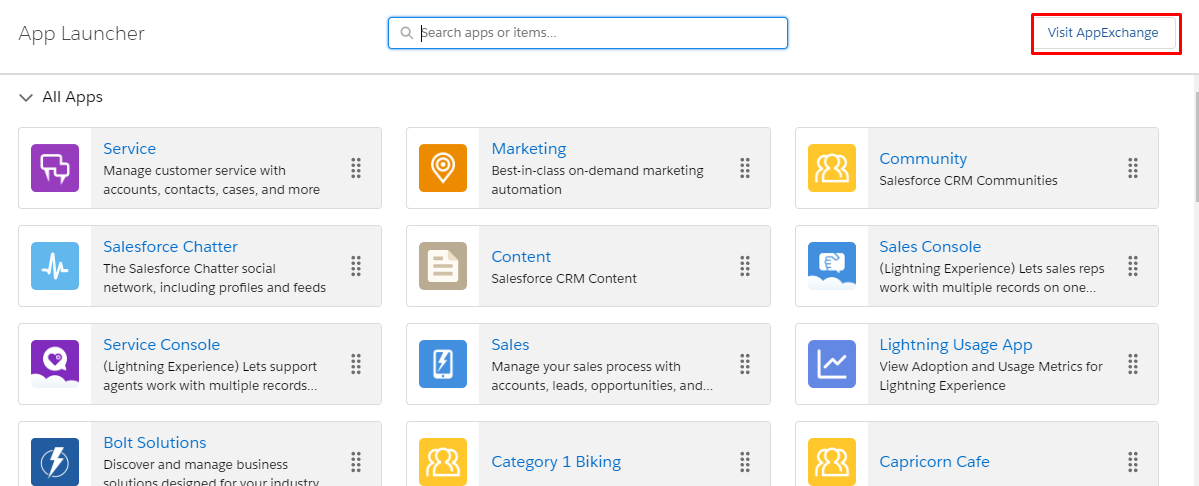
Step 4: Click the ‘Visit AppExchange’ button present on the extreme right of the ‘All Apps’ page.
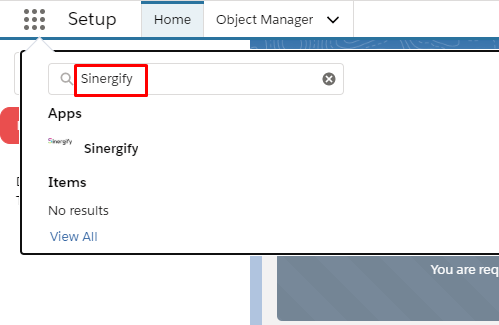
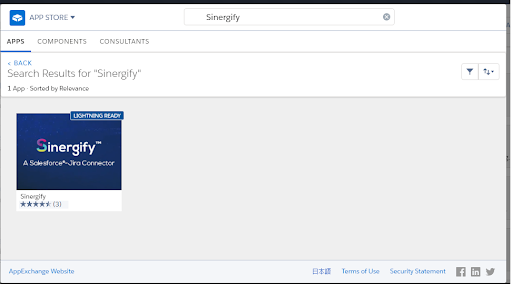
Step 5: Search ‘Sinergify’ in the AppExchange.
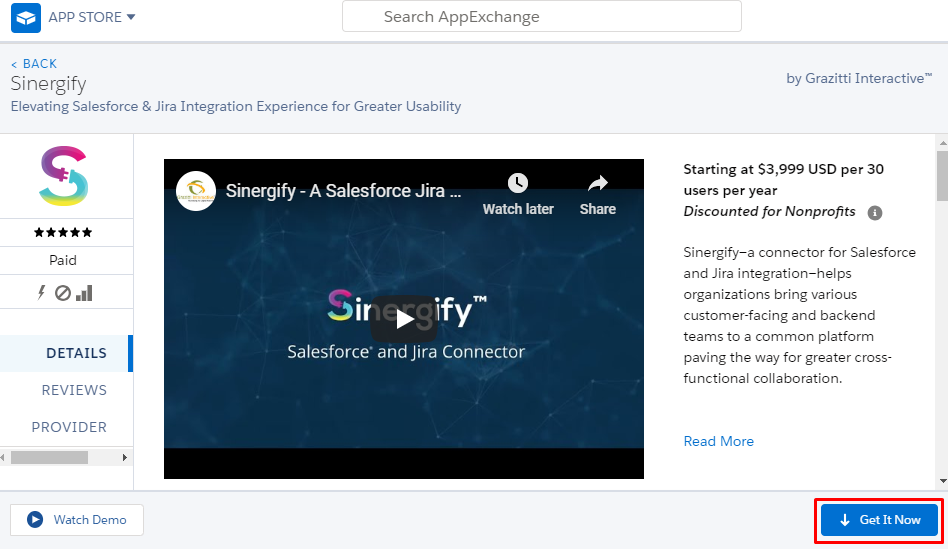
Step 6: Click the ‘Get It Now’ button.
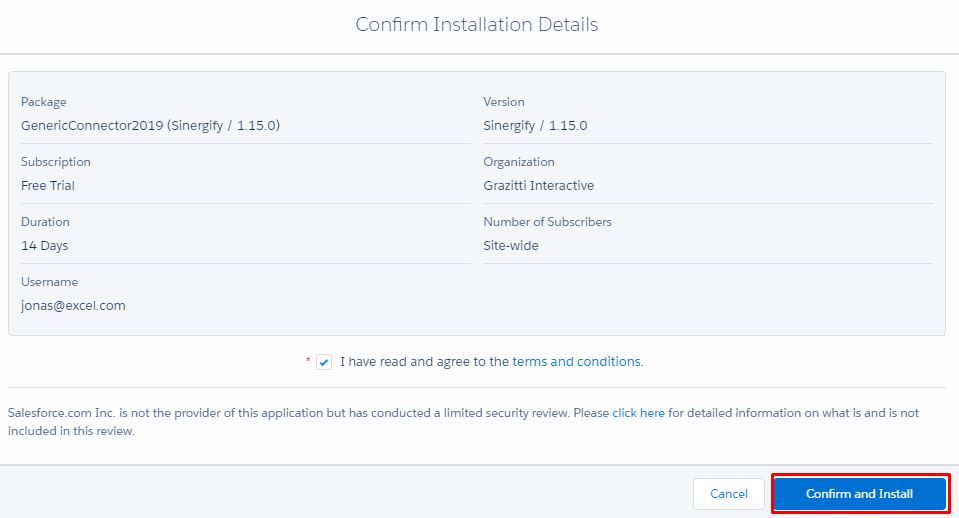
Step 7: After clicking the ‘Get It Now’ button, a new page will open containing the confirmation details. Select the checkbox on the confirmation page after reading the details and at last, ’click Confirm and Install button’.
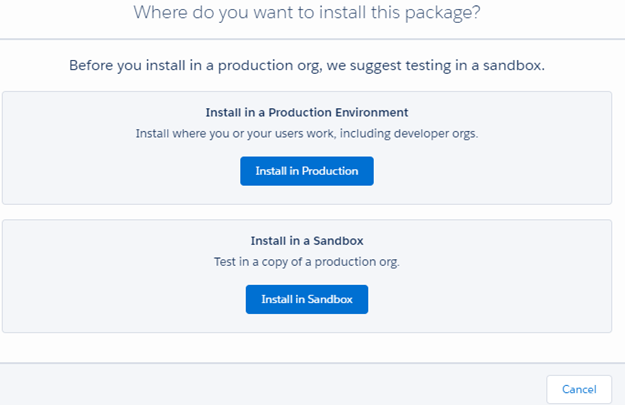
Step 8: Specify the instance where the application shall be installed.
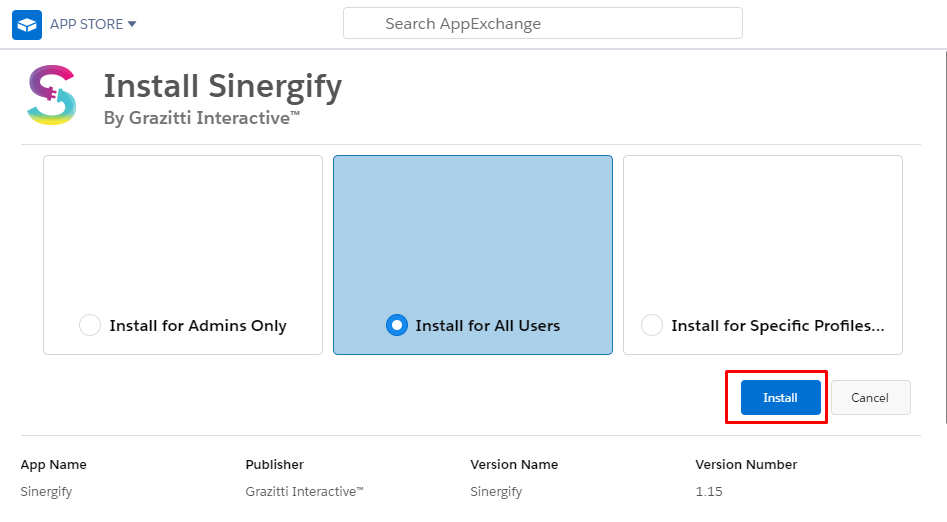
Step 9: Specify the users for whom Sinergify is to be installed and click ‘Install’.
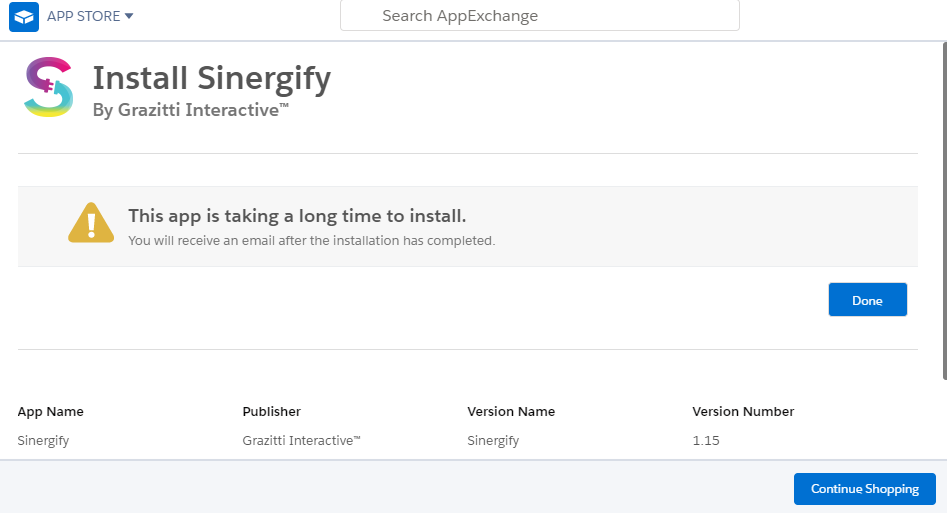
Step 10: The application can take some time to install. Users are notified via email once the application is installed in the system.
Step 11: Within a little time of installation, the application will appear in the App Launcher.