
 Feedback
Attachments Syncing
Published Date: 17-03-2026
Read Time:
Syncing Attachment from Salesforce to Jira
Attachments can be synced from Salesforce to Jira in two ways:
- Auto Syncing of Attachments
- Manually Sending Attachments from Salesforce to Jira

- Auto Syncing of Attachments
Attachments uploaded on the Jira detail page in Salesforce can be synced automatically to Jira by enabling ‘Auto-Sync Salesforce Attachment’.
Note: For the Case object, attachments available on the case detail page will be synced automatically to Jira by enabling this option. Please contact the Sinergify team if you want to stop the syncing.
You can see the synced attachment in Jira as in the screenshot below.
Deleting Attachments from the Object Detail Page
Removing an attachment from the object detail page in Salesforce will have no impact on the synced attachments in Jira.
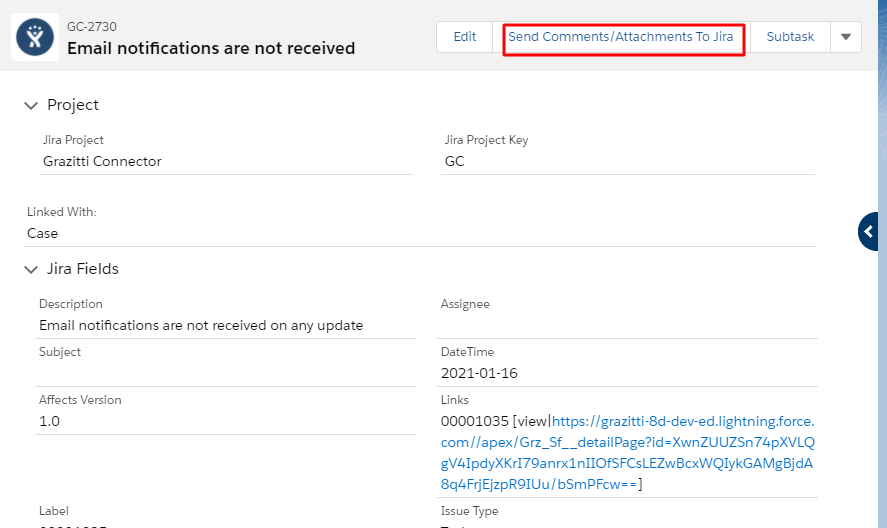
- Manually Sending Attachments from the Jira detail page in Salesforce to Jira
Attachments can be synced to Jira by using the ‘Send Comments/Attachment to Jira’ button.

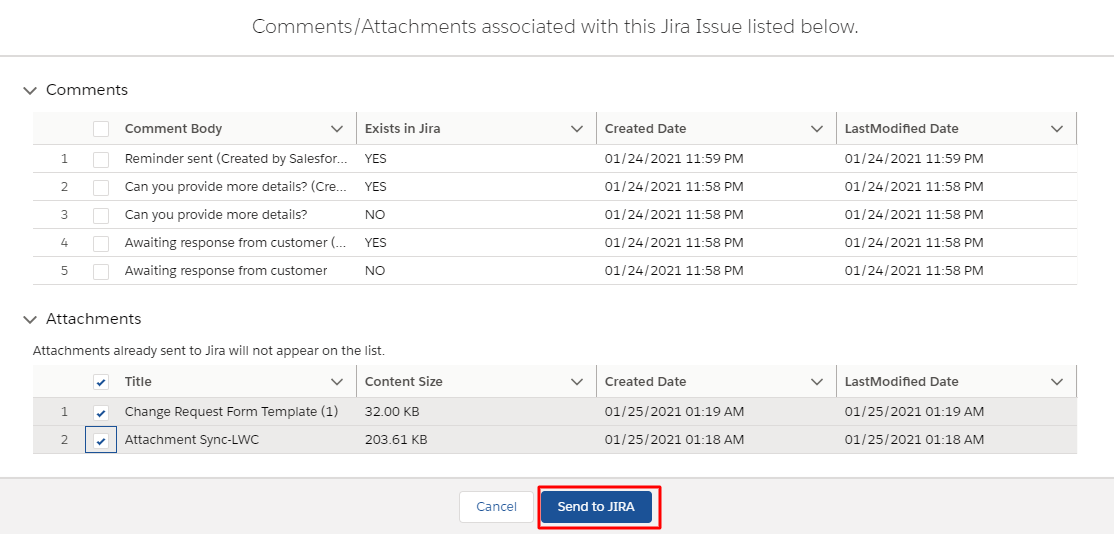
Users can select attachments from the list and send those to the Jira side by clicking Send to JIRA.
Note: Maximum file size in both cases, manual sync or auto sync is 10 MB.

Attachment Syncing from Jira to Salesforce
-
Sync Jira attachments to Salesforce: Enable this setting from the Admin Settings to allow attachment syncing from Jira to Salesforce.
 Note: Please ensure that a record in the Remote site setting (https://api.media.atlassian.com) is added in your Salesforce Org if you are using the cloud version of Jira.
Once enabled, the attachments added on the Jira side are automatically synced to the Jira detail page in Salesforce.


-
Sync Attachments to SFDC Object: This will allow you to store attachments under the Jira details Custom Object. Enable this option If you want to store attachments under the Salesforce Object (linked with Jira).


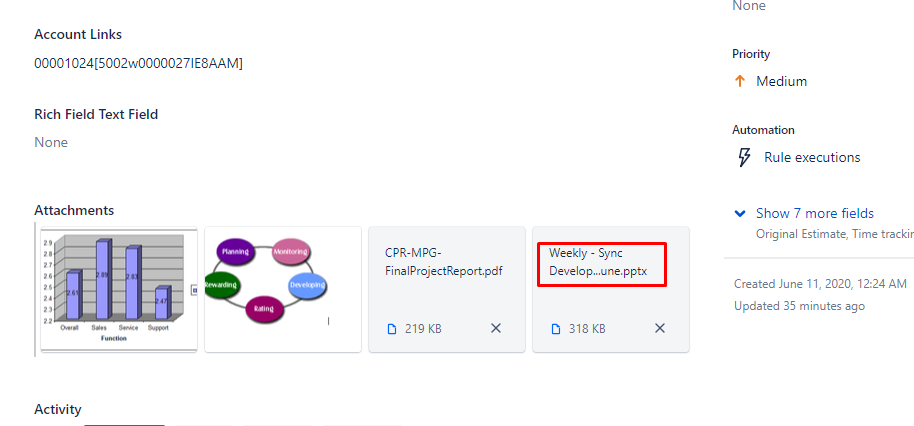
In the above screenshots, you can see the file is now synced into the Salesforce Object as well (Case object in this case).
Add Attachment Qualifier: If you only want specific attachments to be synced in Salesforce then you can add an attachment qualifier. For example, If you add the qualifier as SalesForce then only the attachments with SalesForce in the attachment name will be synced to Salesforce.

For example, we uploaded two files in a Jira ticket but only the one with SalesForce got synced into Salesforce (As shown in the below screenshots).


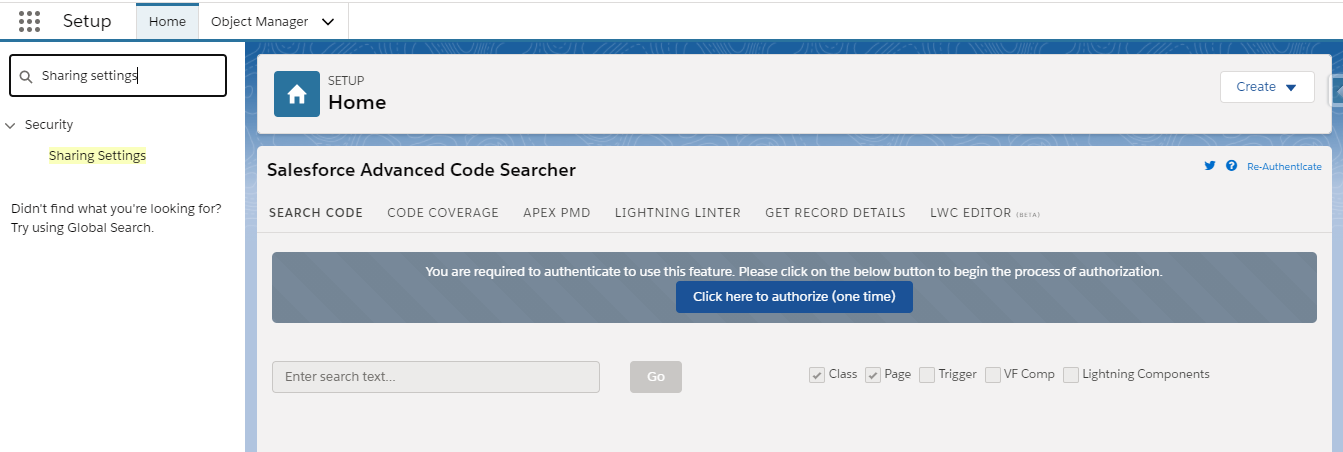
Follow these steps to create a Sharing Rule:
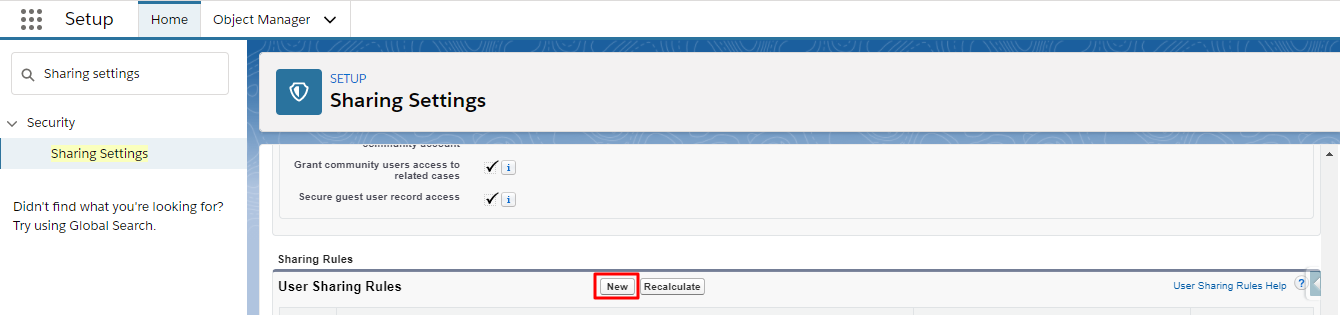
Step 1: From Setup, enter ‘Sharing Setting’ in the ‘Quick Find’ box and click on it from the search results.
Step 2: A new page will appear on your screen. Select the ‘Users’ object for the ‘Manage Sharing settings for’ choice.

Step 3: On the Sharing Settings page, navigate to the sharing rules and Click New..
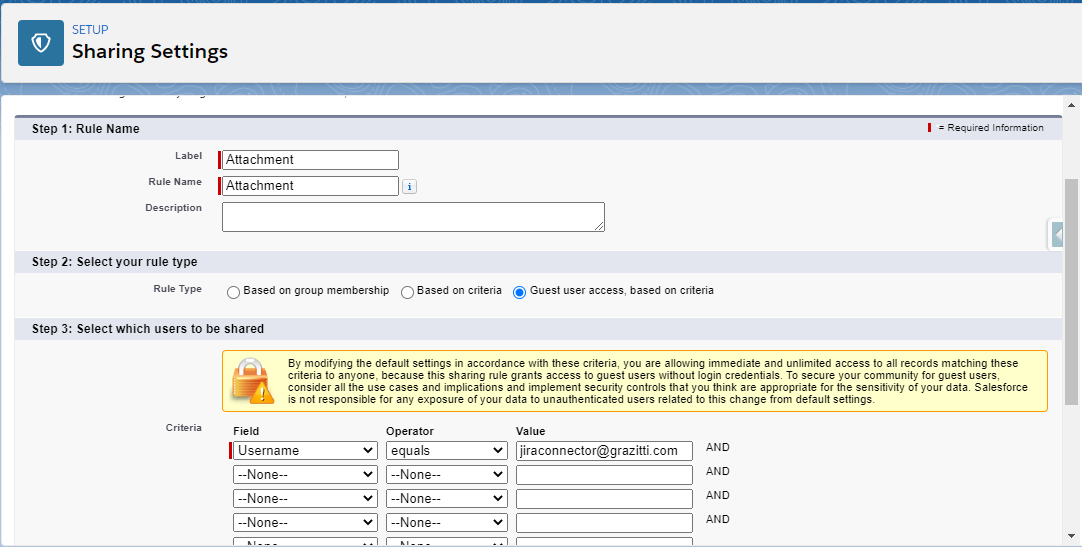
Step 4: Enter the details like Label and Rule Name.
Step 5: Select ‘Guest user access, based on criteria’ as user role type.
Step 6: Define the user criteria under ‘Select which users to be shared’.
Criteria: Field = ‘username’, operator = ‘equals’, and value = ‘Add the default record owner of the site over here’.
Step 7: For the ‘Select the user to share with’ option, select the guest user.
Step 8: For the ‘Select the level of access for the users’ option, select user access as ‘Read Only’.
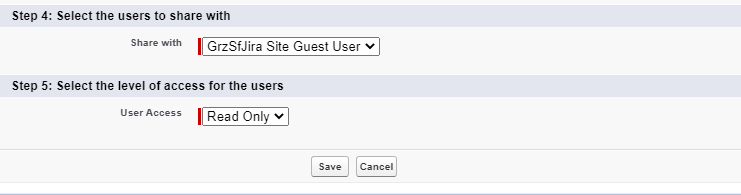
Step 9: Click Save.


