
 Feedback
Installation Process
Published Date: 10-03-2026
Read Time:
Step 1: Log into your Salesforce Org.
Step 2: Click on the ‘App Launcher’ tab on the top right corner and then click ‘AppExchange’.

Step 3: Enter ‘Sinergify’ in the search bar and click on it from the search results.

Step 4: Click on the ‘Get It Now’ button.

Step 5: A new page consisting of confirmation details will open on your screen. Select the checkbox and click ‘Confirm and Install’.
.png "Confirm and install")
Step 6: Specify the Org for which the Sinergify application is to be installed.

Step 7: Specify the users for whom the Sinergify application is to be installed and click ‘Install’.

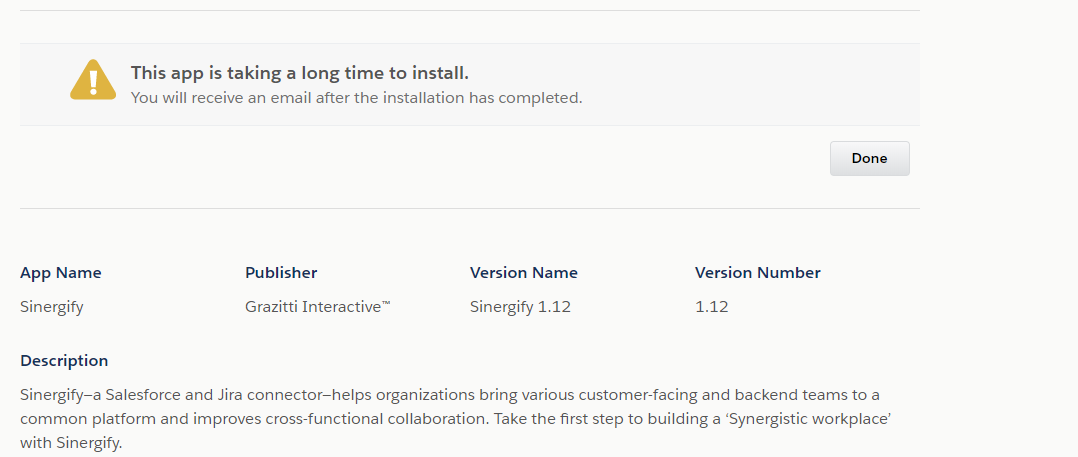
Step 8: The application can take a little to install. You will be notified via email once the application is installed in your Salesforce system.
Step 9: After the installation is completed, the application will appear in the App Launcher section.


