
 Feedback
Configuring the OAuth Authentication
Published Date: 10-03-2026
Read Time:
Step 1: Log into your Jira Org as a user with 'Jira Administrator' permissions.
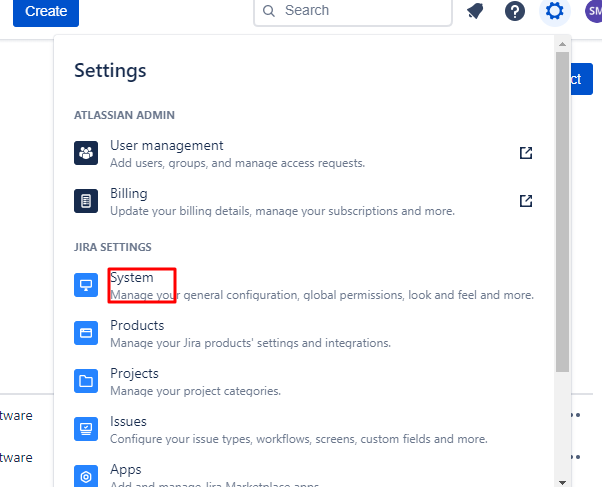
Step 2: Click on the Gear icon (settings).
Step 3: Under the Settings drop-down menu, click ‘System’.
Step 4: Click ‘Search Jira admin’.

Step 5: Enter ‘application’ in the search box and click ‘Application links’ from the search results.

Step 6: Enter your Salesforce Org URL and click ‘Create new link’.

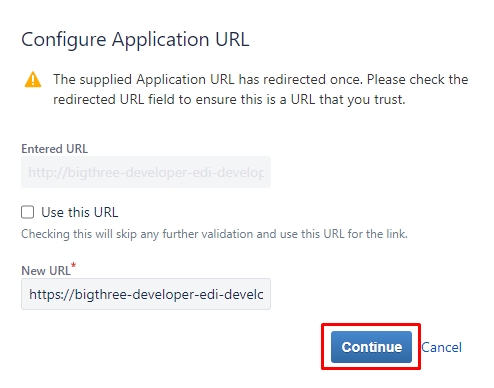
Step 7: A new window will open to confirm the ‘New URL’. Click ‘Continue’.
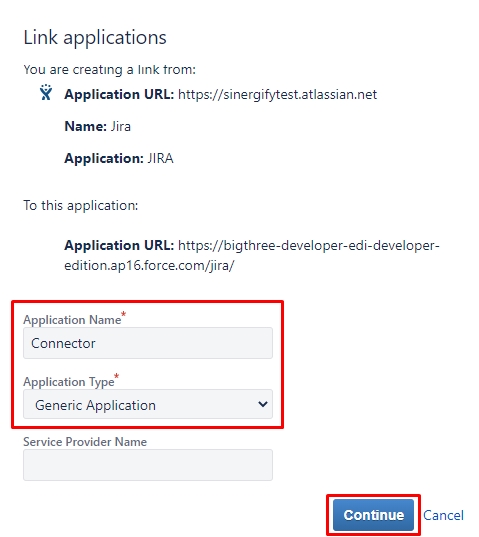
Step 8: Fill in the details like ‘Application Name’ and select ‘Generic Application’ as the ‘Application Type’. Click ‘Continue’.
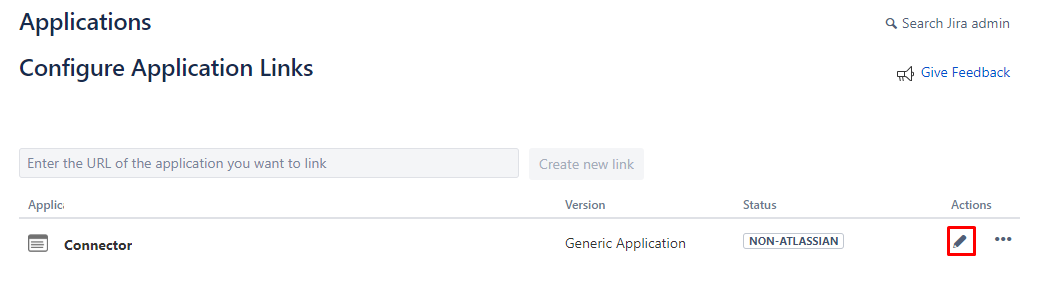
Step 9: A new application link will be created.

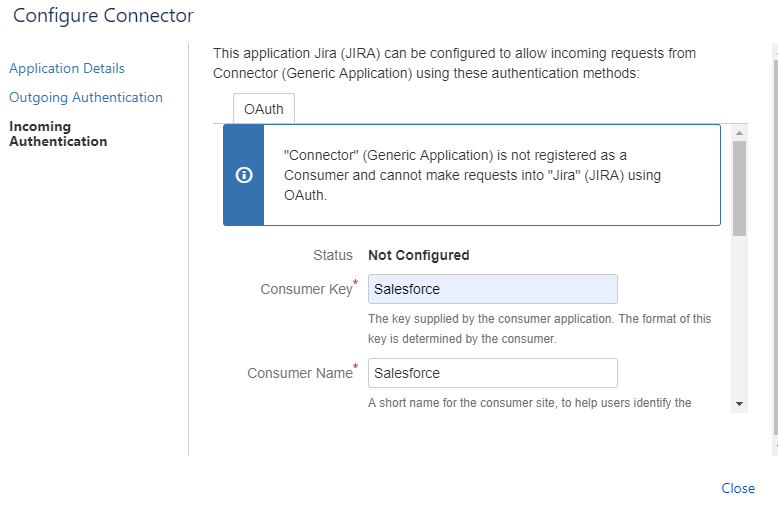
Step 10: Up next is setting up the Incoming Authentication. Click ‘Edit’ (as shown below).
Step 11: Enter ‘Salesforce’ in both ‘Consumer Key’ and 'Consumer Name' fields.
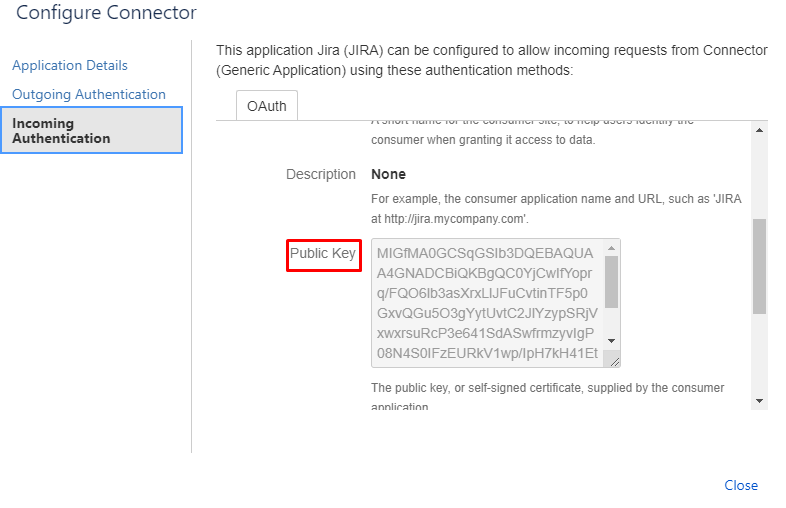
Step 12: Insert your public key in the ‘Public Key’ field.
(Please save the Private key as well as it will be used later in Step 25)
Step 13: Add your ‘Consumer Callback URL’. The URL should be in the following format :
SalesforceOrgURL+/apex/GnrSf__AuthPage?status=+SalesforceOrgID
For example:
http://bigthree-developer-edi-developer-edition.ap16.force.com/apex/GnrSf__AuthPage?status=00D2w000002AY28

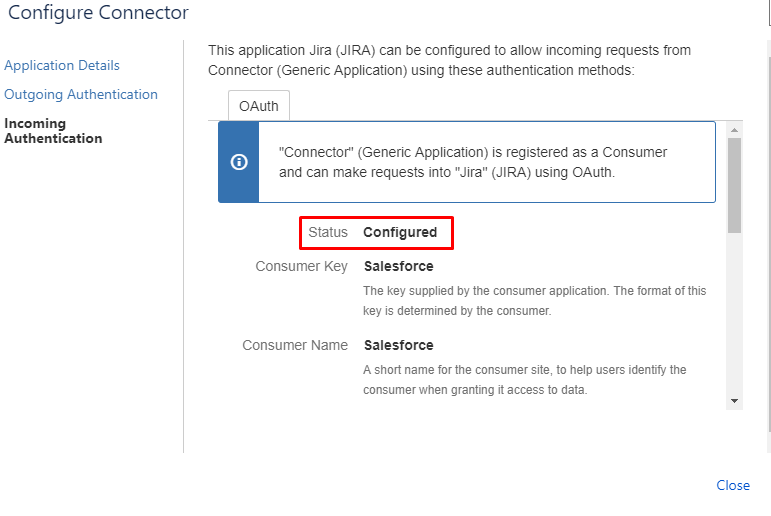
Step 14: Click ‘Save’. The status of the application link will be updated to ‘Configured’.
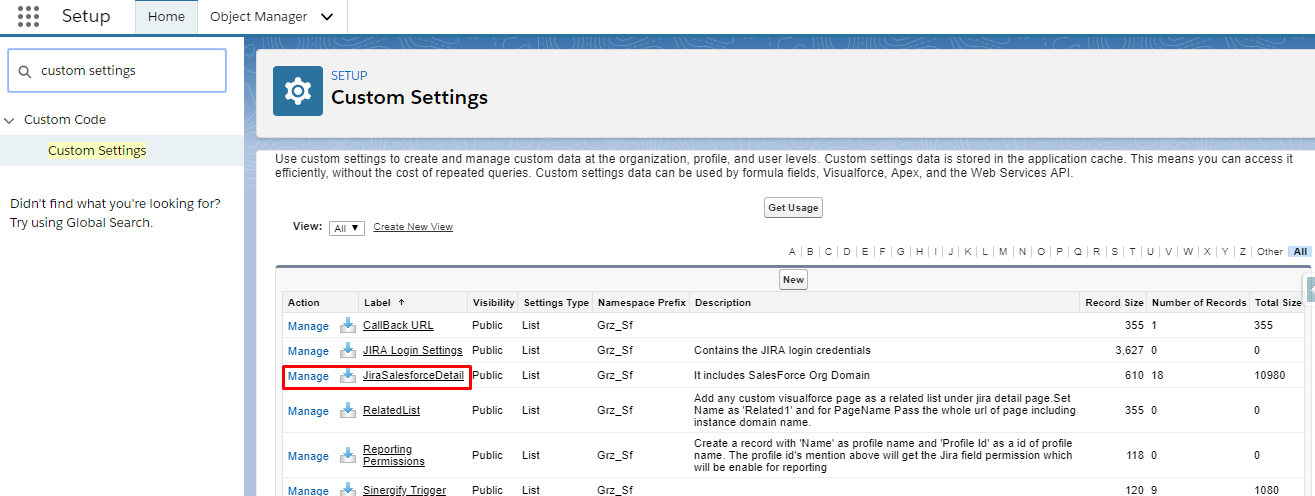
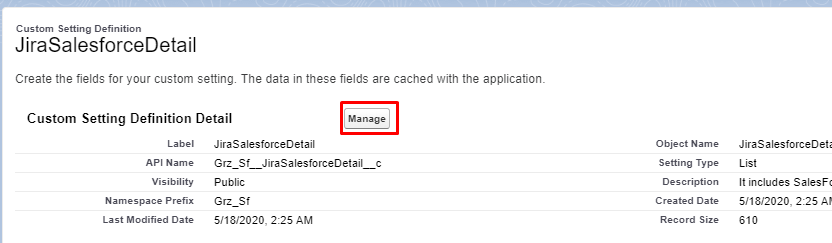
Step 15: Search ‘custom settings’ in the quick find box and click ‘Custom Settings’. Then click ‘JiraSalesforceDetail’.
Step 16: Click ‘Manage’.
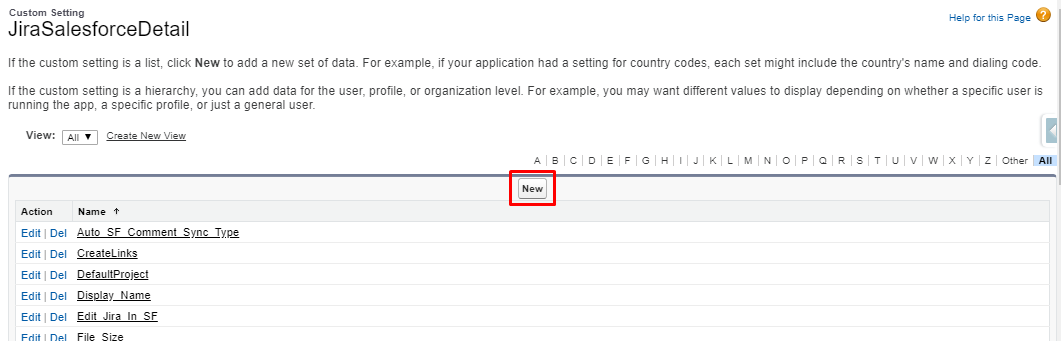
Step 17: Click ‘New’ to create a new record under ‘JiraSalesforcedetail’ settings.
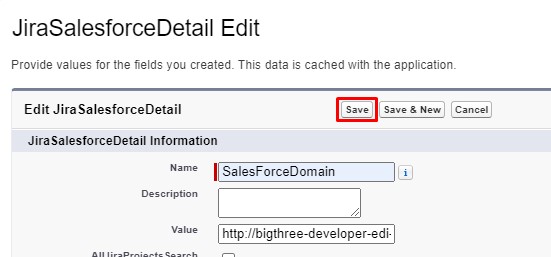
Step 18: Fill in the details like ‘Name’. In the ‘Value’ field, add the Site URL (the new site created) and click ‘Save’.
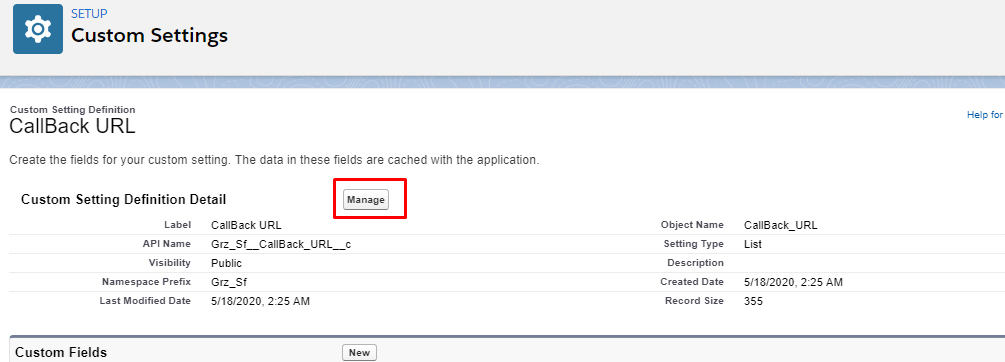
Step 19: Go to the ‘Custom Settings’ and click ‘CallbackURL’.
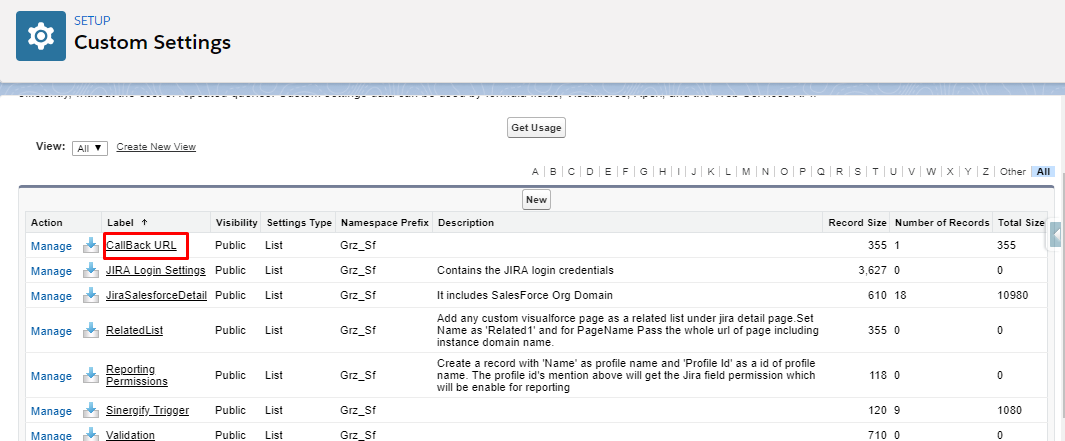
Step 20: Click ‘Manage’.
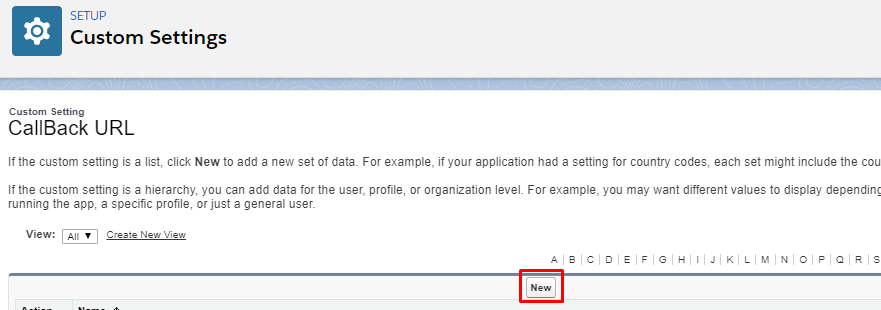
Step 21: Click ‘New’ to create a new record under ‘CallbackURL’.
Step 22: Enter ‘Callback’ in the ‘Name’ field (which is case sensitive) and CallbackURL (refer step 13) in the ‘URL’ field.
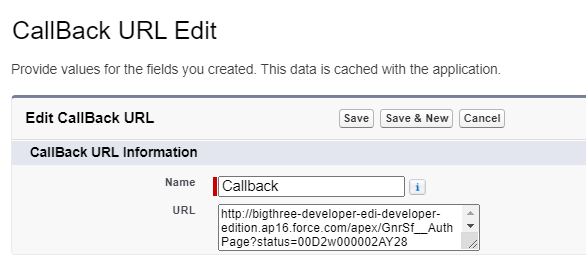
Step 23: Click ‘Save’.
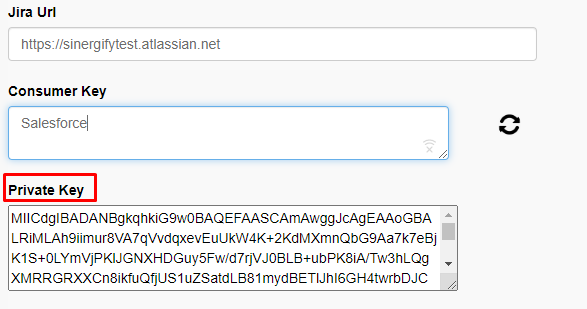
Step 24: Go to the Admin Settings of the Sinergify app and select ‘OAuth’ option. Use the same name as used while generating the application link (refer to step 11).
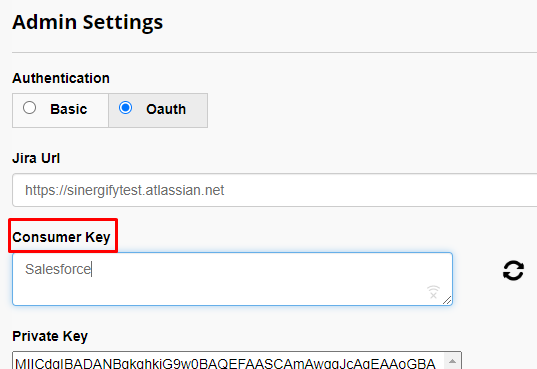
Step 25: Insert your Private key in the ‘Private Key’ field.
(You can obtain the Private key as mentioned in Step 12 above)
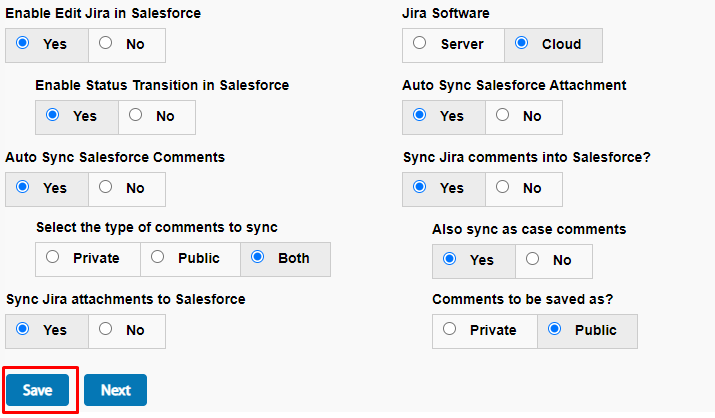
Step 26: Click ‘Save' after configuring other admin settings.
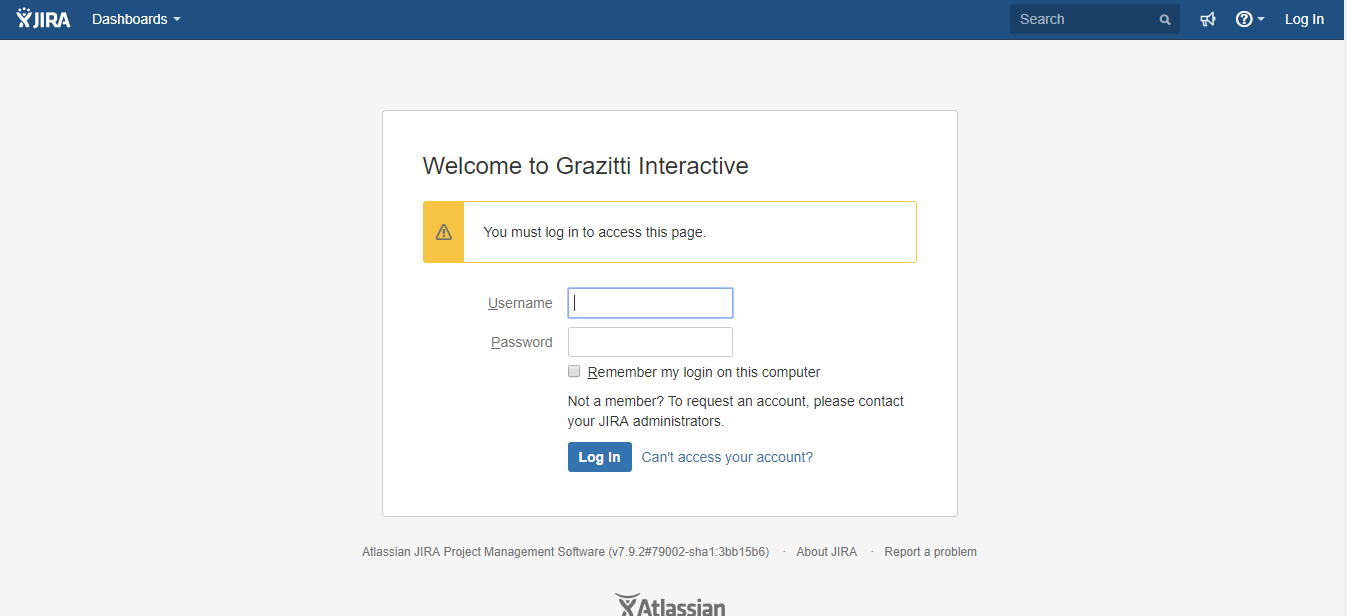
Step 27: A Pop up will appear. Log in using your Jira credentials.
Step 28: After logging in, a new window will appear asking for the ‘Read’ and ‘Write’ permissions. Click ‘Allow’ to share access token else click ‘Deny’.
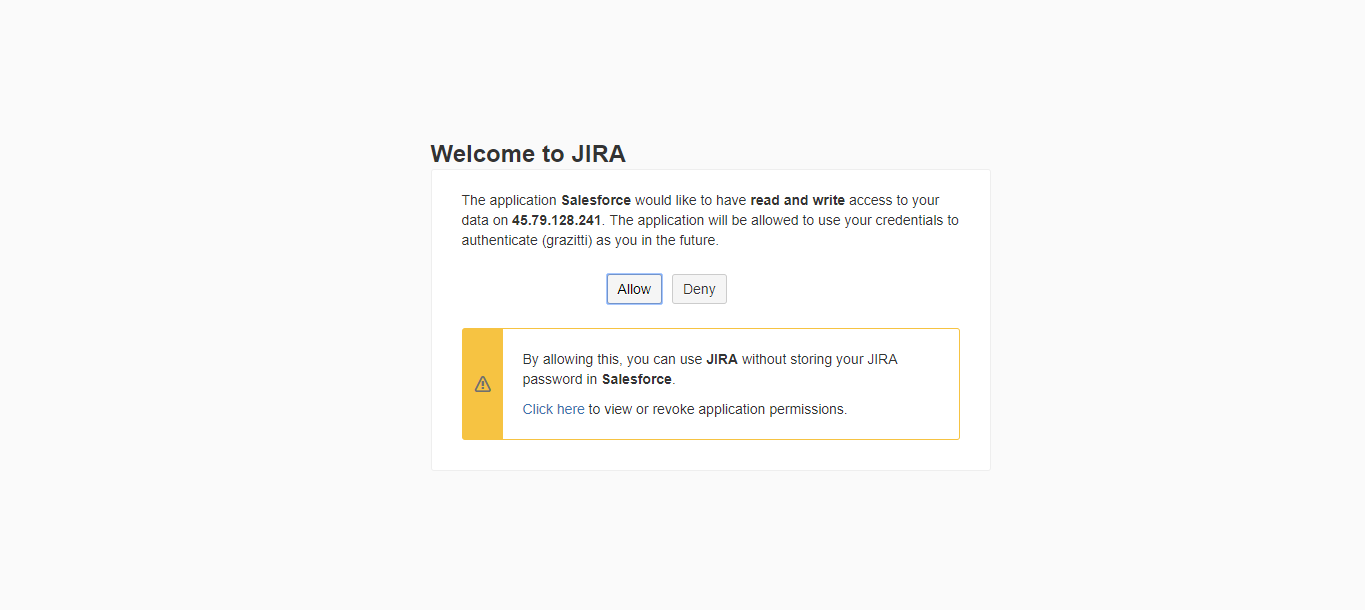
Step 29: If allowed, the access token will be shared and saved automatically in Salesforce and the admin page will reload automatically.


