
 Feedback
Rulesets
Published Date: 05-08-2024
Read Time:
A new Jira issue is automatically assigned under a project using Rulesets. Admins can define the rule criteria for different projects.
Rulesets not only reduce the workload of the support agents of manually selecting the projects to create Jira issues but also eliminate the chances of misallocation of Jira issues with the projects.
Working of Rulesets
Rulesets work based on defined criteria. While creating a Jira issue, if the already available ruleset criteria is met, a new Jira issue is synced under the project as defined in the Ruleset.
For example, an admin can define criteria that whenever a case is registered for product ‘GZ-Phone’, a new Jira issue created for that case should be mapped under project ‘GZ-Phone’. Thus, saving support reps time they spend searching for the project while creating new Jira issues.
Rulesets can be created for all the projects corresponding to different objects in the system. Admins can edit, delete, and clone the rulesets.
Configuring a new Ruleset
From ‘Admin Settings’, click ‘Rule set’ in the sub-tab.
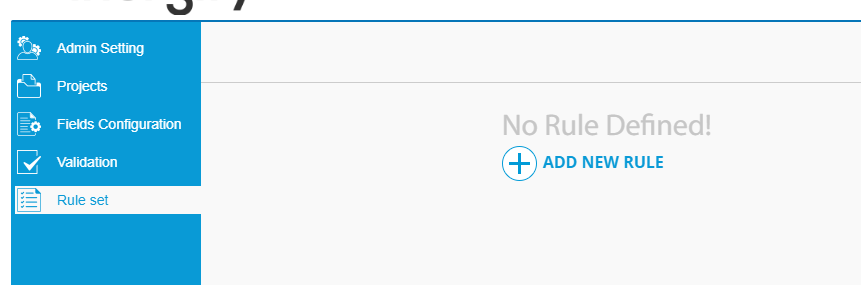
Step 1: Click ‘Add New Rule’. A screen will open where you can create a new rule set.
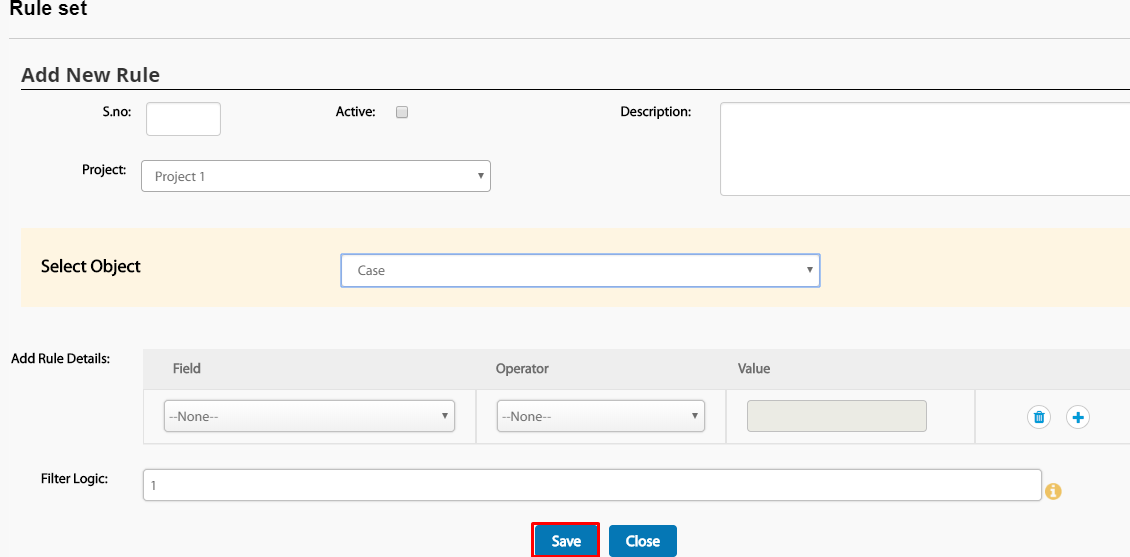
Step 2: Add Serial Number that will help setting the priority of the rule. For example, if there are two rules associated with the object, then the rule with S.no 1 will trigger first followed by S.No 2 until the rule is met.
Step 3: Check the box next to ‘Active’ to make sure it is activated.
Step 4: Provide a ‘Description’ for the rule.
Step 5: Select the project for which the rule will be applicable.
Step 6: Select the object for which the rule will be applicable.
Step 7: Add the rule details to create the rule by filling the ‘Field’, ‘Operator’, and ‘Value’ fields.
Step 8: Add ‘Filter Logic’ if required.
Step 9: And Click ‘Save’.


